Admin Content v6 feature
1.1. How to Define a Form
Click the
.png "plus(14).png") button on one of the following:
button on one of the following:In the 12d Synergy Administration application, select the Forms tab > Form Definitions tab.
A new form definition is added to the left panel on the Form Definitions tab.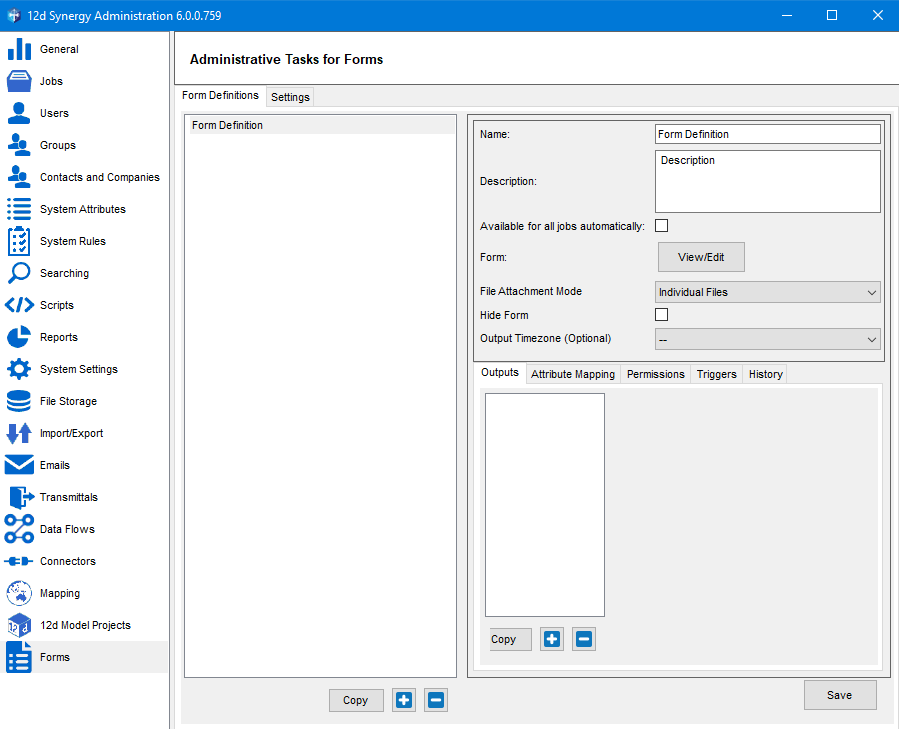
If you want the form you are defining in the 12d Synergy Administration application to be available to all jobs on the server, then select the Available for all jobs Automatically check box.
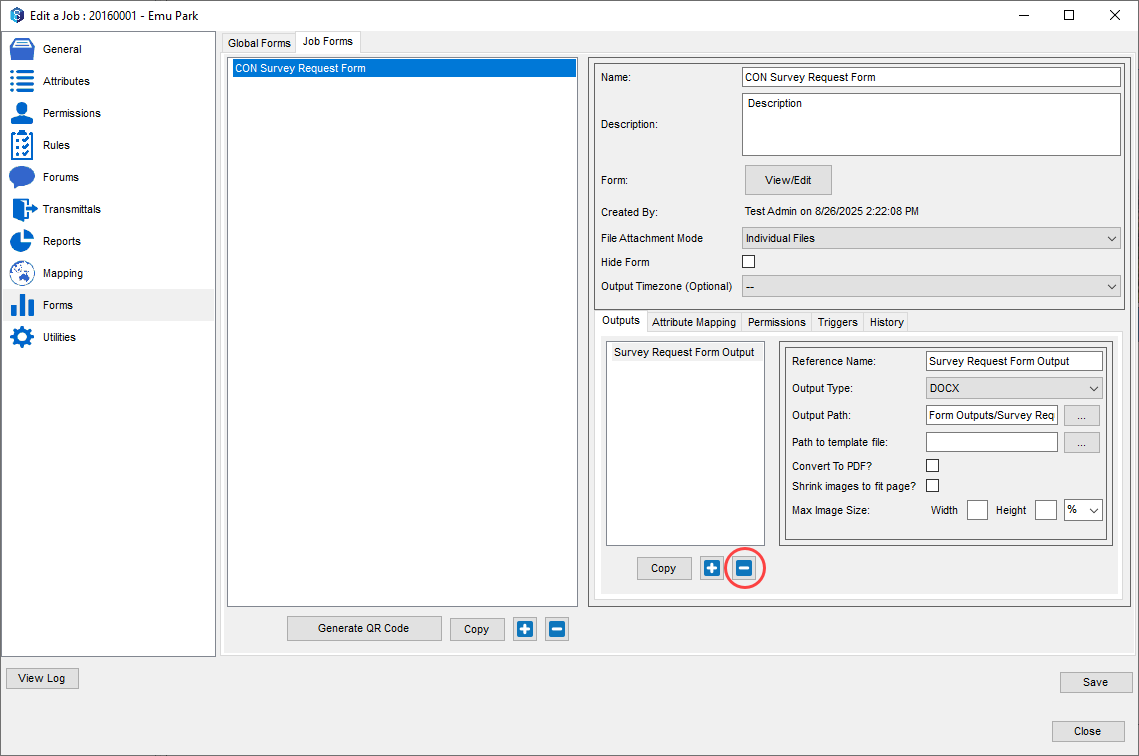
In the 12d Synergy Client application, right-click the job on which you want to define a form and select the Edit option. In the Edit a Job window, select the Forms > Job Forms tab.
Ensure that you have the necessary license to work with Forms to define a form.
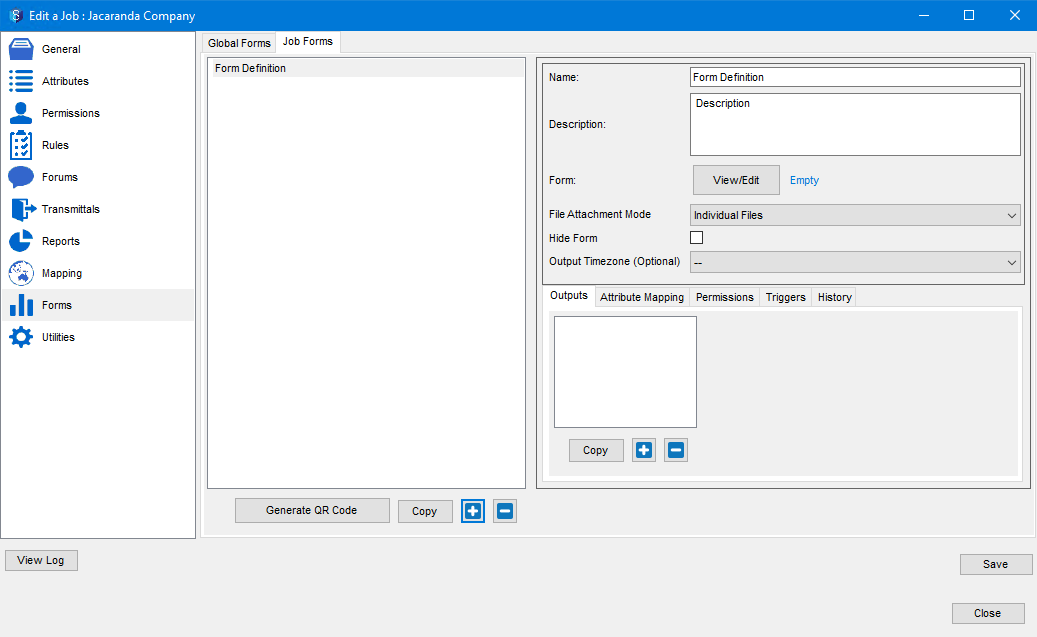
A form that you define from the 12d Synergy Client application (as shown in the above image) is available only to the job under which it has been created.
Enter a name for the form you are defining in the Name box.
Add a brief description of what the form is for in the Description box.
If you have to upload images or files in the form you are creating, you can choose to attach them as zipped files or as individual files. For this, select the required mode from the File Attachment Mode list.
If you want to hide a form to avoid it being utilised again, then select the Hide Form checkbox.
If you want to specify the timezone for generating the output files, select it from the Output Timezone (Optional) list.
Click the View/Edit
 button displayed against the Form: label.
 The Empty label displayed beside the View/Edit button implies that the form that you are creating does not have any questions added to it, meaning it is empty.
The Form Definition drag-and-drop designer window is displayed. The Designer tab is displayed by default.
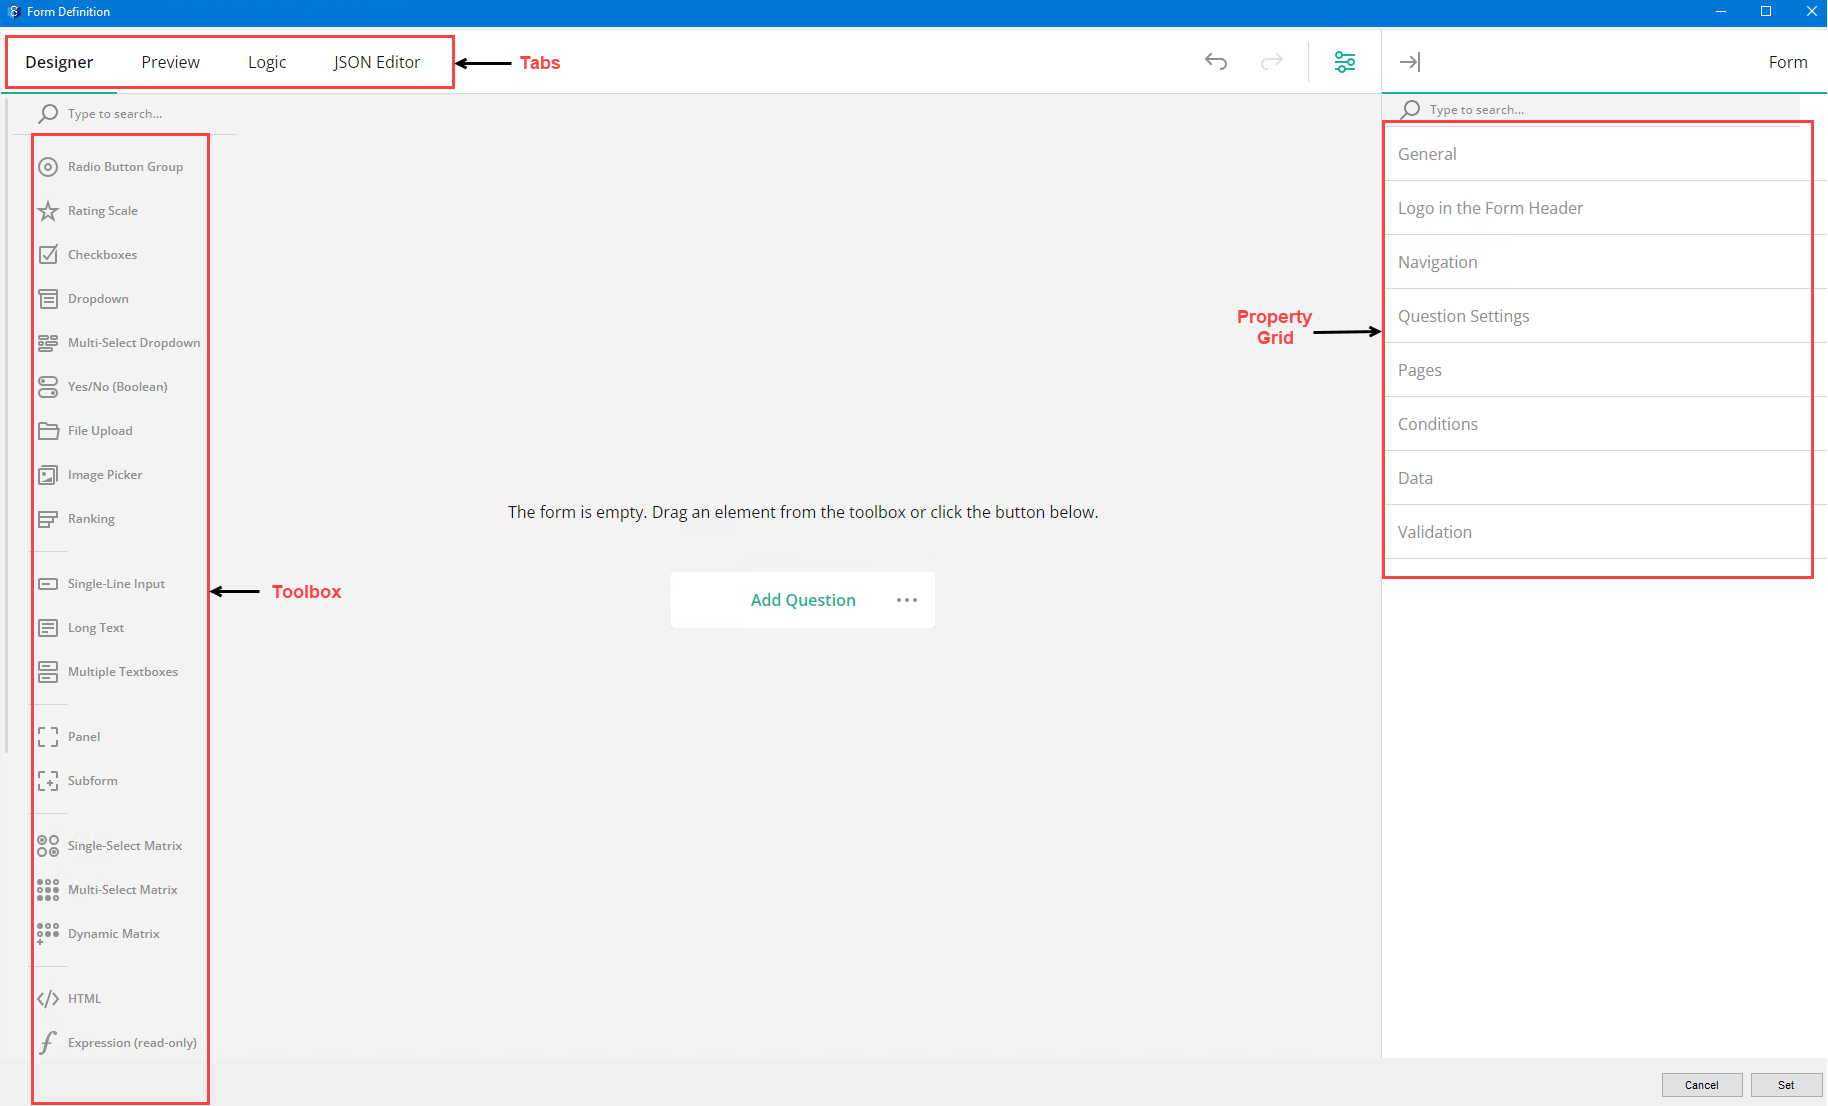
There are four tabs in the above window. They will be explained in detail in the pages that follow.
Designer — This tab enables you to design the form. From designing the look of the form to configuring the different types of questions, you can do it all in this tab.
Preview — After designing the form, you can preview how it looks on different devices using the
 icon. You can also check out how the form is responding to various inputs.
 Logic — If you want to add any logic or condition for the display of certain elements in the form, you can create it in this tab. This can also be done in the Designer tab when you are working with elements that include some logic in their working or display.
JSON Editor — If you want to design the form more comprehensively using some technical code, then you can do the necessary coding in this tab.
Note that any filled-in forms of the hidden form are still displayed against the job they were filled in on the 12d Synergy Client application > Job View > Forms > My Forms tab.

If you want to embed a file in the output file, mention the file extensions that you wish to embed in the Forms tab > Settings tab > File extensions to embed when not using a form template box. A link to the embedded files is displayed in the output file.
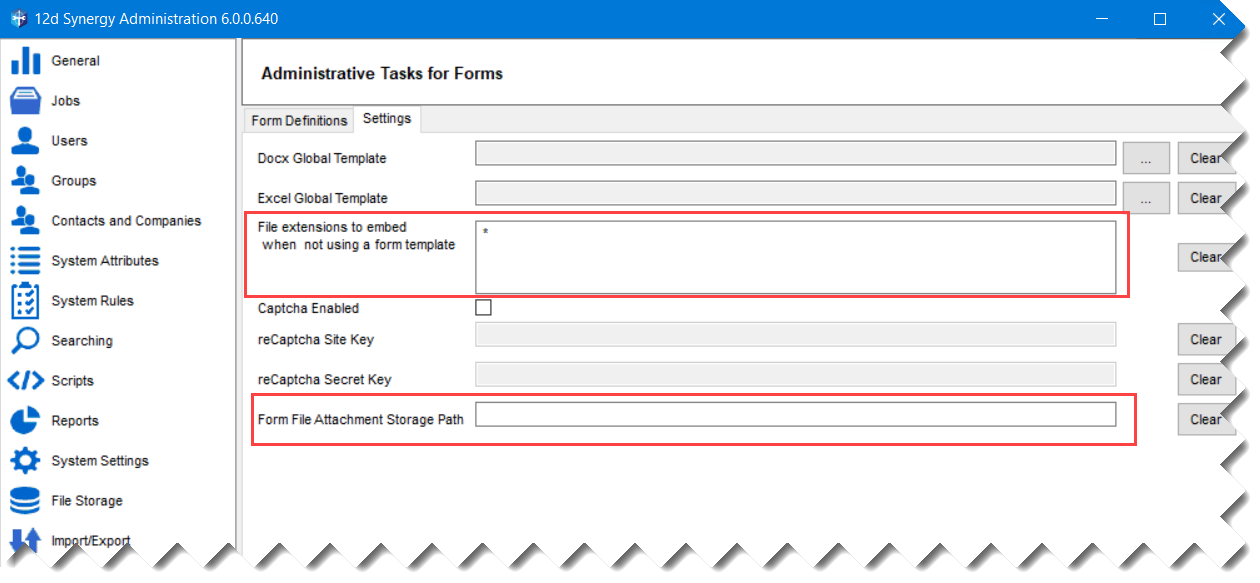
If you want to explicitly mention the location at which all the attachments from filled-up forms are saved, then enter that location in the Forms tab > Settings tab > Form File Attachment Storage Path box (as shown in the image above). Whether you fill out a form from the 12d Synergy Web application or the 12d Synergy Client application, the attachments in them are saved at this location.
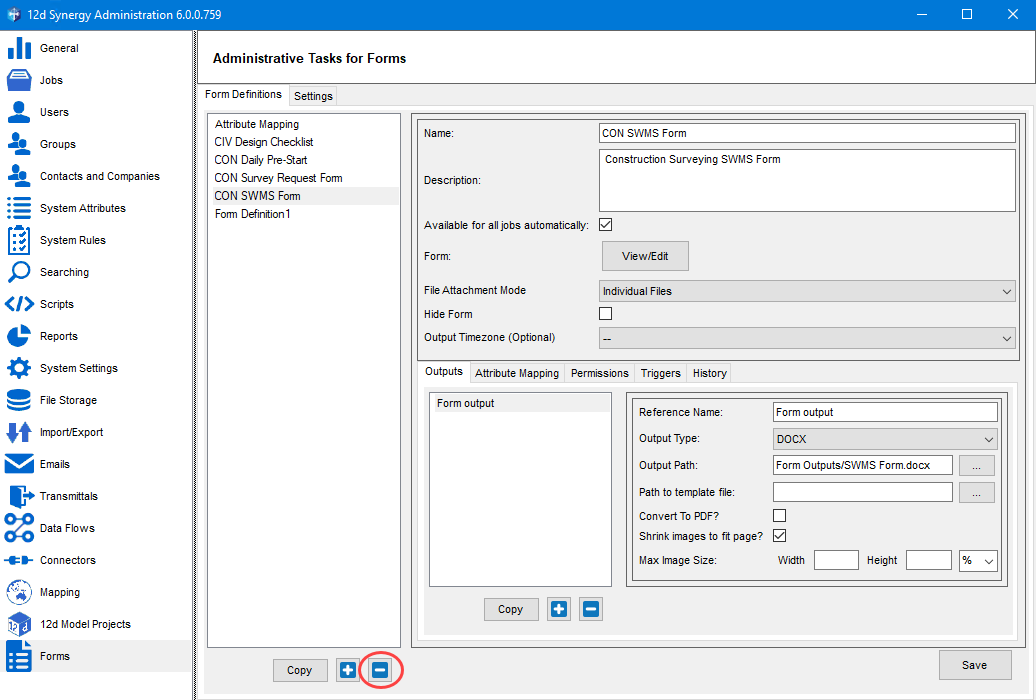
Outputs Subtab
This subtab allows you to define the output format of the filled form you are creating.
Click the
button.
A new form output is added to the left panel on the Outputs tab.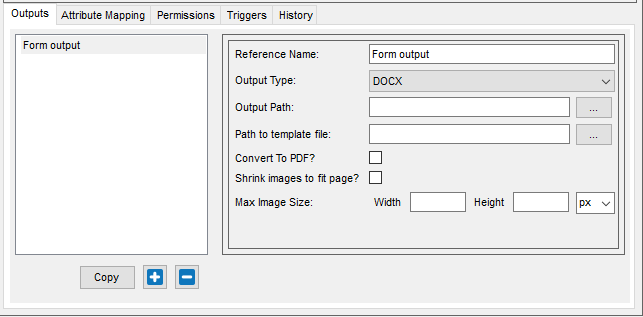
Enter the following details:
Reference Name — A name with which you want to refer to the form output
Output Type — The various types of file types that can be created to save the details from a filled-out form. Based on the option you select, the fields in this tab vary. A tabular format of these changes is given below.
Output type-wise fields in the Outputs tab
Output Type
Output path required?
Path to template file required?
Convert to PDF?
Shrink images to fit page
Max Image Size (in cm, mm, pixels and percentage)
CSV Format
Notes
DOCX
✔️ ✔️ ✔️ ✔️ ✔️ ❌ When you select this output type, a single file is created as an output file. If the form is submitted again, the details from the previously submitted form are overwritten with the values of the latest submission. However, if you use the Expression builder for naming the file, then unique files are created for every form submission.
XLSX
✔️ ✔️ ❌ ❌ ✔️ ❌ Same as above
CSV
✔️ ❌ ❌ ❌ ❌ ✔️ You can choose the details of the submitted form that you want to include in the CSV.
When you select this output type, an output file is created with the details of the submitted form. However, when the form is submitted again, its values are appended to the previous submission details in the same file. This means there will be a single file with the details of multiple form submissions.
JSON
✔️ ❌ ❌ ❌ ❌ ❌ Same as above
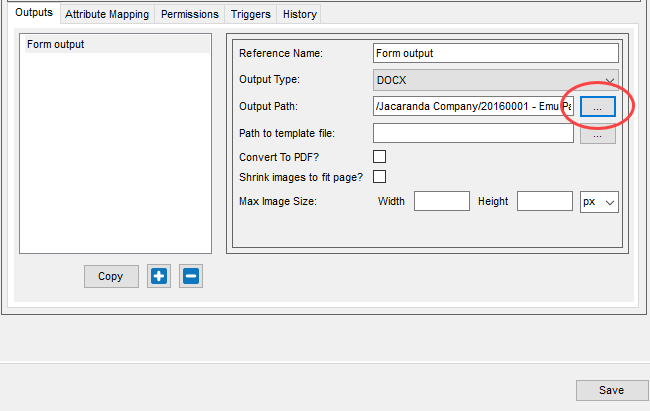
Output Path — The path at which the output files have to be saved.
Click the.png) button against the Output path box in the Outputs subtab of the form.
button against the Output path box in the Outputs subtab of the form.
You can choose one of the following ways to select a path.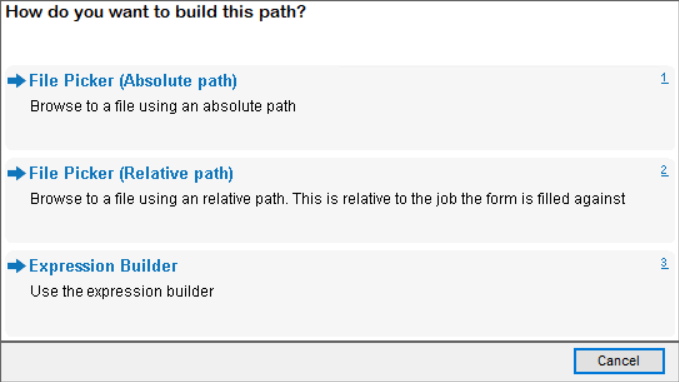
File Picker (Absolute path) - Browse and select the exact path to the output file within a job/folder. If there is no file in the selected job/folder, enter a name for the output file that has to be created, in the File name box. Ensure to mention the type of file you want to create in the name or select it from the Filters list.
.png)
File Picker (Relative path) - Browse and select the relative path to the output file within a job/folder. If there is no file in the selected job/folder, enter a name for the file that has to be created in this space in the File name box. Ensure to mention the type of file you want to create in the name or select it from the Filters list (as shown above).
If such a folder/file doesn’t exist in the job for which you are filling the form, then it is created when a form is filled out and submitted.
Expression Builder - If you want to name the file after any attributes or the answers filled in the form, then you can do it using the Expression Builder. However, note that only the file name can be configured using this option and NOT the location of the file. The location of the file has to be explicitly entered in the Expression box in the Expression Helper window for you to submit the form. You can add the location manually or using the procedure mentioned below.
.png)
Choose any of the File Picker options in the following window.
.png)
Select the absolute or relative path of the file in which the submitted forms are saved.
Click the
button against the Output path box in the Outputs subtab of the form. This time select the Expression Builder option from the options displayed in the How do you want to build this path? window.
The selected absolute or relative path of the file is displayed in the Expression box in the Expression Helper window.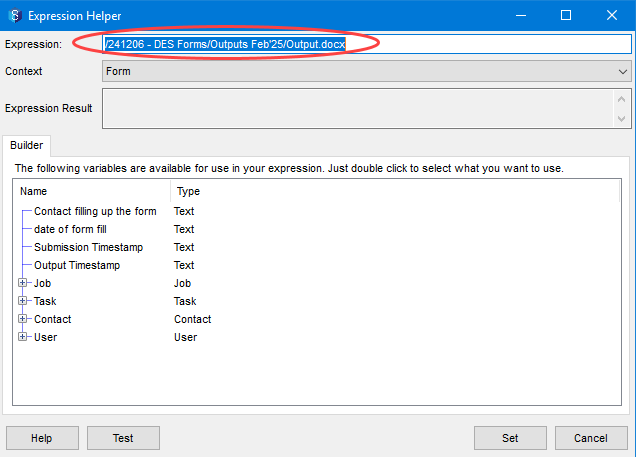
Place the cursor at the required location in the file name where you want to add a variable that is displayed in the panel below.
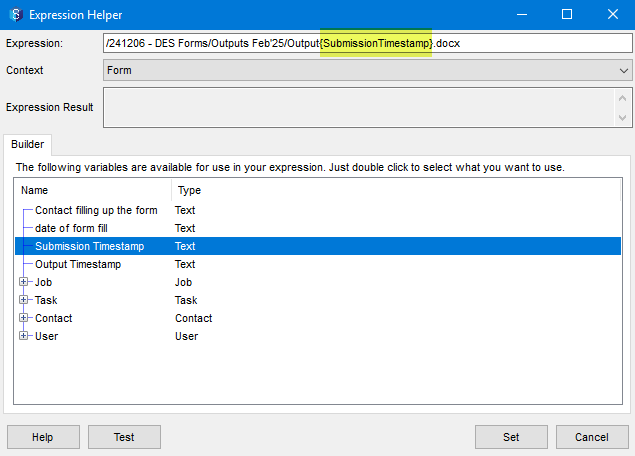
Double-click the required variable and it gets added to the file name and is displayed in the Expression: box.
You can also add variables to the file location using the Expression Builder.
.png)
The next fields in the Outputs subtab are explained below.
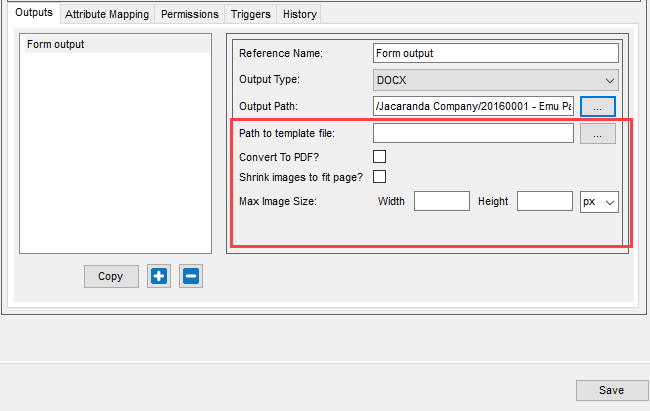
Path to template file — Browse and select the absolute or relative path to the template file of the form.
Convert to PDF? — Select this checkbox if you want the output file to be converted to a PDF. Ensure that the file you select in the Output Path box is also a PDF file.
Shrink images to fit page — If the submitted form includes images, select this checkbox if you want to fit the images within the page of the output file.
Attributes Mapping Subtab
The attributes mapping subtab allows you to map a value filled out in a form to an attribute in 12d Synergy. You can do the mapping using the procedure mentioned below.
Click the
button.
The Select Question window is displayed.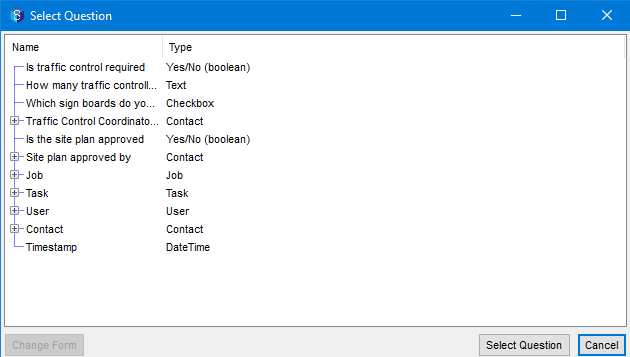
Select the attribute or question, the answer of which is mapped to an existing 12d Synergy attribute.
If you have included a subform in your form, then the responses to it cannot be mapped as attributes.
Click the Select Question button.
The Find an Attribute window is displayed. All the 12d Synergy attributes are displayed.Select the 12d Synergy attribute to which you want to map the question.
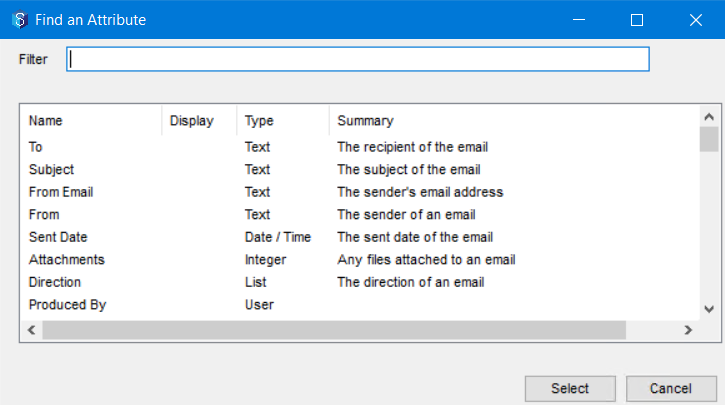
The selected question and the 12d Synergy attribute to which its answer is mapped are displayed in the Attributes Mapping subtab.
.png)
Permissions Subtab
You can set the permissions for users who are allowed to fill out the form.
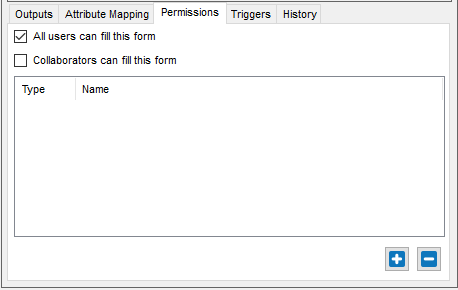
Select the All users can fill this form checkbox to enable any user to fill out the form.
Select the Collaborators can fill this form checkbox to enable collaborators to fill out the form.
If you want to explicitly specify which users should be able to fill out the form, then add the user(s) using the
button.
Triggers Subtab
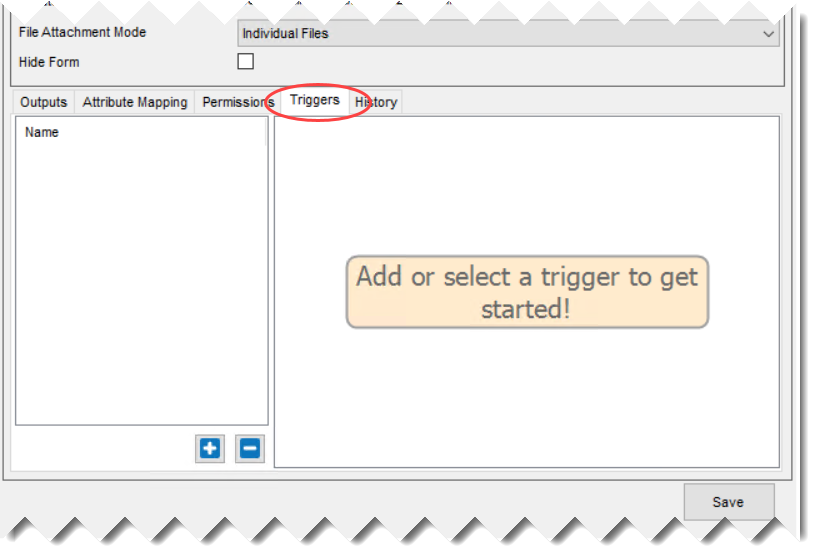
You can define a trigger for when a form is submitted. Click the button under the Name panel in the Triggers subtab.
The Edit a trigger window is displayed.
The Type list has only one trigger option as displayed above. Only one triggering action can be defined in the context of forms, i.e., when a form is completed (filled out and submitted). Defining a trigger on a form is the same as defining a trigger for any job or folder in 12d Synergy. Please refer to the steps from no.6 in How to Define a Trigger procedure. Once a trigger is defined, it is displayed in the Triggers subtab.
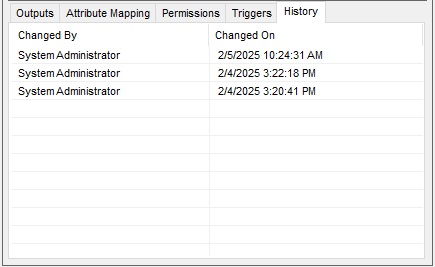
History Subtab
This subtab displays the revision history of the selected form.
Click the Save button.
The form is defined and saved.
All forms available for a job are displayed in the 12d Synergy Client application > job view > Forms tab.
.png)
1.2. How to Delete a Form
Deleting a form includes deleting the form definition and all the form fills. However, the output file is NOT deleted and is preserved for future reference. Deleting a form is different from hiding a form.
In a nutshell, the difference between deleting a form and hiding a form is mentioned below.
Forms can be deleted at two levels.
Global level — A global form can be deleted by the 12d Synergy Administrator from the 12d Synergy Administration application > Forms tab > Form Definitions tab.
Job level — A job form can be deleted by the Job Administrator or the 12d Synergy Administrator from the 12d Synergy Client application while editing a job from Forms tab > Job Forms tab in the Edit a job :<job name>.
Click the
.png) button displayed under the list of forms as shown in the above images.
button displayed under the list of forms as shown in the above images.
The following warning message is displayed.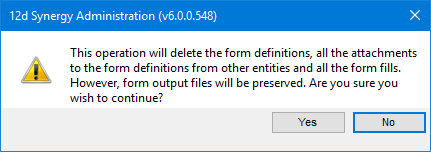
Click the Yes button.
The selected form is removed from the list of forms displayed in the Form Definitions tab and Job Forms tab, respectively.Click the Save button.
The form is now deleted permanently and all its form fills displayed in the 12d Synergy Client application are also deleted.If you omit/neglect to click the Save button, the deletion procedure is not complete.
1.3. How to Enable CAPTCHA
A CAPTCHA is a test to prove your human identity. 12d Synergy provides you with the latest version of this feature when you work with Anonymous forms. This means that CAPTCHA can be enabled for forms accessed via a link or QR code by non-12d Synergy users.
Your 12d Synergy Administrator can enable this feature.
In the 12d Synergy Administration application, select the Forms tab > Settings tab.
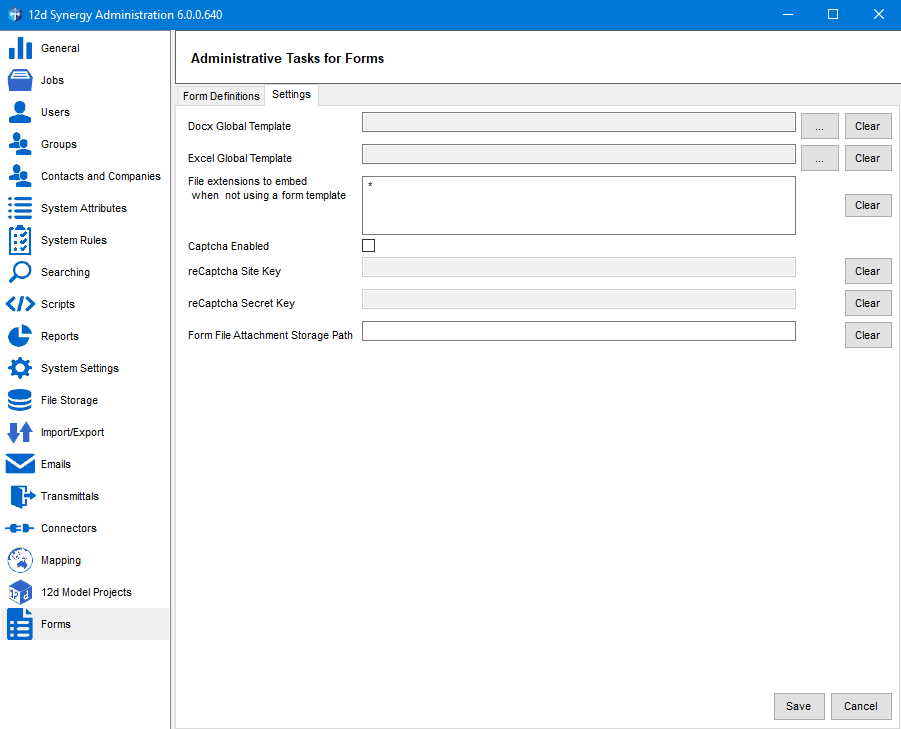
Select the Captcha Enabled check box.
The reCaptcha Site Key and reCaptcha Secret Key boxes are enabled.Enter the reCaptcha Site Key and reCaptcha Secret Key in their respective boxes.
Click the Save button.
The following prompt is displayed.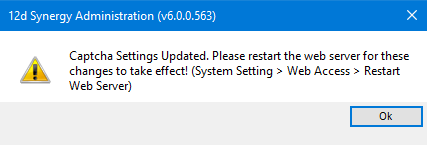
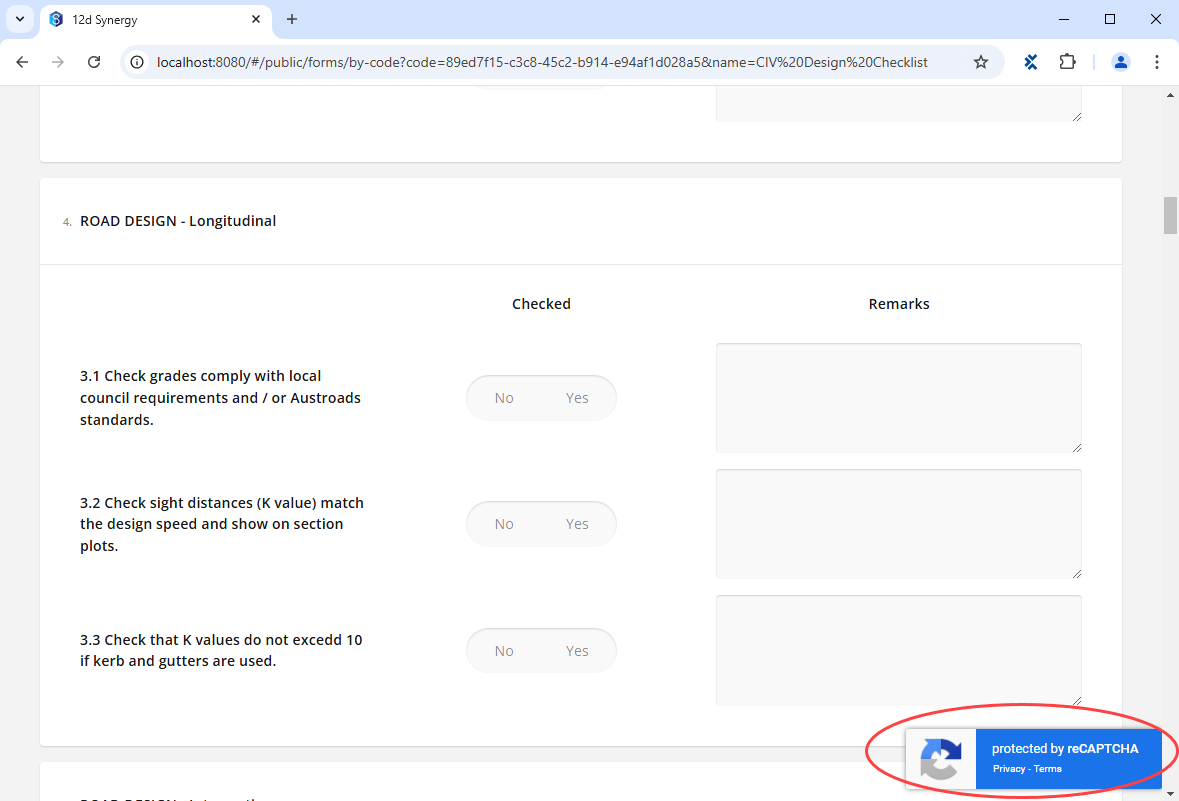
The Captcha feature is enabled for all the Anonymous forms that have been defined in your 12d Synergy system. As the message in the prompt says, you will have to restart the Web Server.When filling out an anonymous form, a label saying that the form is protected by reCaptcha is displayed.
Once the form is filled and submitted, it gets displayed in the 12d Synergy Client application > job view > Forms > My Anonymous Forms tab. Forms which are protected by Captcha do not need to be reviewed by a 12d Synergy user. They are directly submitted.Note that the CAPTCHA window is displayed only if any suspicious activity is observed. The form filler is then asked to prove his/her human identity by answering some question(s).