Admin Content
You must have a valid license for 12d Synergy to run. A license allows you to create a fixed number of users and may contain a number of additional modules, which unlock other features of the software. Some of these modules may be user bound, such as the Advanced Data Management module. User bound modules unlock features only for the users that are given access to that module.
If there is an issue with the license, the 12d Synergy Server will still start but will prevent most operations until the problem is corrected. You can check the 12d Synergy Server log for more details about the problem.
Please contact the 12d Synergy Support team if you face any licensing issues.
1.1. How to View your Current License Details
In the 12d Synergy Administration application, select the General tab.
Select the License tab > Current License tab.

The following license details are displayed:
Details such as the expiry date, license mode and the total number of users that can access the 12d Synergy applications with your current license
The modules that you have access to with your current license
The number of users applied to each module, if it is a user based module
1.2. How to Upload a New License
When you purchase a new license from 12d Synergy, you can install it using the following procedure.
In the 12d Synergy Administration application, select the General tab.
Select the License tab > Upload a new License tab.
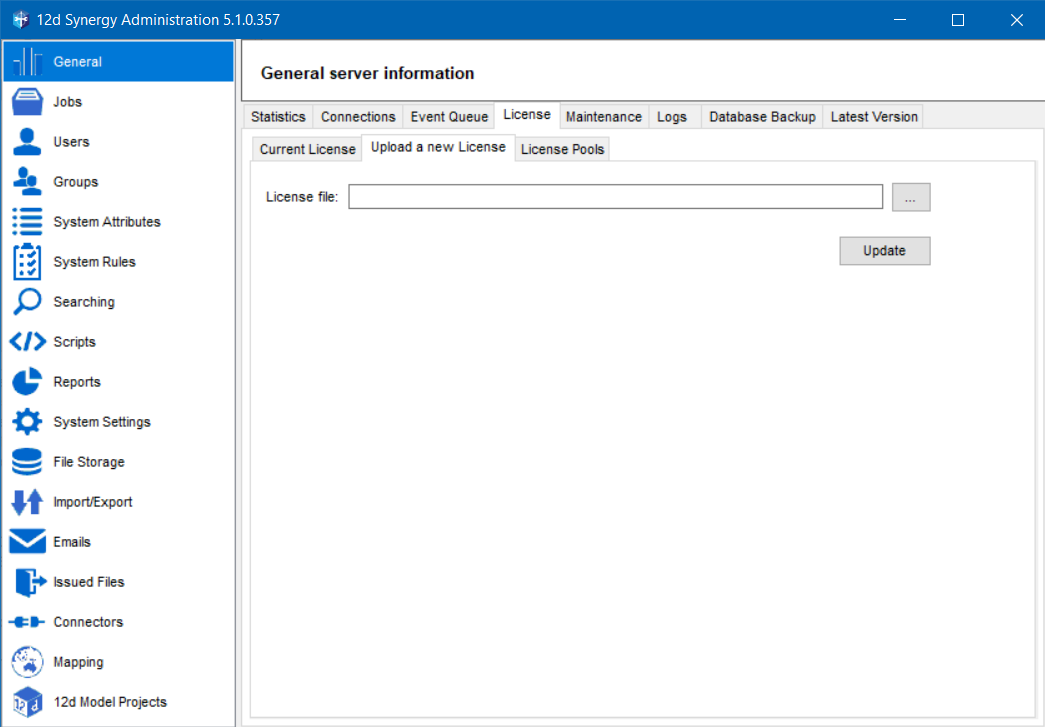
Click the
 button against the License file box to browse and select the newly purchased license you want to install.
The selected license file is displayed in the License file box.Click the Update button.
The new license is installed and is now available for use. You need not restart the service.
1.3. All About Licenses
License | Features |
|---|---|
Data Management | This license enables you to work with only files and folders in 12d Synergy and also gives you access to the 12d Synergy plugin in the Microsoft Outlook. |
Advanced Data Management | This license enables you to work with 12d Model Data Management, Managed folders and CAD files along with files and folders in 12d Synergy. It also gives you access to the 12d Synergy plugin in the Microsoft Outlook. |
Email Only | This license enables you to use the 12d Synergy plugin in the Microsoft Outlook application. |
File Replication Servers | This license enables you to configure and use File Replication Servers. |
Connector - <software product / application> | This license enables your server to communicate with a number of third-party products and applications like Total Synergy or Abtrac. Connectors are primarily used to pull data down from external systems, such as information about Jobs, Contacts and Companies that might be maintained in other products. |
Workflow | This license enables you to work with the Workflows feature of 12d Synergy. It is a site-wide license. |
Export | This license enables you to export or import data between 12d Synergy servers. |
12d Synergy Web | This license enables you to use the 12d Synergy Web and Mobile Apps. These are not stand-alone applications. They can be used on a secondary device for quick access of frequently used actions from the 12d Synergy Client application. This license is a site-wide license. |
Collaborators | This license enables you to access the 12d Synergy Mobile app and 12d Synergy Web App as a third-party user with read-only access to selected jobs or folders. This license also defines the number of collaborators you can have on your system. |
1.4. How to Add a User to a Module
Not all modules require users to be added to them. Some modules, like the FRS, apply to the whole system.
In the 12d Synergy Administration application, select the General tab.
Select the License tab > Current License tab.
From the Available Modules section, select the module to which you want to add a user.
The users availing the license for the selected module are displayed in the adjacent User list..png "image(44).png")
The and
and  buttons are displayed only when you have uploaded a valid license for use.
Click the
 button.
The Select users window is displayed.

Click the
 button.
The Find a User window is displayed.Search for a user using any or none of the following parameters:
Quick find – any search string from the User’s first or last name
First name – first name of the user
Last name – last name of the user
Email – email address of the user
Other attributes – to search for a user based on the user’s attributes. You can add attributes for the search using the
 button.
Click the Find button.
The list of users matching the given search parameters is displayed.Select the required user and click the Select button.
The selected user is added to the Select Users window.Select the user in the Select Users window and click the Use button.
The user is added to the list of users in the User list adjacent to the Available Modules panel. This means that the newly added user is now given access to the module selected in the Available Modules panel.You can alternatively add a module to a user while creating a user using the 12d Synergy Administration application > Users tab > Create tab > Standard tab > Modules tab.
To remove the access of a user to a module, select the module in the Available Modules panel, select the user in the adjacent User panel and click the
 button.