One of the unique features of 12d Synergy is its support for managed folders. A managed folder contains files and/or subfolders, and if you want to update it, the entire folder must be checked out. This means the entire managed folder must be checked out to modify any of its constituent files or folders.
You can check out and check in a managed folder only in the 12d Synergy Client app. You cannot do so using the 12d Synergy Web and Mobile Apps.
A managed folder is displayed as  . The blue-coloured folder, with its name in green font, indicates that it is a managed folder.
A managed folder can also contain sub-managed folders. If any updates are needed in the sub-managed folders, the parent-managed folder must be checked out.
1.1. How to Create a Managed Folder
You cannot create a managed folder from the 12d Synergy Web application.
You cannot create a subfolder under a managed folder.
If you mark a parent folder as a managed folder, its subfolders are automatically marked as managed folders too.
1.1.1. From the 12d Synergy Administration application
In the 12d Synergy Administration application, select the Jobs tab.
Select the Find tab and search for the job whose folders you want to define.
Click the Find button.
The Edit Jobs window is displayed.Select the required job and click the Edit button.
The Job Tree window is displayed.Right-click the job and select the Create Folder option.
The Create a Folder window is displayed.
1.1.2. From the 12d Synergy Client application
In the 12d Synergy Client application, do one of the following:
Right-click the required job or folder from the tree structure under which you want to create a new managed folder, and select the New > Folder option.
The Create a Folder window is displayed.Do the following to convert an existing folder into a managed folder.
Right-click an existing folder from the tree structure that you want to convert to a managed folder and select the Edit Folder option.
The Edit a Folder: <folder name> is displayed..bmp)
For information about other details displayed in the above window, please see here.
Select the General > General tab.
Select the Is a managed folder check box and click the Save button.
The selected folder is converted to a managed folder.
1.1.3. Create a Managed Folder
In the Create a Folder window, do the following:
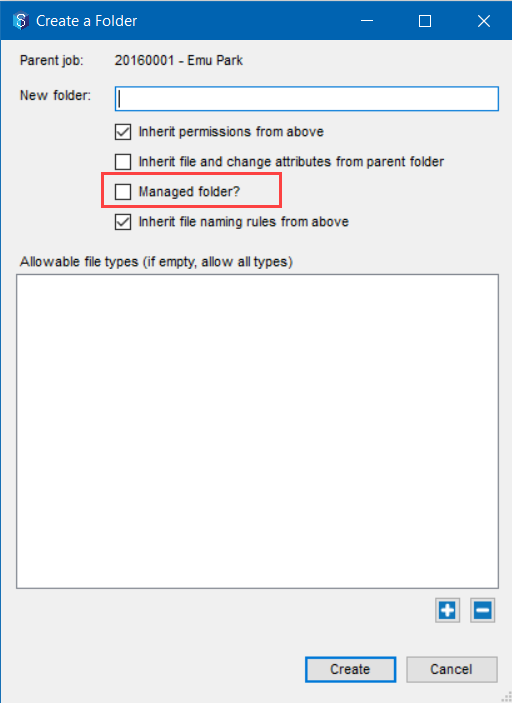
Enter a name for the new folder in the New folder box.
Select the Managed Folder? checkbox.
For information about other details displayed in the above window, please see here.
Click the Create button.
A new managed folder is created.
You can also create managed folders from a managed folder template.
1.2. How to Check Out a Managed Folder
If the managed folder you are trying to check out is a sub-managed folder of a parent managed folder, then the entire parent managed folder has to be checked out. This will check out all the sub-managed folders.
In the 12d Synergy Client application, select the managed folder that holds the files or subfolders you want to work on.
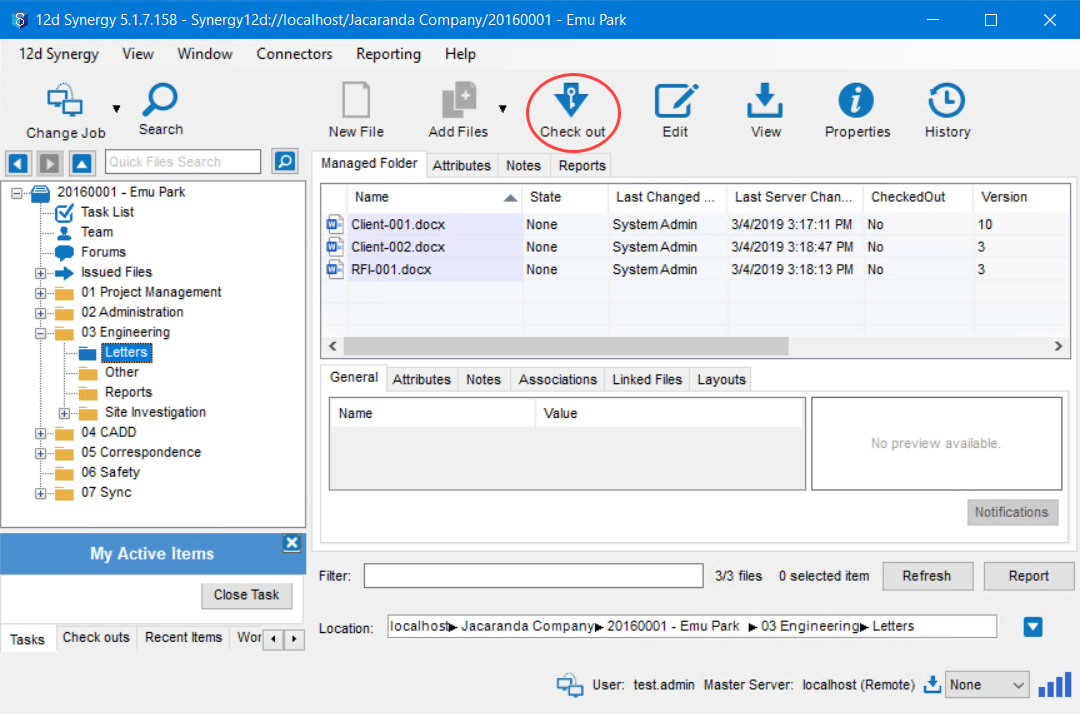
Click the Check Out
 icon in the quick access toolbar.
All the files or subfolders in the managed folder are checked out. You can now open an individual file from the managed folder and update it.In the 12d Synergy Administration application > System Settings tab > General tab, there is a setting ‘Default file double-click operation’. You can select any of the following options for this setting.
Prompt user for checkout
Check out and open
Open read-only
If you select the Check out and open option and double-click any file in a managed folder in the 12d Synergy Client application, the entire folder is checked out, and the selected file is opened.
1.3. How to Check in a Managed Folder
If the managed folder you are trying to check in is a sub-managed folder of a parent managed folder, then the parent managed folder has to be checked in. This will check in all the sub-managed folders.
If the managed folder you are trying to check in is a subfolder of a parent managed folder, then the parent managed folder has to be part of it.
In the 12d Synergy Client application, select the managed folder that you want to check in.
.jpg)
Click the tiny arrow beside the Check in
 icon in the quick access toolbar.
The following two options are displayed.Check-in
Upload and keep check-out
Do one of the following:
Click the Check in option to check in the managed folder (which includes checking in all the files or subfolders of that folder). Selecting this option will check in the entire managed folder, and if you want to work on its files (or subfolders) again, you will have to check out the entire managed folder.
Click the Upload and keep check out option to upload all the updated files into 12d Synergy, but continue to keep the folder (and its files or subfolders) in the checked-out state. Selecting this option uploads all files (or subfolders) in the managed folder to 12d Synergy, but they remain in the checked-out state. This means that you can continue to work on the files.
The Check In Managed Folder window is displayed..bmp)
This window summarises all the changes made to the managed folder as highlighted above.If no files or subfolders have been updated since the last check-out, 12d Synergy prompts you to confirm whether you still want to proceed with the check-in.
Enter a valid description in the empty box to the right of the Preview of changed data section and click the Submit button.
Based on the option you have selected in Step 3 of this procedure, the files or subfolders are either checked in or uploaded to the 12d Synergy system.
If any files (or folders) are added to or deleted from a managed folder, the change does not reflect immediately in the managed folder view of the 12d Synergy Client application. Only after you have checked in the managed folder, the Managed Folder view is updated with the changes.
1.4. How to Add or Delete a File (or a Folder) in a Managed Folder
In the 12d Synergy Client application, select the managed folder that you want to update and check it out.
Now, right-click the same managed folder from the tree structure and select the Explore option.
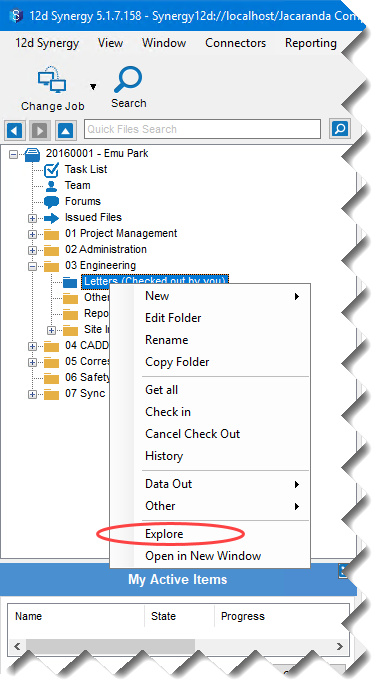
The selected managed folder is opened in Windows Explorer.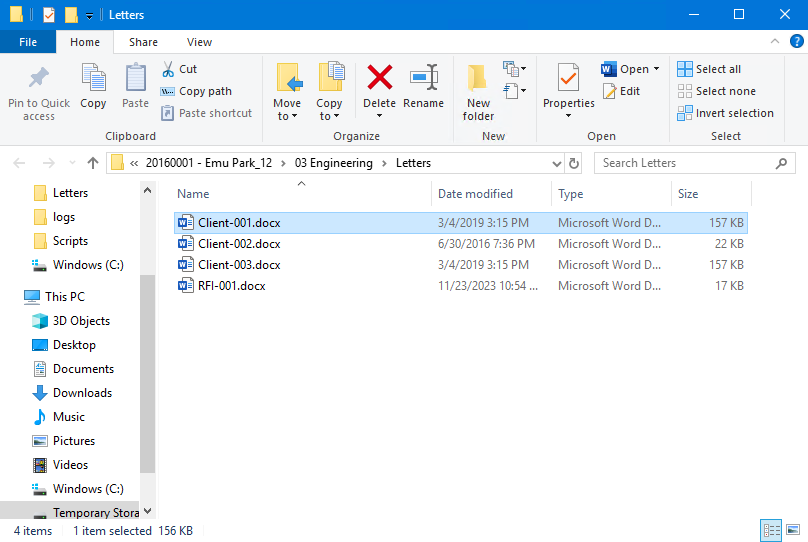
Do any of the following:
Select the file(or folder) you want to delete and delete it.
Move, drag or copy a file (or folder) into this folder.
Create a new file (or folder) in this folder (right-click in the folder and select the New option).
Close the Windows Explorer.
Check in the managed folder.
The Managed Folder view is updated with the new additions/deletions..bmp)
If any files(or subfolders) are added to or deleted from a managed folder, the change does not reflect immediately in the managed folder view of the 12d Synergy Client application. Only after you have checked in the managed folder, the Managed folder view gets updated with the changes.
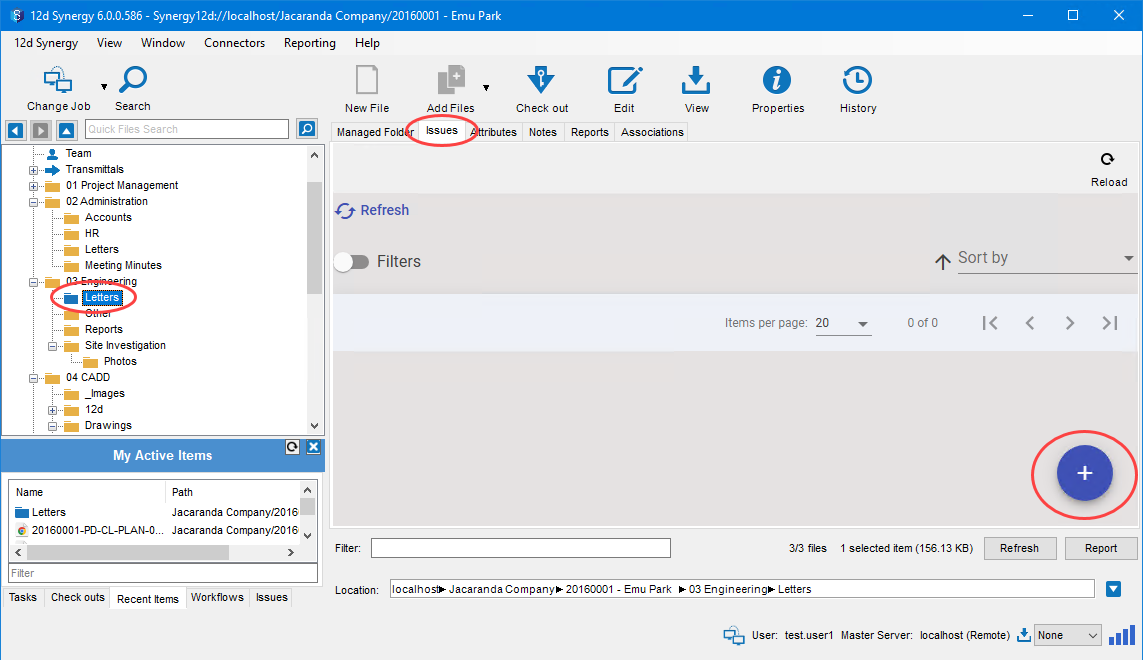
1.5. How to Create Issues in a Managed Folder
If you are a 12d Synergy Administrator, by default, you have permission to create an issue ticket.
However, if you are a user, you will need the following explicit permissions to create issue tickets.

If you have the necessary permissions, you can create an issue ticket in a managed folder in its Issues tab.