Admin Content
Job Naming Rules help you control how jobs and sub-jobs can be named at the time of their creation. A job naming rule can be made up of several components such as attribute values, user name, parent job name, counters, free text, fixed string value, etc. You can select these components based on how you want to name your jobs using the Job Builder.
Job Naming Rules can be defined at two levels; system-level and job-level. The system-level job naming rules are defined in the 12d Synergy Administration application and are applied by default to all jobs (top-level and sub-jobs) across your system. However, if you create a job-level job naming rule in the 12d Synergy Client application, then this rule overrides the system-level job naming rule only for the job (sub-job) you have selected.
1.1. How to Create a Job Naming Rule
1.1.1. From the 12d Synergy Administration Application
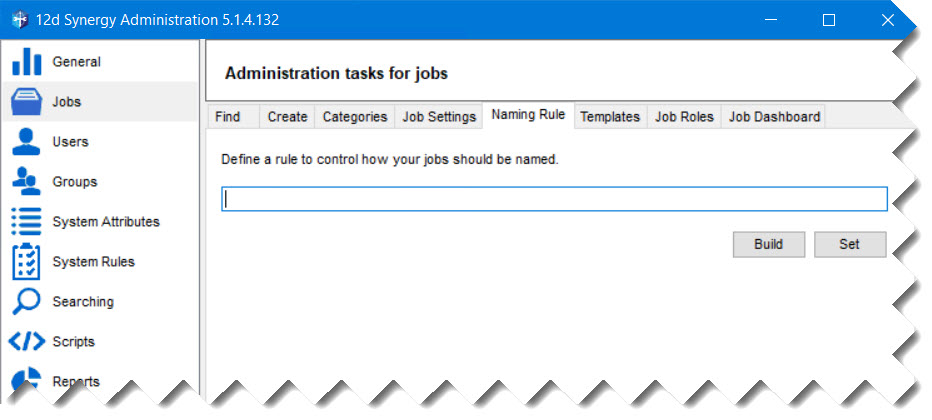
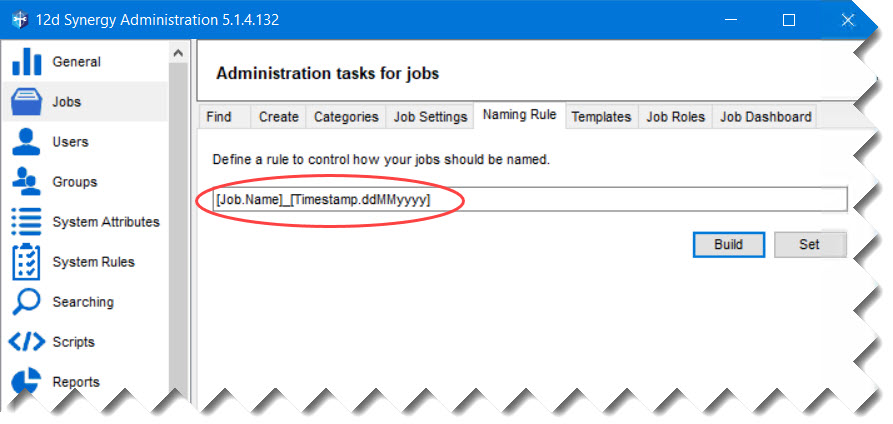
When a job naming rule is created in the 12d Synergy Administration application, the rule applies to all the jobs created in your system.
In the 12d Synergy Administration application, select the Jobs tab > Naming Rule tab.
1.1.2. From the 12d Synergy Client Application
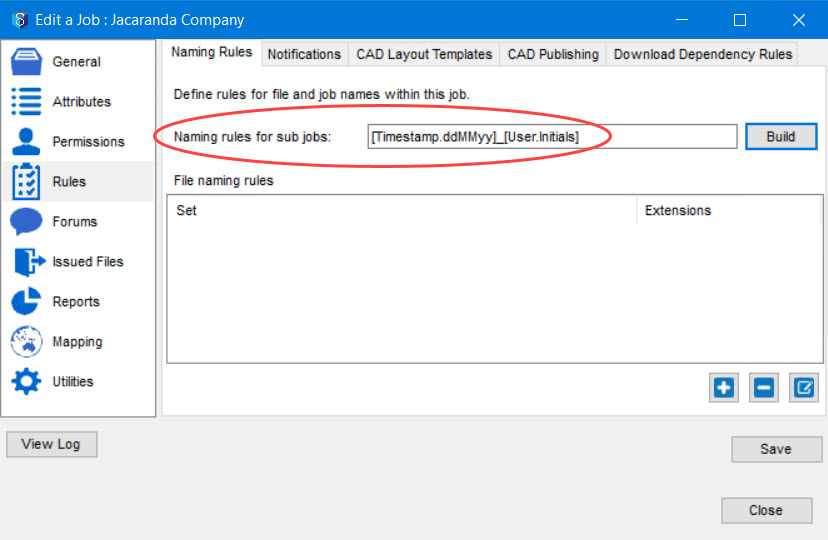
When a job naming rule is created for a job (or its sub-job), the rule applies to all the sub-jobs created under that job. If this rule is not created, and if there is a system-level job naming rule created in the 12d Synergy Administration application, then the latter is applied to all jobs being created.
- Right-click the job for which you want to create the job naming rule, and select the Edit option.
The Edit a Job:<job name> window is displayed. - Select the Rules tab > Naming Rules tab.
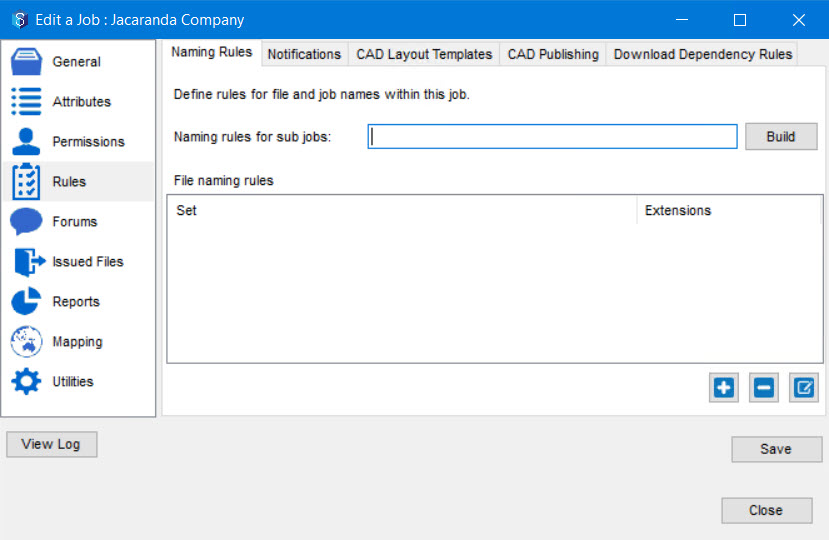
- Create the job naming rule.
1.1.3. Creating a Job Naming Rule
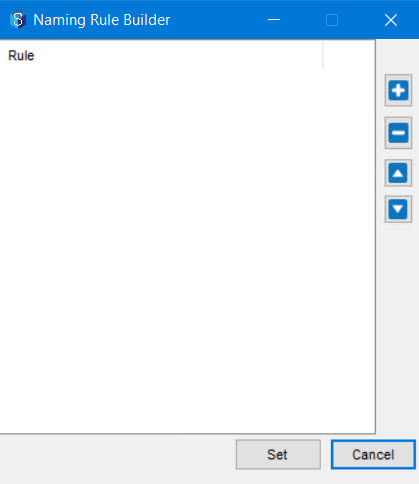
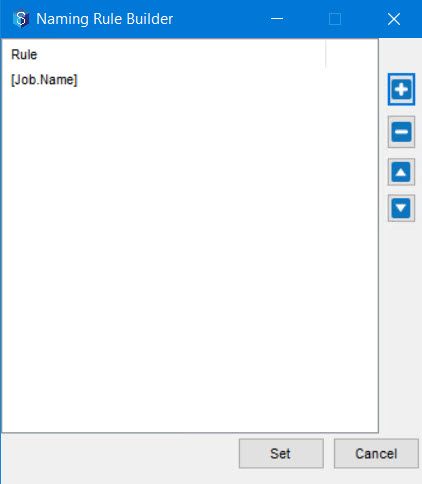
Click the Build button.
The Naming Rule Builder prompt is displayed.
Click the
 button.
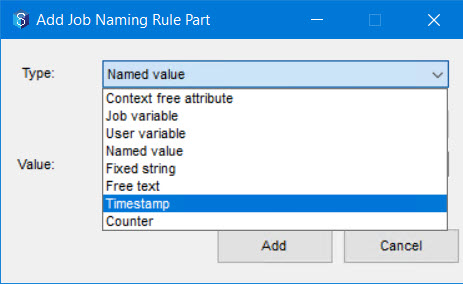
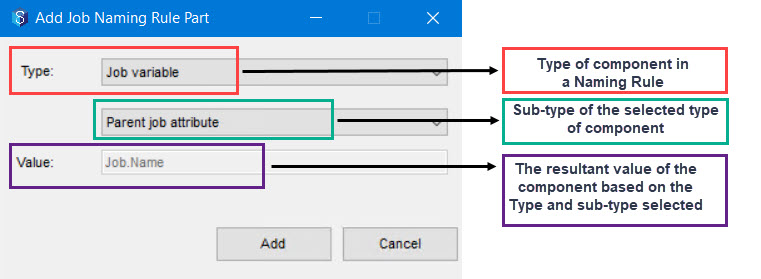
The Add Job Naming Rule Part prompt is displayed.
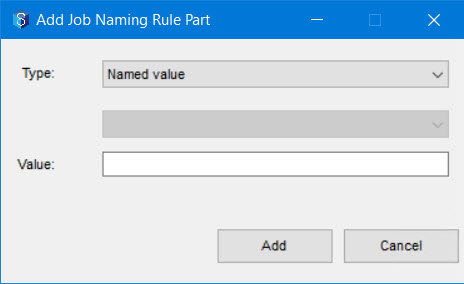
From the Type list, select the required type of component that you want to include in the job name.
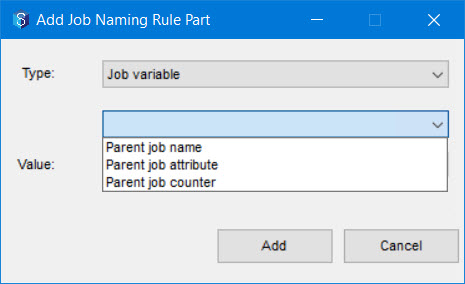
If the component selected in step 3 of this procedure has a sub-type, then those sub-types are displayed in the list below the Type list. Select the required sub-type of the job that you want to include in the job name.
Refer to the Naming Rule Parts section below for more details about the naming rule components.
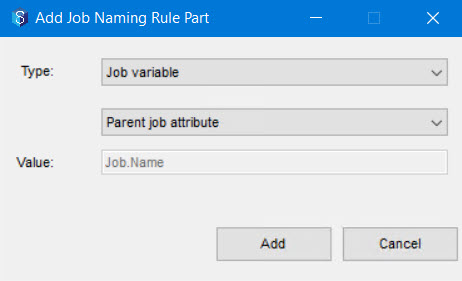
Based on your selections in steps 3 and 4 of this procedure, one of the following happens in the Value box.
The value (syntax) of the naming rule part is calculated and displayed.
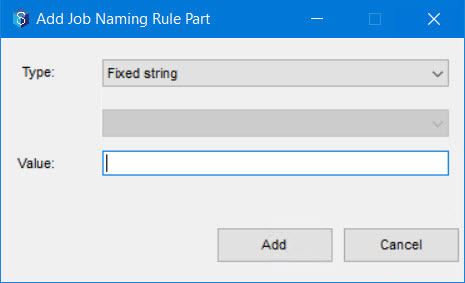
If user input is required for the type and/or sub-type that you have selected, then enter the required value in the Value box.
Click the Add button.
The naming rule part is displayed in the Naming Rule Builder prompt.
Repeat steps 2 to 7 to add more components to the naming rule to complete it as per your requirement and then click the Set button.
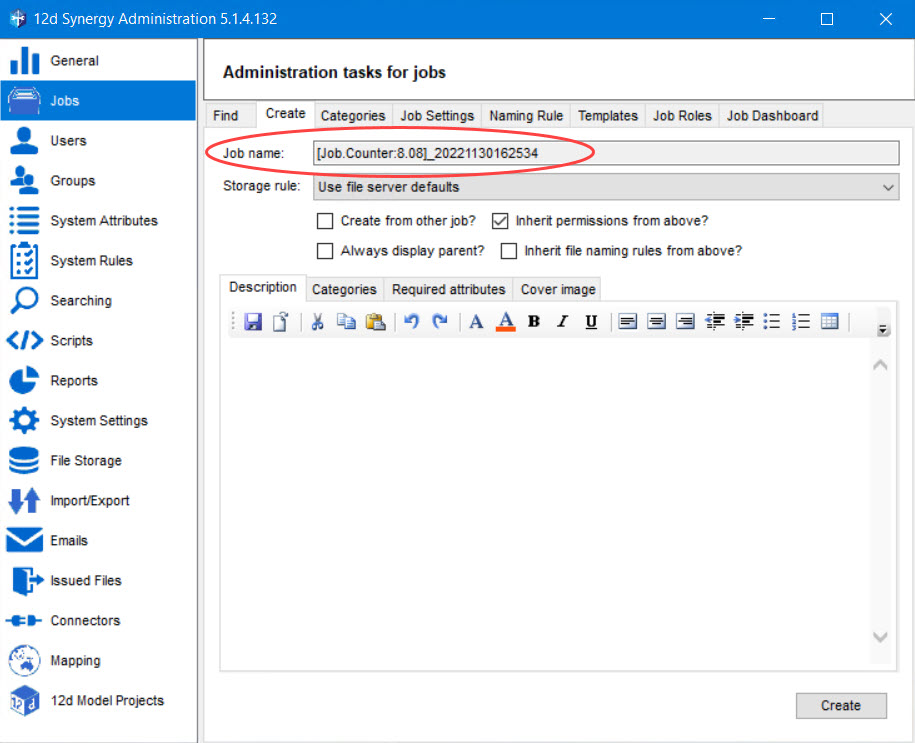
Based on the application that you are using for creating the job naming rule, the created rule is displayed as follows:In the 12d Synergy Administration application
In the 12d Synergy Client application
Click the Set button in the 12d Synergy Administration application or the Save button in the 12d Synergy Client application.
The job naming rule is set.
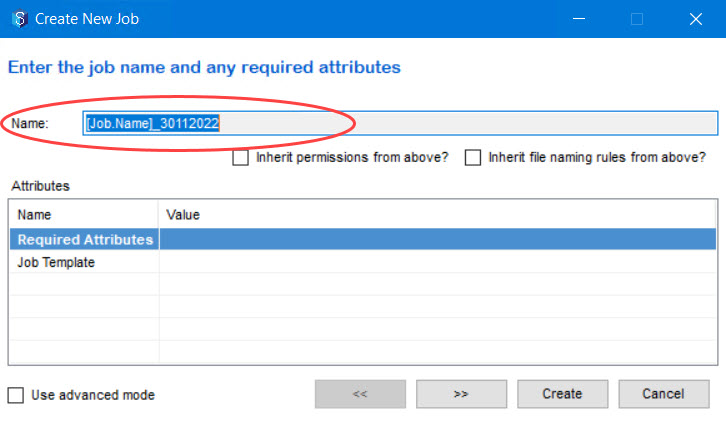
Depending on the application you are using to create a job or a sub-job, the job naming rule that you have created is displayed as follows:In the 12d Synergy Client application, right-click a job > New > Sub job option or click the New Sub Job icon
 button.
In the 12d Synergy Administration application select the Jobs tab > Create tab.
1.2. Naming Rule Parts
The Job Naming Rule is made up of the following components:
Type of component
Sub-type of the selected type of component
Value of the component based on the Type and sub-type selected
The following table displays the characters or symbols that CANNOT be there in job and folder names.
? question mark | / forward slash | < left angle bracket |
" double quotes | : colon | > right angle bracket |
| pipe | \ back slash | * asterisk |
An attribute value can have special characters, but when it is included in a job naming rule, only ., -, _ and <space> are permitted.
Type of Component | Sub-type of the Component, if applicable | Value of the component | Description | Syntax |
|---|---|---|---|---|
Attribute | NA | The value of the component is displayed based on the selected Type and/or Sub-type of the component. | In the Select an Attribute window, select the required attribute from all the attributes in the system. The value of this attribute is added to the name of the job/sub-job. | [AttributeName] |
Parent Job Variable | Parent job name | The value of the component is displayed based on the selected Type and/or Sub-type of the component. | The name of the parent job is included in the name of the job/sub-job. | [Job.Name] |
Parent job attribute | The value of the component is displayed based on the selected Type and/or Sub-type of the component. | Select a job attribute from the list of job attributes displayed in the Select an Attribute window. The value of this job attribute is added to the name of the job/sub-job. | [Job.Attribute Name] | |
Parent job counter | Enter a name for the counter. | You can enter the number of digits in the counter, in the Zero Padding (Total number of digits): box and the name of the counter in the Value box. | [Job.Counter:Zero Padding.Counter Name] | |
User Variable | Creating user name | The value of the component is displayed based on the selected Type and/or Sub-type of the component. | The name of the user creating the job/sub-job is included in the name of the job/sub-job. | [User.Name] |
Creating user initials | The value of the component is displayed based on the selected Type and/or Sub-type of the component. | The initials of the user creating the job/sub-job is included in the name of the job/sub-job. | [User.Initials] | |
Creating user attribute | The value of the component is displayed based on the selected Type and/or Sub-type of the component. | You can select a contact attribute from the list of attributes displayed in the Select an Attribute window. The value of this contact attribute is added to the name of the job/sub-job. | [User.Attribute Name] | |
Named Value | NA | Enter any name of your choice. The name can include alphabets, special characters, and numbers. | The value you enter in the Value box is a name for a masked value. You can also choose to define the format of named value by using the Mask. To do so, click the ellipsis | (Name) |
Fixed String | NA | Enter the string of characters that you want to have in the name of the job. | The entered fixed string of characters become a part of the job/sub-job name when a job/sub-job is created. It can include alphabets, numbers and delimiters such as _ , . , - and <space>. | Text |
Free text | NA | NA | You can add a name of your choice to the job/sub-job name when creating the job/sub-job. It can include alphabets, numbers and delimiters such as _ , . , - and <space>. | * |
Timestamp | NA | The time stamp format that you create to add to the job name. | To create the required timestamp, click the ellipsis | [Timestamp.Timestamp format string] |
Counter | NA | Enter a name for the counter. | You can enter the number of digits in the counter, in Zero Padding (Total number of digits): box and the name of the counter in the Value box. | [Job.Counter:Zero Padding.Counter Name] |
 button and then double-click the required components of the mask from the Build Naming Rule Mask window. Then click the Add button to add the selected format to the Mask box. When a job/sub-job is created, you are prompted to enter the values for the mask and that value is included in the job/sub-job name.
 button and then double-click the required components of the timestamp from the Build Naming Rule Time Stamp window. Then click the Add button to add the selected format to the Value box.
 To understand zero padding, say if you enter 4 in the Zero Padding (Total number of digits): box, then it means that the counter's value is prefixed by zeroes to make it a 4-digit number like 0001.
Attribute types such as list, date/time, text, user, company, contact, etc. need you to enter a value for it at run time. So if you select such an attribute for the job naming rule, then you will be prompted to enter its value when you are creating a job/sub-job.