Admin Content
1.1. File Set Types
Transmittals are logically categorised into file set types. For instance, you can have a file set type for each Client that you work with or for each department in your company. You can create file set types that apply to all jobs (global) from the 12d Synergy Administration application and job-specific file set types from the 12d Synergy Client application.
1.1.1. How to Create a File Set Type
1.1.1.1. Global File Set Types
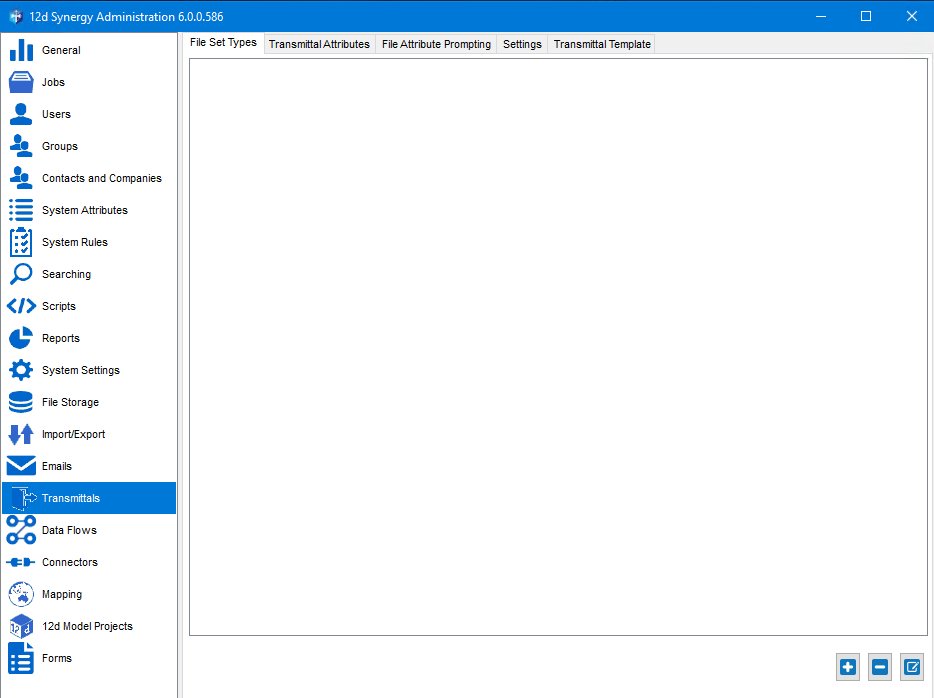
In the 12d Synergy Administration application, select the Transmittals tab > File Set Types tab.
1.1.1.2. Job-specific File Set Types
In the 12d Synergy Client application, select the required job from the tree structure.
Right-click the required job and select the Edit option.
The Edit a Job: <Job name> window is displayed.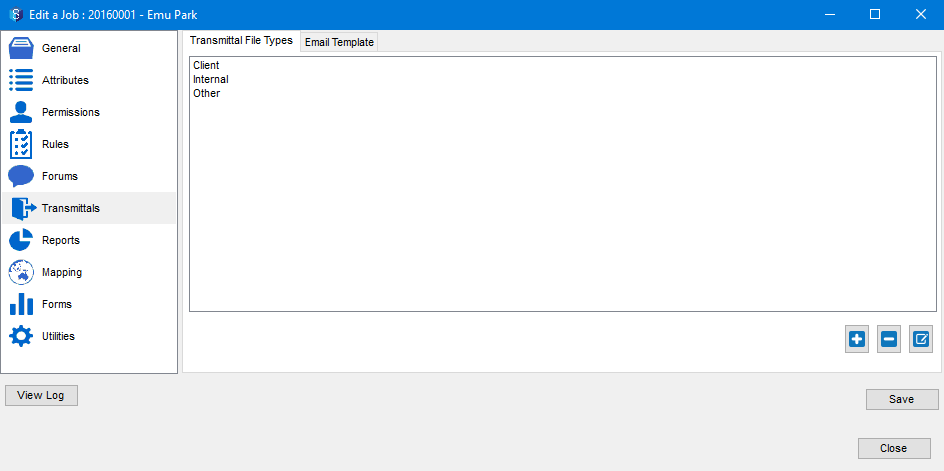
Select the Transmittals tab > Transmittal File Types tab.
1.1.1.3. Create a File Set Type
Click the
 icon.
icon.
The Create/Edit a file set type prompt is displayed.
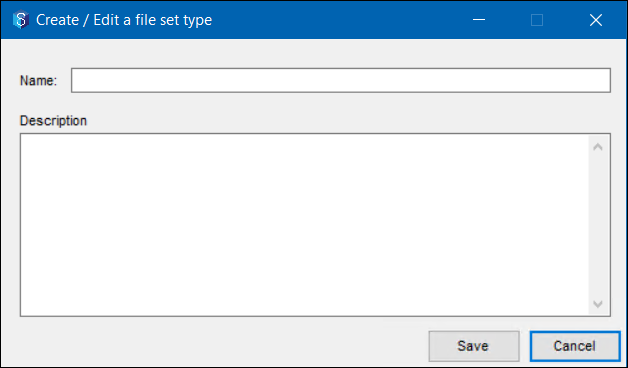
Enter a name for the file set type in the Name box.
You can enter a brief description of the file set type in the Description box.
Click the Save button.
The file set type is created and is displayed in the File Set Types tab.Click the Save button.
The file set type is created and saved.
1.2. File Sets
A transmittal is a package of files created under a file set type. (Without a set type, a transmission package cannot be created) The files in the transmittal can be updated/modified to create the next version of the transmittal. You can then choose to transmit any version of the transmittal based on your requirements. You can create a transmittal from the 12d Synergy Client application. For more details about creating a transmittal, click here.
1.3. Transmittal Attributes
Transmittal attributes allow you to capture information about the transmittals. You can define any number of attributes and the values for these attributes will be filled out when the transmittal is being transmitted.
1.3.1. How to Define Transmittal Attributes
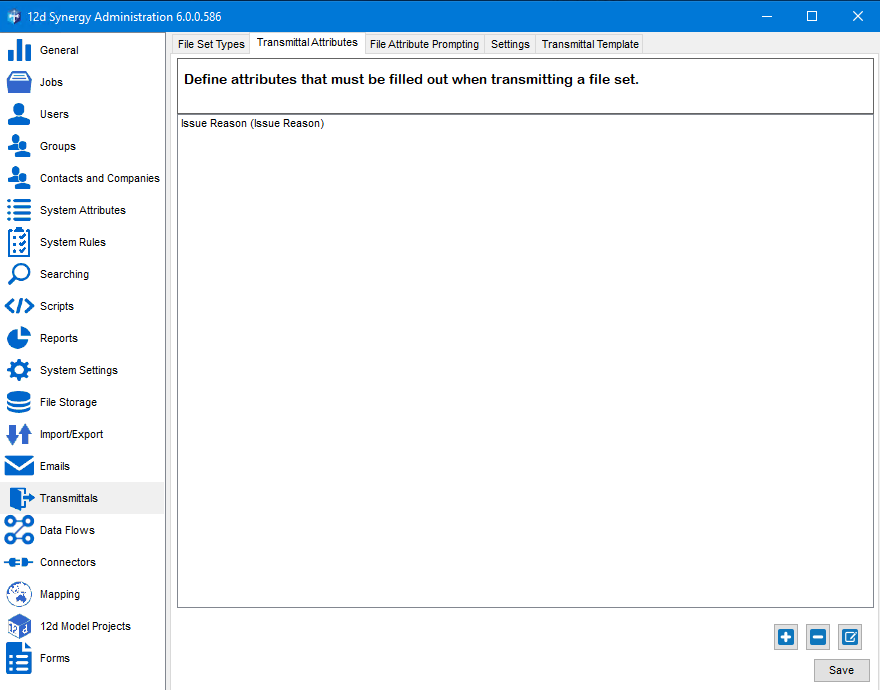
In the 12d Synergy Administration application, select the Transmittal tab > Transmittal Attributes tab.
Click the
 icon.
icon.
The Find an Attribute prompt is displayed.
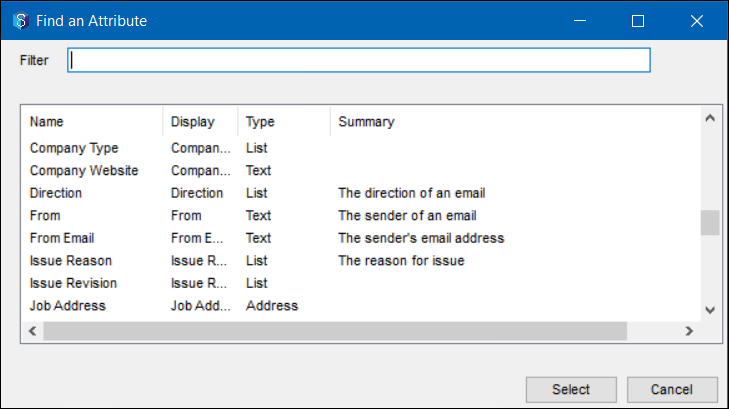
Do one of the following:
Select the required attribute from the list of attributes displayed.
Enter the name or search string of the required attribute in the Filter box and then select the required attribute from the list of attributes displayed.
Click the Select button.
The selected attribute is displayed in the Transmittal Attributes tab.Click the Save button.
The transmittal related updates are saved.
1.4. File Attributes Prompting
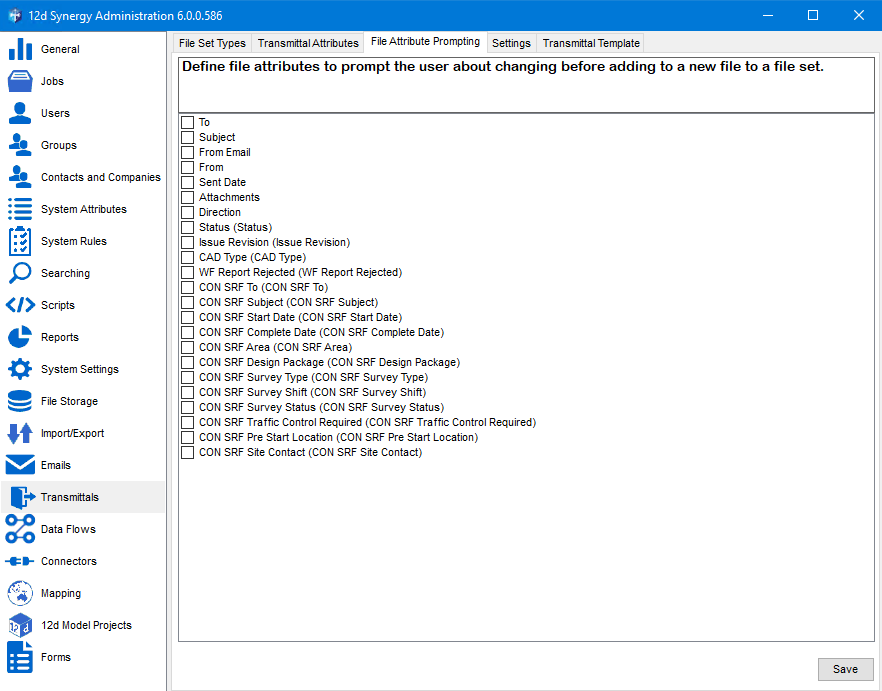
There might be instances when you need to use some file or file change attributes when adding or modifying a transmittal. The user will be prompted to enter the values for these file change attributes while transmitting the file set.
You can select these file attributes from the list of attributes displayed in the 12d Synergy Administration application > Transmittals tab > File Attribute Prompting tab.
1.5. Transmittal File Settings
You can customise the transmittal settings, such as the file name, transmittal name, and other similar settings. The names of the files or transmittals and the subject of the emails can have both constants and variables. The constants are just mentioned without any braces ({ } brackets), while the variables are mentioned within braces ({ } brackets). Some of the variables that can be used for these settings are listed below.
For example,
Transmitted [File.Name] – [File.Version] will transmit a file with the word Transmitted followed by the name of the original file and then its version number.
So, for a file with the name Plot, Transmitted Plot-1.pdf will be the name of the transmittal.
The word Transmitted in the file name is a constant, while the rest of it is the value of the variable used.
Variable | Description |
|---|---|
[Timestamp] | The time of the transmittal |
[File.Name] | The name of the file being transmitted |
[File.Version] | The version of the file being transmitted |
[File.AttributeName] | Any file attribute or file change attribute |
[FileSet.Name] | The name of the file set being transmitted |
[FileSet.Created] | The time this file set was created |
[FileSet.CreatedBy.FirstName] | The first name of the creator of the file set |
[FileSet.CreatedBy.LastName] | The last name of the creator of the file set |
[FileSet.CreatedBy.Name] | The full name of the creator of the file set |
[FileSet.CreatedBy.Initials] | The initials of the creator of the file set |
[Job.Name] | The name of the job to which this file set belongs |
[Job.AttributeName] | Any attribute on the job |
1.5.1. How to Configure the Transmittal Settings
In the 12d Synergy Administration application, select the Transmittals tab > Settings tab.
In the Templates for transmitted/exported files section, do the following:
Enter the required format for the name of the files to be transmitted in the File name template box.
Select one of the listed options for the File name template options list. These options relate to the action to be taken when encountering missing transmittal attributes.
Enter the name for the transmittal in the Transmittal name template box.
Enter the name for the file set package to be transmitted in the Set name package template box.
Enter the subject for the email sent via Outlook informing the recipient of the transmitted file package in the Subject for transmittal by Outlook box.
If you select the via Email (Server) option for transmitting the files in the 12d Synergy Client application, you will be prompted to enter the subject while transmitting the package in the Email files window.
Select the Set “Include transmittal cover sheet” on by default checkbox to include the transmittal cover sheet in the email informing about the transmitted file package.
Select the Exclude empty columns from the files list in transmittals checkbox to display only those columns that have values in the transmittal.
Click the Save button.
The settings are saved.
1.6. Transmittals
A transmittal is the summary of a transmitted file set and is displayed once the file set has been transmitted. The template of a transmittal is customisable.
1.6.1. How to Design a Transmittal Template
In the 12d Synergy Administration application, select the Transmittals tab > Transmittal Template tab.
The existing template for transmittals is displayed.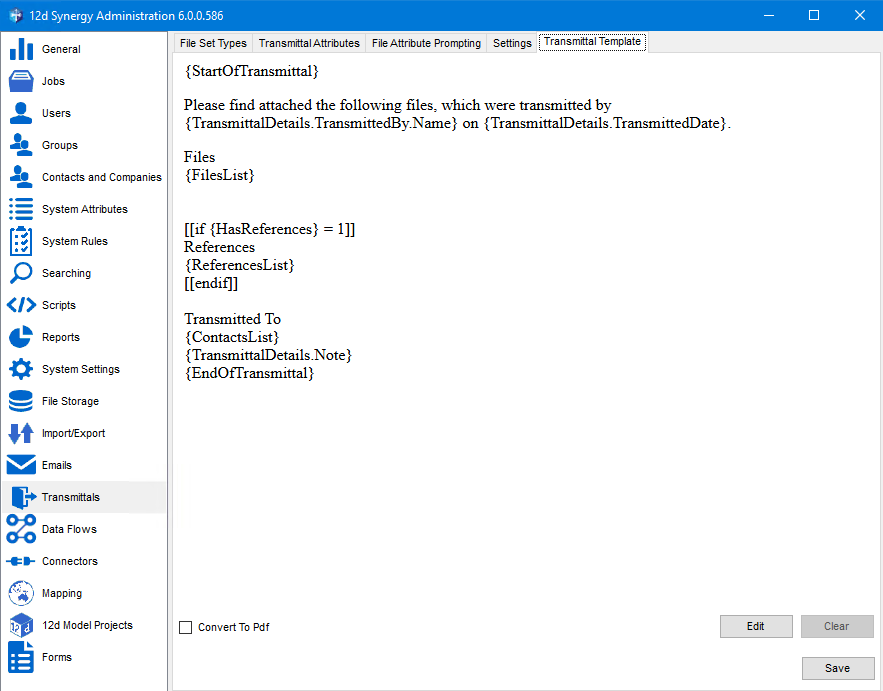
Click the Edit button.
The Transmittal Cover Sheet Editor is displayed.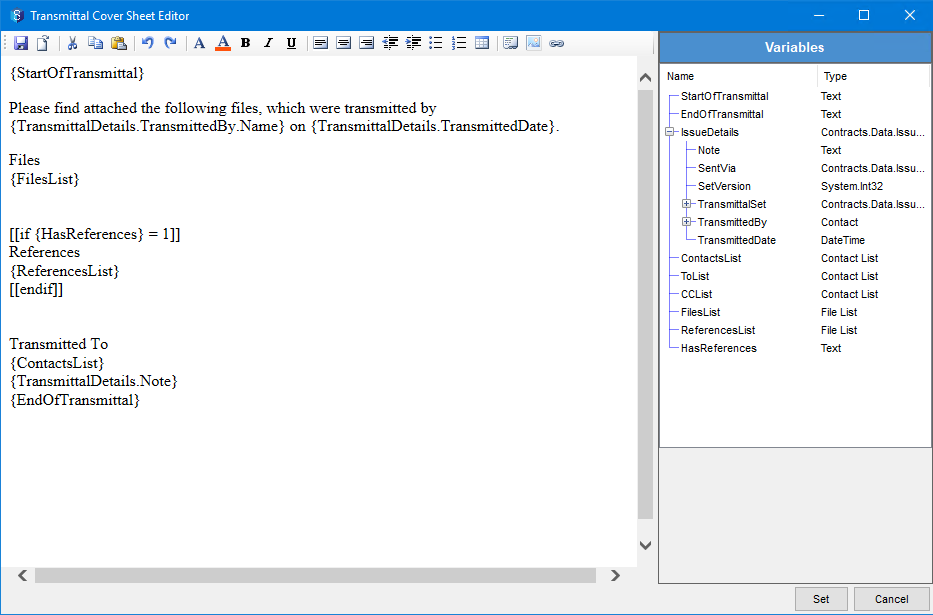
The existing template is displayed on the left, while the list of variables that you can add to the template is displayed in the Variables section on the right.Place the cursor in the transmittal template where you want to add a variable and double-click the variable from the Variables section.
The variable is added to the template at the selected point.When you add a list variable such as FilesList or ContactsList to the template, a new prompt with the following options is displayed.
Use the existing list options
Update the list options
If you choose the latter, the Variable Table Editor window is displayed. You can select the list options that suit your requirement in this window and click the Set button to define the new list variable.
Click the Set button in the Transmittal Cover Sheet Editor window.
Click the Save button.
The transmittal related updates are saved.
1.7. System Settings Related to Transmittals
Settings | Description |
|---|---|
Show transmittals registry | If set to Yes, it enables the transmittals registry. You will need to restart the 12d Synergy Administrator for the Transmittals Registry option to be visible. |
Use transmittal set versioning | If set to Yes, it enables or changes the transmittal set versioning mode. By default, it is set to No. |
Show transmittals registry at top-level jobs only | If set to Yes, it enables the transmittals registry only for the top-level jobs. You will need to restart the 12d Synergy Administrator for the Transmittals Registry option to be visible. By default, it is set to No. |
Allow sending transmittals from Different Email Address | If set to Yes, you can send the transmittal emails from your email address instead of using the address of the server. However, ensure with your administrator that the server settings are in line with this setting. |
Allow users to send transmittals via the email server without zipping | If set to Yes, the transmittals are not zipped when transmitting via email. By default, it is set to No, meaning the transmittals are zipped.
|
Request a read receipt from a recipient when transmitting via the email server | If set to Yes, a read receipt is requested from the recipient, provided the client honours this setting. By default, it is set to Yes. |