Admin Content
12d Synergy has the inbuilt functionality to convert files from one output type to another. They are activated when your 12d Synergy Administrator enables them from the 12d Synergy Administration application. For example, converting an MS Word file to a PDF. The following converters are built into the 12d Synergy system shipped to you.
DWG to PDF
Microsoft Word to PDF
Microsoft Excel to PDF
Example:
Say, you add a Word to PDF converter to Folder A and Folder B is set as the target folder. Then, when you add a Word document to Folder A, automatically, a PDF version of the same document is added to Folder B.
Say you check out the document from Folder A, update it, and check it back into Folder A. Then a PDF of the updated document is created, and the former PDF is replaced with an updated one. This applies to all the Word documents saved in Folder A.
The following format conversions need the Microsoft Office 2010 package to be installed on your 12d Synergy Server.
Microsoft PowerPoint to PDF
Microsoft Outlook to PDF
Microsoft Project to PDF
Microsoft Visio to PDF
Microsoft Publisher to PDF
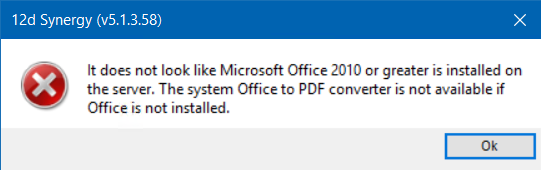
If the Microsoft Office 2010 package is not installed on your 12d Synergy Server, then the following error is displayed.
Please check with your 12d Synergy Administrator to resolve this issue.
You can also add custom conversions to files and folders based on your requirements and usage of 12d Synergy. However, if you are using the 12d Synergy Cloud Server, then you cannot add custom converters.
1.1. How to Enable Conversions
Admin Content
In the 12d Synergy Administration application, select the System Settings > File Converters tab.
The list of existing/added converters is displayed.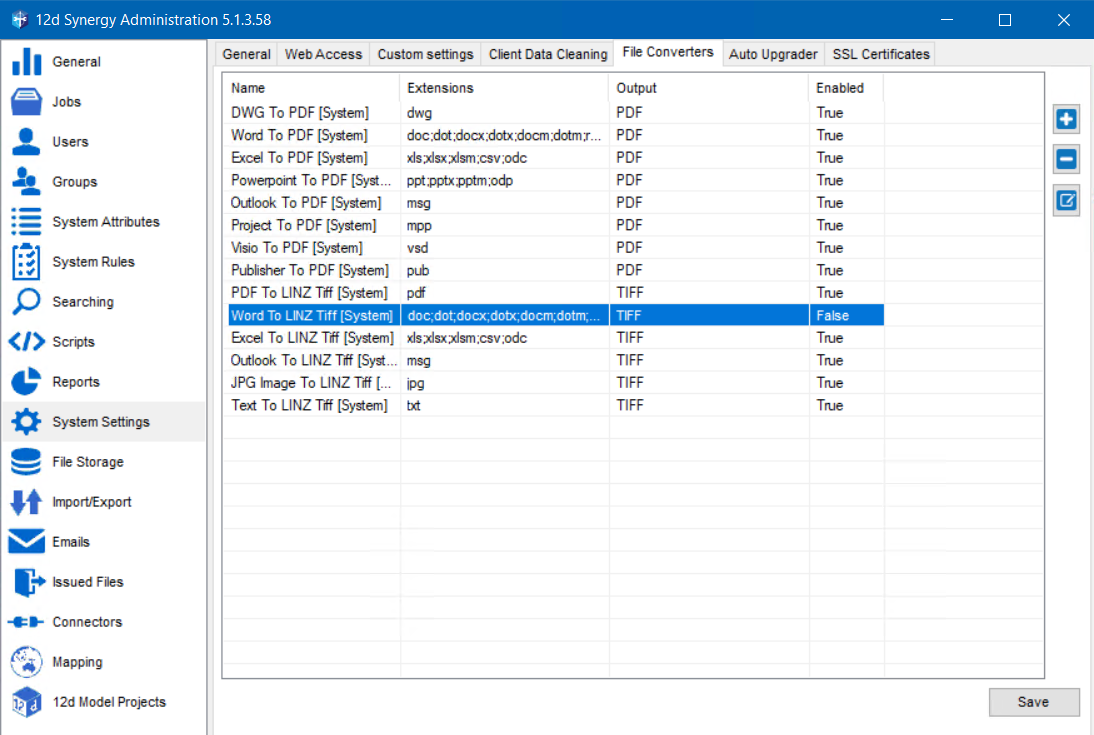
If the name of the converter is suffixed by [System], it means that the converter is built into the 12d Synergy application.
If the Enabled column against a converter is set to True, then that conversion is enabled in your 12d Synergy application. Otherwise, you can enable it by following the next steps.Select the conversion you want to enable from the list, and then click the
 icon.
icon.
The Add/Edit a File Converter window is displayed.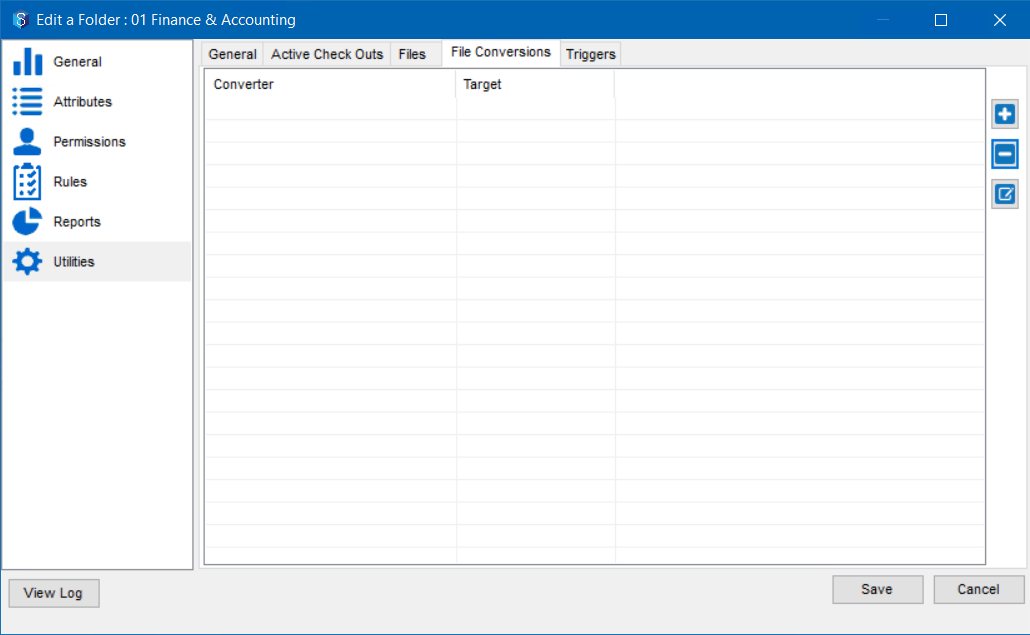
Select the Enabled? checkbox.
Click the Save button.
The Enabled column against the selected conversion is now set to True.Click the Save
The updates are saved.
There is an optional setting in 12d Synergy that lets you use native MS Office components for conversions. It is the Use native Office components for Word and Excel conversions first setting displayed in the 12d Synergy Administration > System Settings tab > General tab. Note that this still requires MS Office to be installed on the 12d Synergy Server.
1.2. How to Convert a File
Client Content
In the 12d Synergy Client application, select the folder that has the file you want to convert from the left panel.
The files of the selected folder are displayed on the right side in the Files tab.Right-click the file and select the Other > Convert > <type of conversion> option.
Based on the type of file you select for conversion, the conversion options are displayed in the Other > Convert right-click options. For example, if you select an MS Word document, the MS Word to another file type conversions enabled in your Administration application, such as Word to PDF and Word to LINZ Tiff, are displayed.

The Select a folder window is displayed.
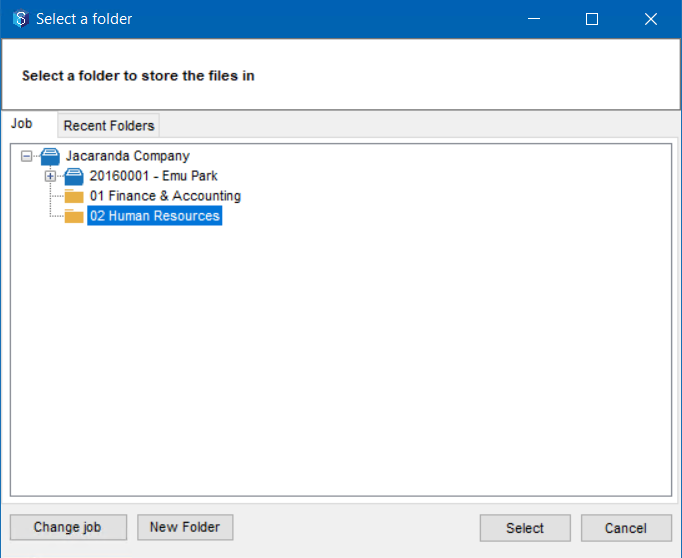
Do one of the following:
To save the file to a folder in a different job, click the Change job button and browse for the required job and folder.
To save the file into a new folder in the displayed job, click the New Folder button and create a new folder to save the file.
To save the file into one of the recently used folders, click the Recent Folders tab and click a location to save the file.
To save the file into the displayed job or folder, select the job or folder.
The file is converted and the Describe your Change dialog box is displayed.
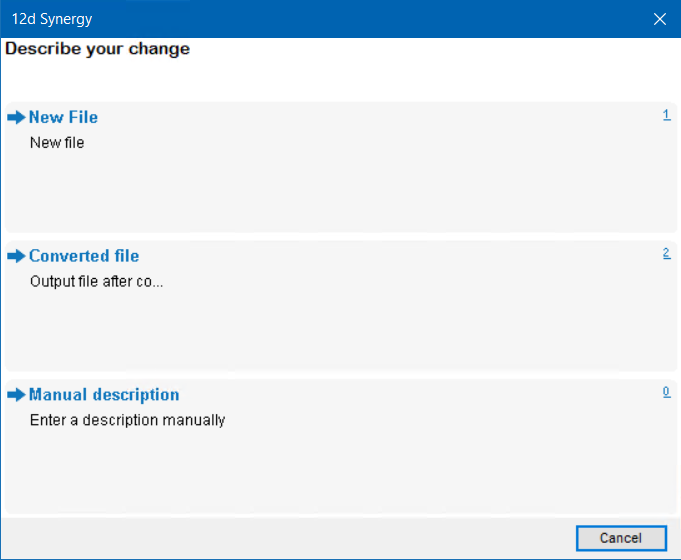
If you select the Manual Description option in the Describe your Change dialog box, you will have to type the reason for the conversion.
The predefined options displayed in the Describe your Change dialog box can be configured by your 12d Synergy Administrator in the 12d Synergy Administration application > System Rules tab > Change Descriptions tab.
Select the reason for the file change.
The converted file is saved in the selected location.
1.3. How to Configure a Custom File Converter
Admin Content
If you are using the 12d Synergy Cloud Server, then you cannot add custom converters.
In the 12d Synergy Administration application, select the System Settings > File Converters tab.
The list of existing/added converters is displayed.Click the
 icon.
icon.
The Add/Edit a File Converter window is displayed.
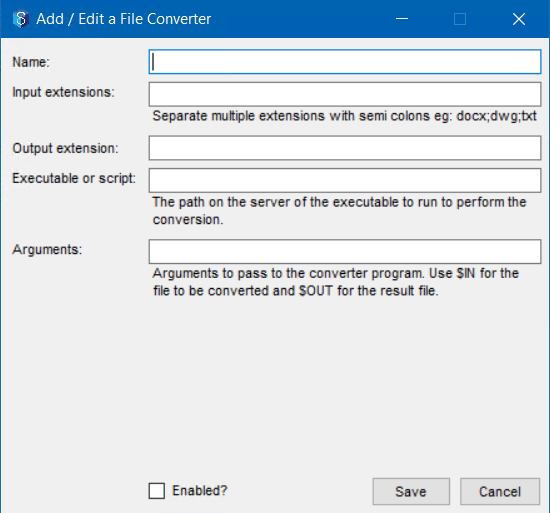
Enter the following details:
Field
Description
Name
A cosmetic name to describe the converter to users
Input Extension
The extension of the files that this converter can convert
Output Extension
The extension of the files that this converter can convert into
Executable or script
The location of the program on the 12d Synergy Server that has to run to perform the conversion
Arguments
The arguments, if any, to pass to the conversion. Note that you should use $IN to represent the file to be converted, and specify $OUT as an argument for the file that is the result of this conversion
For example:
If we have a converter that takes two arguments, –i input_-o file output_filefor the input file and output file, respectively, and the converter script is ConvertCSVToXlsx.exe, then you would specify arguments as –i $IN $OUT -o
Select the Enabled? checkbox to enable the converter.
Click the Save button.
The custom converter is added to the list of converters displayed in the System Settings > File Converters tab.
1.4. How to Add an Automatic Converter to a Folder
Admin Content
You can add an automated custom converter to a folder that converts the files that are of the format defined in the converter whenever they are checked in.
In the 12d Synergy Client application, select the folder for which you want to add an automated converter.
Right-click the folder and select the Edit Folder option.
The Edit a Folder: <folder name> window is displayed.Select the Utilities tab > File Conversions tab.

Click the
 icon.
icon.
The Auto Conversion window is displayed.
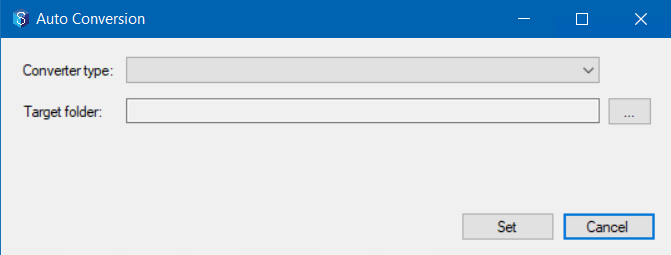
Select the converter you want to apply to the selected folder from the Converter type list.
Click the
 button displayed against the Target folder: box to select a folder from the Select a folder window where you want to save the converted file.
Click the Select button.
The selected folder is displayed in the Target folder: box.
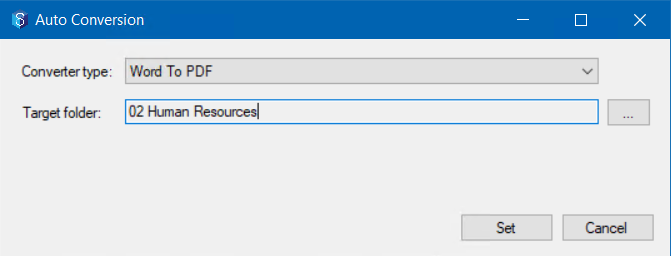
Click the Set button.
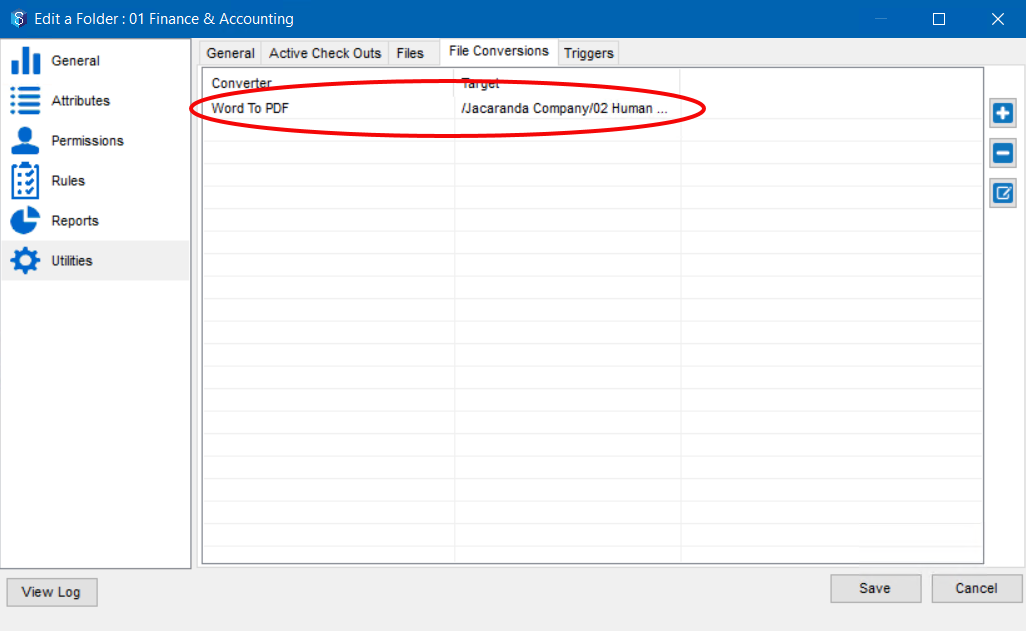
The selected converter is added to the File Conversions tab.