- Double-click the 12dSynergy_Server_Install_<version number>.exe to start the installation process.
The Welcome to the 12d Synergy Server Setup Wizard is displayed.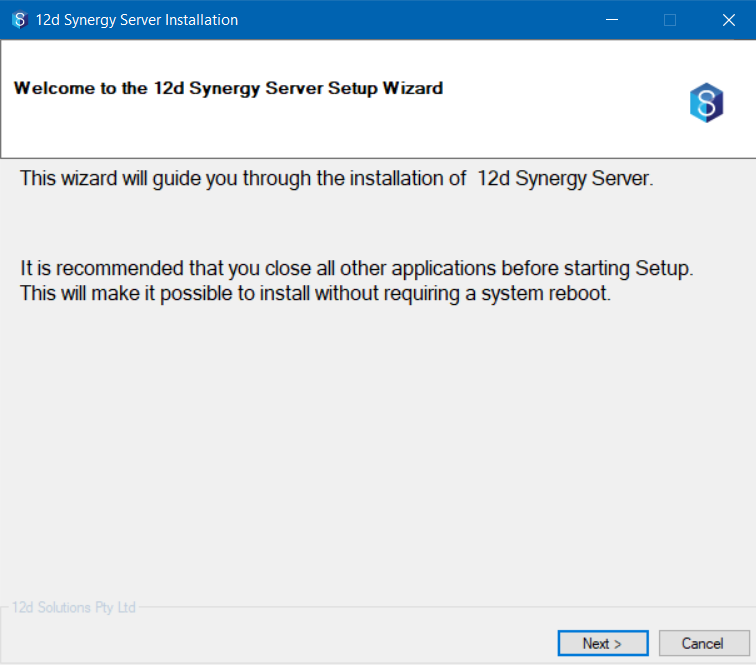
- Click the Next button.
The 12d Synergy End User License Acceptance window is displayed.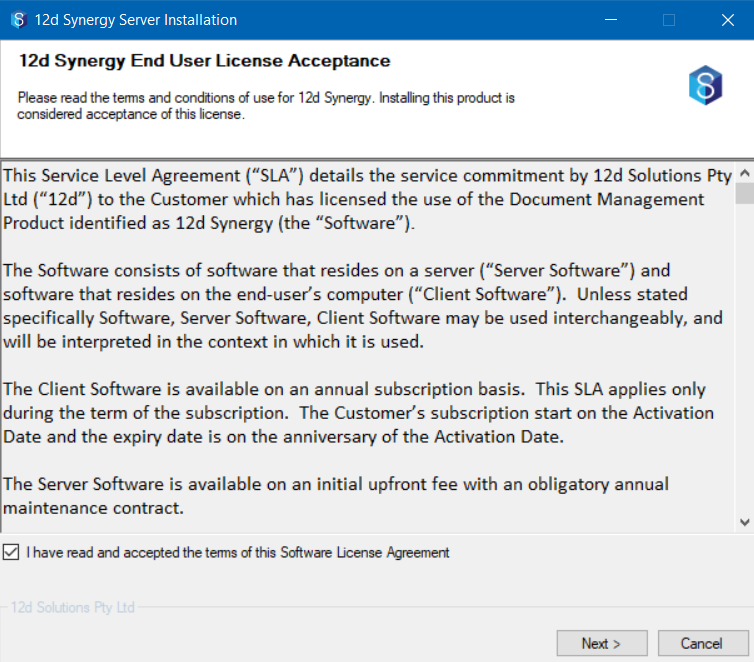
- Select the "I have read and accepted the terms..." checkbox.
- Click the Next button.
The Pick Installation Location window is displayed.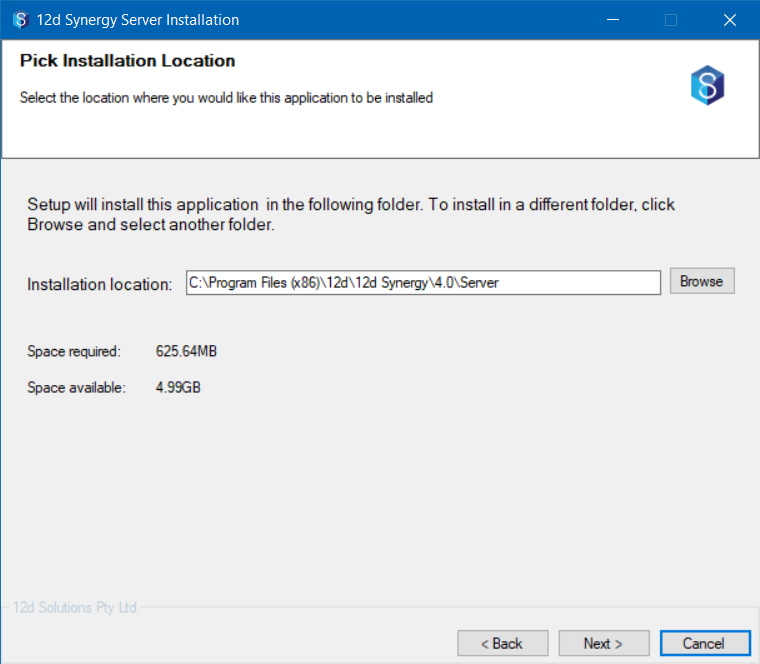
- Browse and select the installation location. However, it is recommended to use the default pre-defined setting.
- Click the Next button.
The Configure the 12d Synergy Server window is displayed. You can configure the service account and port number under which the 12d Synergy Server will run in this window.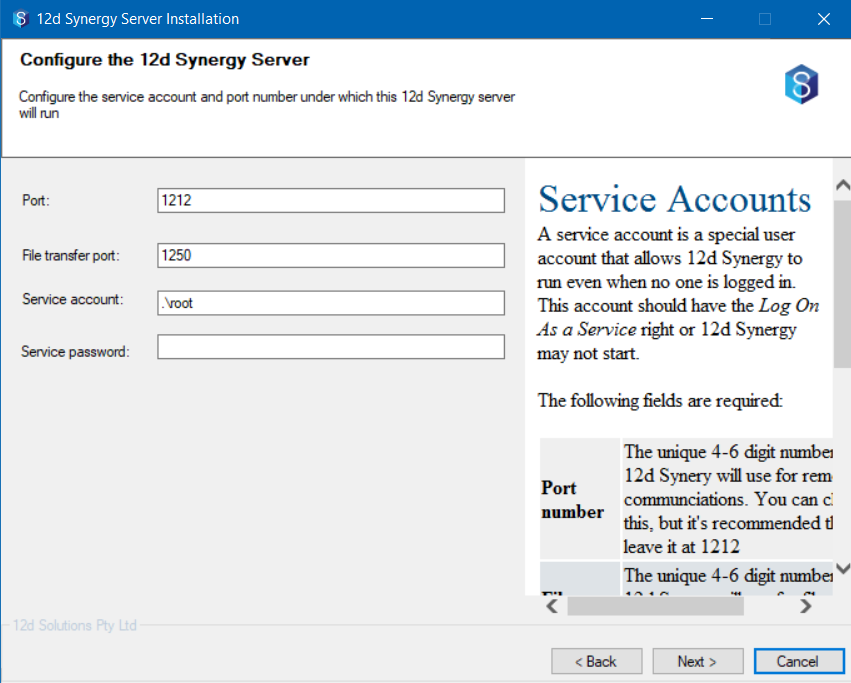
- Enter the Service Account and Service Password in their respective boxes. It is recommended to use the default values displayed in the Port and File transfer port boxes.
If you are on a domain, then enter the Service Account in the Domain\UserName format.
- Click the Next button.
The following 12d Synergy Installer prompt is displayed.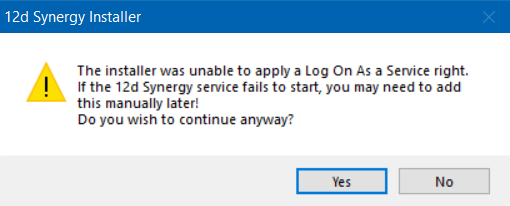
- Click the Yes button.
The Configure the 12d Synergy Server Database window is displayed.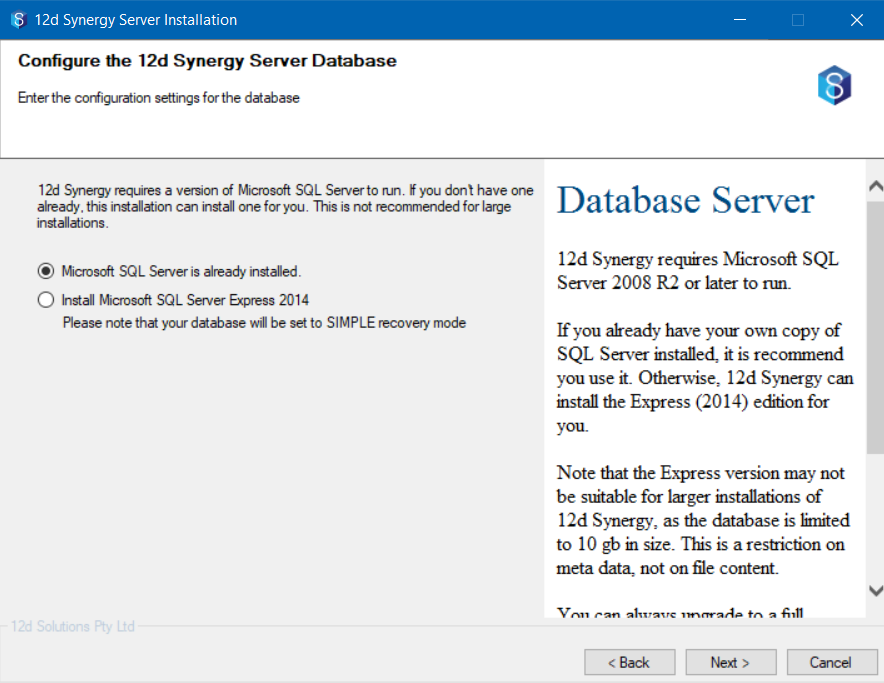
- Do one of the following based on whether or not Microsoft SQL Server is installed on your system:
- If you have Microsoft SQL Server installed on your system, do the following:
- Select Microsoft SQL Server is already installed option.
- Click the Next button.
The Configure the 12d Synergy Server Database window is displayed.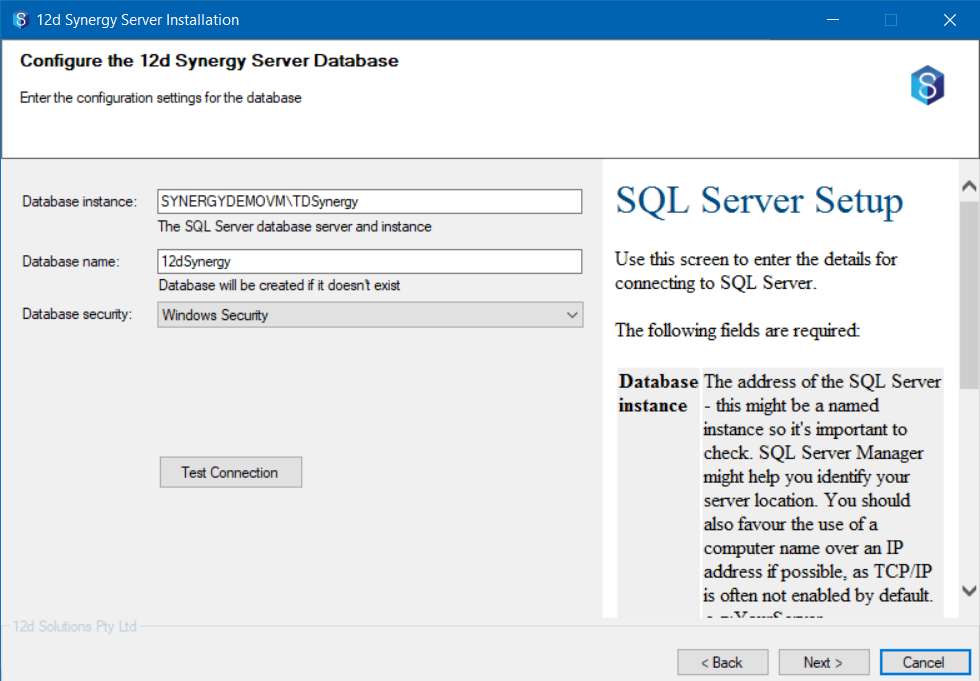
- Select one of the following options from the Database Security list.
- Windows Security - You will be prompted for the recovery mode which is set to the Simple option.
- SQL Server Security - You will be prompted for a user name and password if you select this option.
You can click the Test Connection button to check if all the connections to the Database Server are correctly set.
- Click the Next button.
The Configure the 12d Synergy Server window is displayed.
- If you do not have Microsoft SQL Server installed on your system, do the following:
- Select Install Microsoft SQL Server Express 2014 option.
- Click the Next button.
The Configure the 12d Synergy ServerDatabase window is displayed.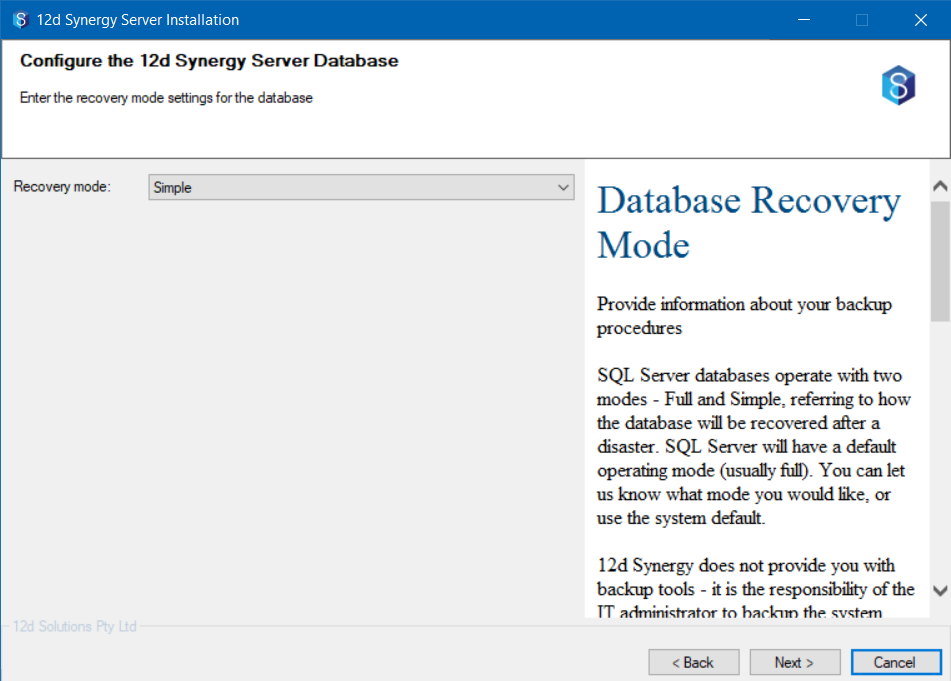
- Set the Recovery Mode to the Simple option, if it is not pre-selected.
- Click the Next button.
The Configure the 12d Synergy Server window is displayed.
- If you have Microsoft SQL Server installed on your system, do the following:
- Do the following configuration settings for the server in the Configure the 12d Synergy Server window:
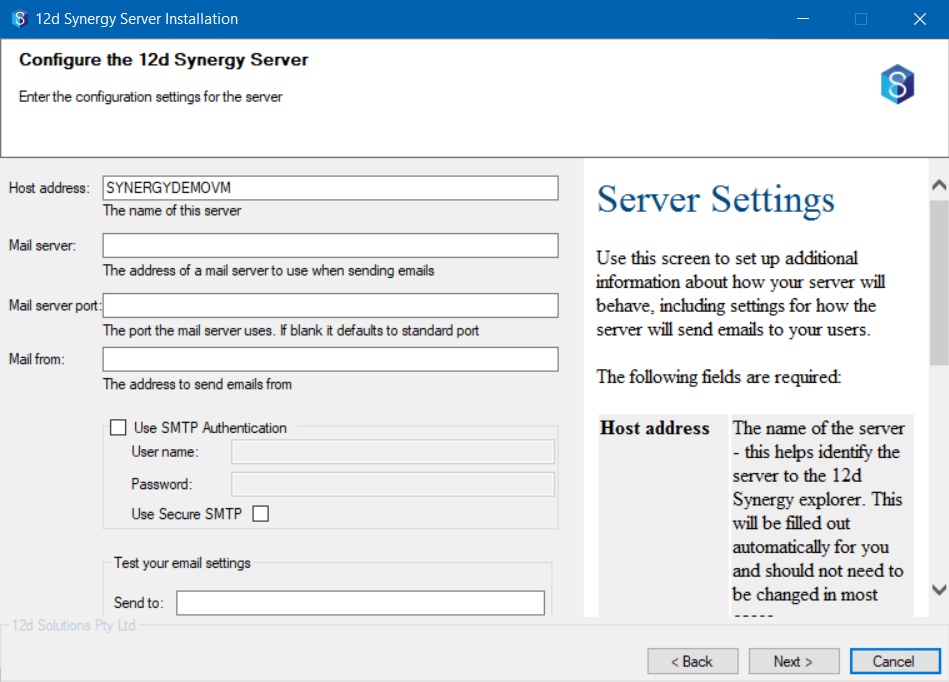
- Enter the name of the server in the Host address box.
- Enter the address of an SMTP server that can be used for sending emails in the Mail server box.
- Enter the port used by the mail server in the Mail Server port box.
- Enter the email address from which 12d Synergy will send emails in the Mail from box.
- Select the Use SMTP Authentication check box to enter the email credentials for logging in. Generally, this section is used to avoid spammers from using the an email address to send an email to users. Please consult your IT Administrator for clarifications on this step.
- If you want to test your email settings, enter a user email address in the Test your email settings section > Send to box. The mentioned user's inbox will receive an email if all mail settings are correct.
- Click the Next button.
The Configure the 12d Synergy File Storage Settings window is displayed.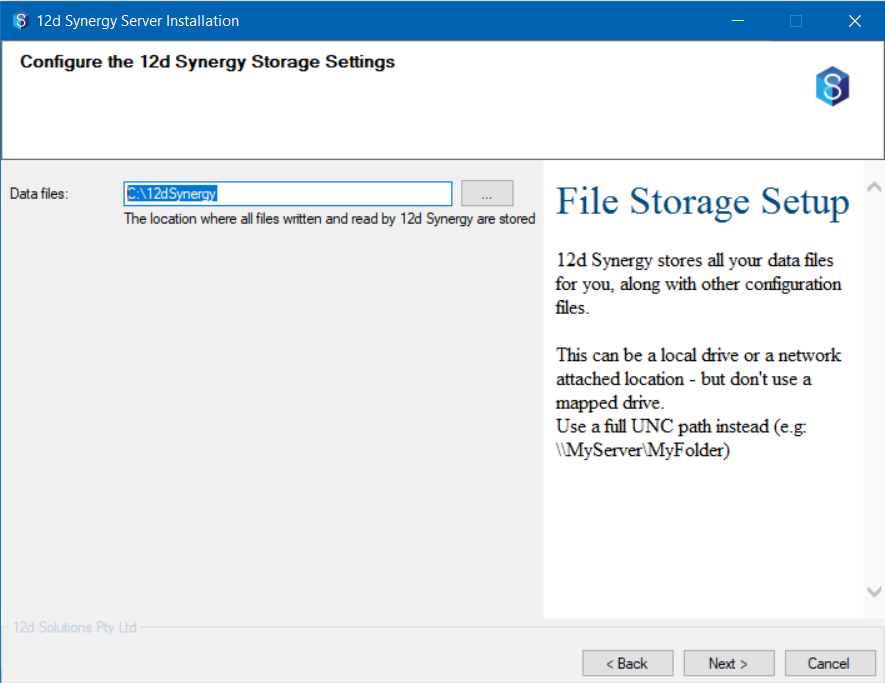
- Click the
 button to select the location on your device for data storage.
 - Click the Next button.
The Configure the 12d Synergy Server window is displayed.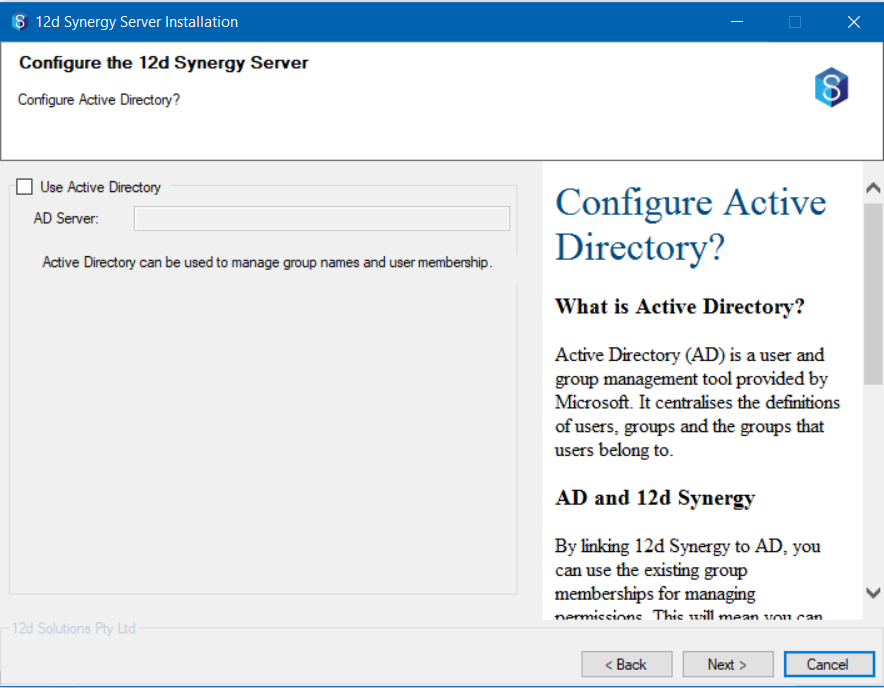
- If you are using Active Directory, select the Use Active Directory check box and mention the Active Directory Server in the AD Server box.
- Click the Next button.
The Configure the 12d Synergy Server window is displayed.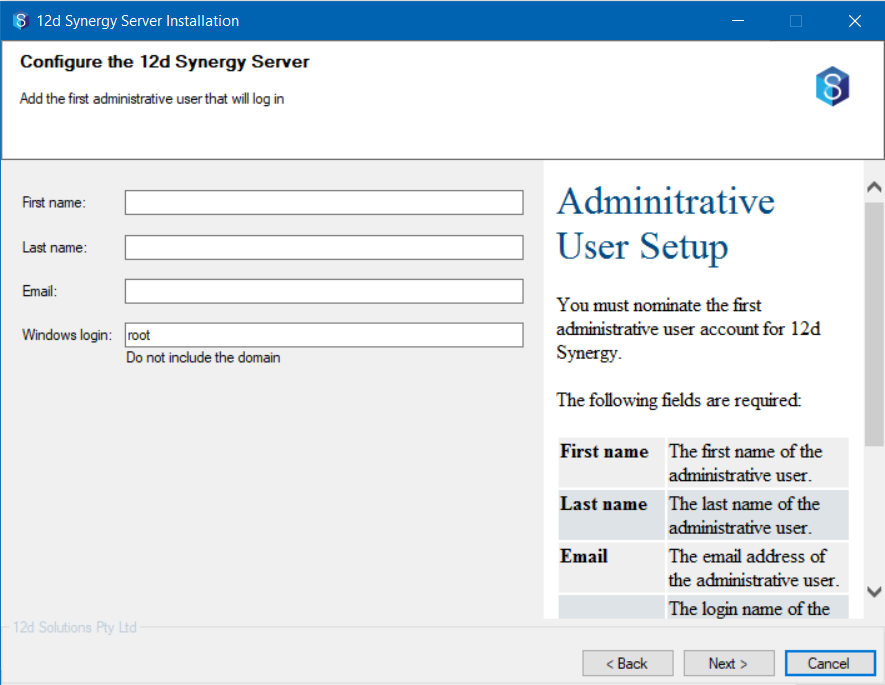
- Enter the details of the user who will have administrative access to 12d Synergy in the First Name, Last Name and Email boxes.
- Enter your Windows login id (without the domain name) in the Windows login box.
- Click the Next button.
The Configure the 12d Synergy Server window is displayed. - Click the
 button and select the license file provided by 12d Synergy.
 - Click the Next button.
The Performing Installation window is displayed.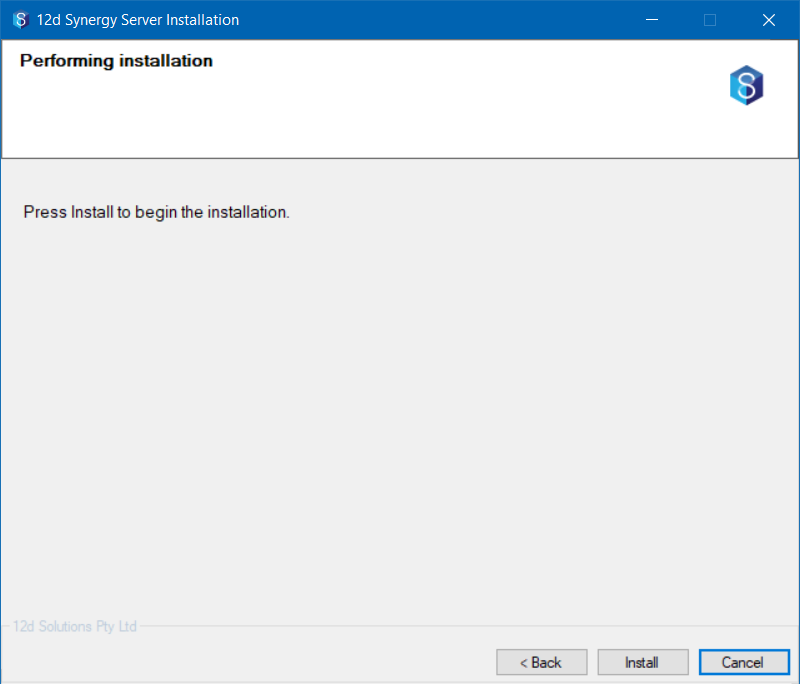
- Click the Install button to initiate the installation.
The installation is completed and the 12d Synergy Service is started.
Performing the Installation (Server)
- Updated on Oct 11, 2023
- Published on Aug 23, 2023
- 3 minute(s) read
Was this article helpful?