1.1. Prerequisites
Check-in all data to prevent data loss and ensure the Synergy Service is stopped before making database edits.
For the best performance, we recommend that you keep the Index, Logs and General Store local to the application server.
1.2. Backup your Database
Take a backup of your database as a precautionary measure. You should use SQL Server Management Studio.
1.2.1. How to take a Backup using SQL Server Management Studio
In SQL Server Management Studio, select 12d Synergy Database.

Right-click 12dSynergy database and select the Tasks > Backup option.
The Back Up Database - 12dSynergy window is displayed.

In the Destination section, click the Remove button to remove the existing backup destination.
Click the Add button and add a new destination for the backup.
Click OK to begin the backup procedure.
The backup is taken and the following message is displayed.
1.3. Migrate the General Store
If your General Storage is stored on the network, this step may not be necessary.
If your General Storage is NOT on the network, do the following to migrate it.
Do one of the following to view the location of the General Storage:
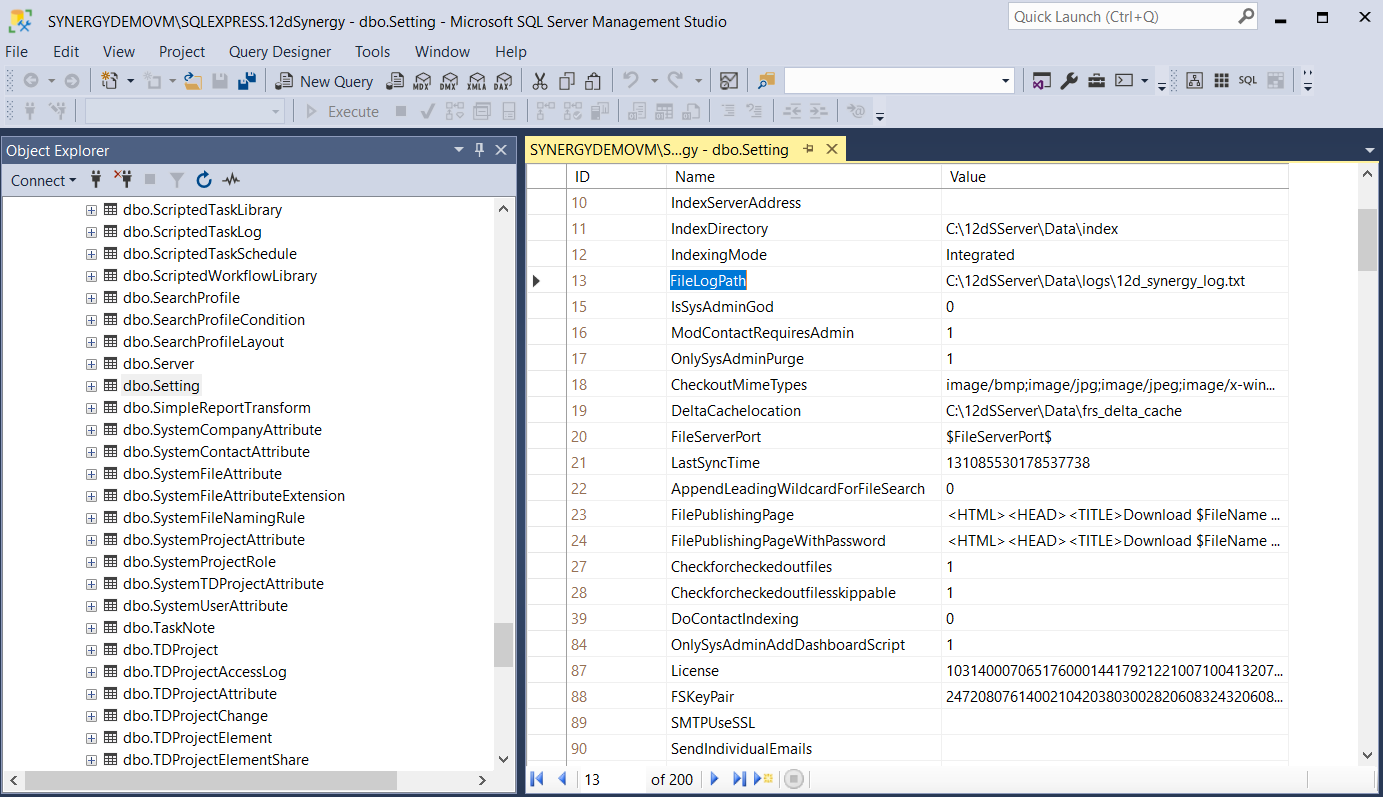
In SQL Server Management Studio, do the following:
Open SQL Server Management Studio.
Connect to the 12d Synergy Database.
Right-click the table dbo.Setting.
Select the Edit Top 200 Rows option.
Find the setting named GeneralStorage.

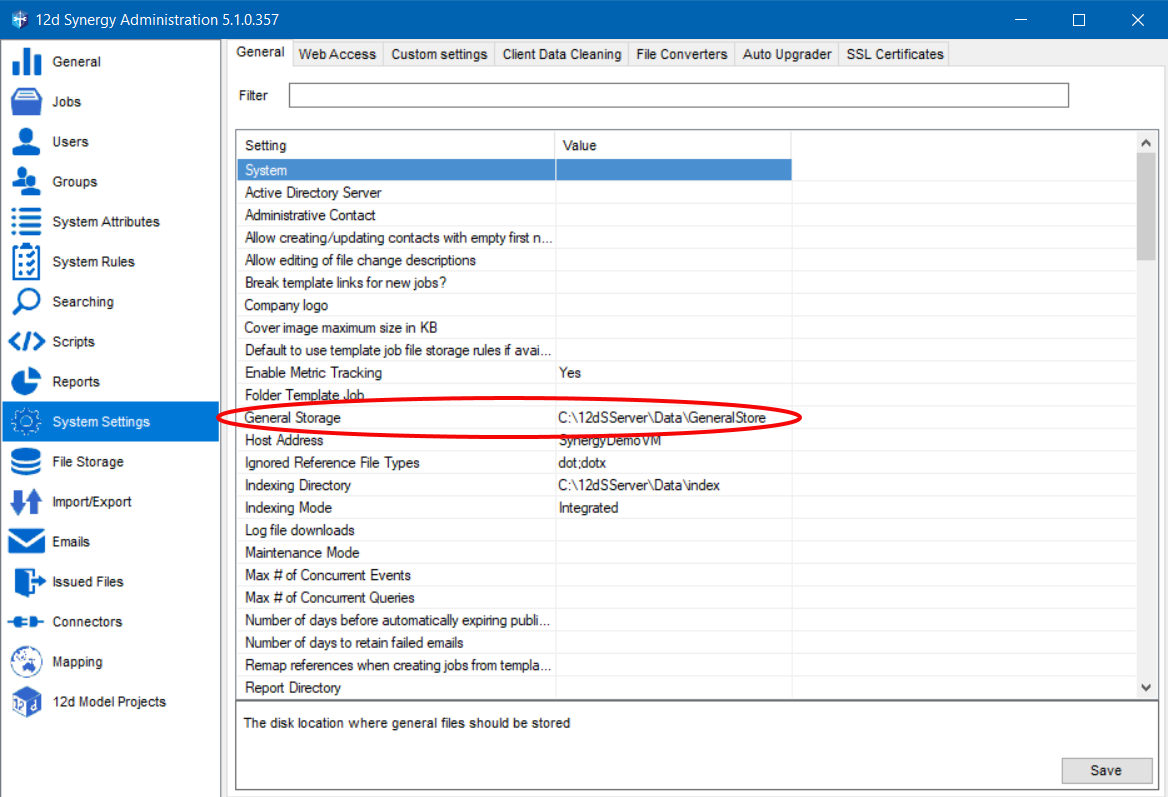
In the 12d Synergy Administration application, do the following:
Click the System Settings tab > General Tab.
Search for the General Storage setting and check the location mentioned in the corresponding Value column.
Copy the location of the General Storage to its location in the new server.
Update the new location in the SQL Server Management Studio > 12d Synergy Database > table Setting > General Storage setting > corresponding Value column.
1.4. Migrate the Delta Cache
If your Delta Cache is stored on the network, this step may not be necessary. If your Delta Cache is NOT on the network, do the following to migrate it.
Open SQL Server Management Studio.
Connect to the 12d Synergy Database.
Right-click the table dbo.Setting.
Select the Edit Top 200 Rows option.
Find the setting named DeltaCachelocation.

Copy the location of the Delta Cache to its location in the new server.
Update the new location in the SQL Server Management Studio > 12d Synergy Database > table Setting > DeltaCachelocation setting > corresponding Value column.
1.5. Migrate the File Log
If your File Log is stored on the network, this step may not be necessary.
If your File Log is NOT on the network, do the following to migrate it.
Open SQL Server Management Studio.
Connect to the 12d Synergy Database.
Right-click the table dbo.Setting.
Select the Edit Top 200 Rows option.
Find the setting named FileLogPath.
Copy the location of the File Log to its location in the new server.
Update the new location in the SQL Server Management Studio > 12d Synergy Database > table Setting > FileLogPath setting > corresponding Value column.
1.6. Migrate the File Stores
If your File Stores is stored on the network, this step may not be necessary.
If your File Stores is NOT on the network, do the following to migrate it.
Copy the File Storage directories to their new locations.
Open SQL Server Management Studio.
Connect to the 12d Synergy Database.
Double-click to edit the table dbo.FileDiskStore.
Update the value of StoreLocation column with the path for any "Full" File Stores.
Double-click to edit the table dbo.FileDeltaStore.
Update the value of StoreLocation column with the path for "Delta" File Stores.
1.7. Migrate the Index
If your Index is stored on the network, this step may not be necessary.
If your Index is NOT on the network, do the following to migrate it.
Open SQL Server Management Studio.
Connect to the 12d Synergy Database.
Right-click the table dbo.Setting.
Select the Edit Top 200 Rows option.
Find the setting named IndexDirectory.

Copy the location of the Index Directory to its location in the new server.
Update the new location in the SQL Server Management Studio > 12d Synergy Database > table Setting > IndexDirectory setting > corresponding Value column.
1.8. Change the Host Name
If you have decommissioned an old server and are building a new server with the same name, this step is not necessary.
To update the new server name advertised to clients, follow these steps:
Open SQL Server Management Studio
Connect to the 12d Synergy Database.
Right-click the table dbo.Setting.
Select the Edit Top 200 Rows option.
Find the setting named HostAddress.

Update the value of HostAddress to the new server name.
1.9. Run the Upgrader on the New Server
Run the standard Server Upgrader on the new server. This will perform a 12d Synergy Server service install without creating a new database. You will however, need to nominate, when prompted, the following details:
A service account to run the 12d Synergy Service
The connection details for your database, which may be different if the database has been migrated to a new SQL Server Instance
1.10. Remap 12d Model Shares
If you are using 12d Model Shares, they may be pointing to the old server and will need to be explicitly updated. Use the steps below to remap the Shares. If this is required, the 12d Synergy Technical Team will provide you with a script to perform this operation.
This will promote the version of each 12d model project, so they must be checked in before this can take place.
Open the 12d Synergy Administration application.
Click the Scripts > Tasks Library tab.
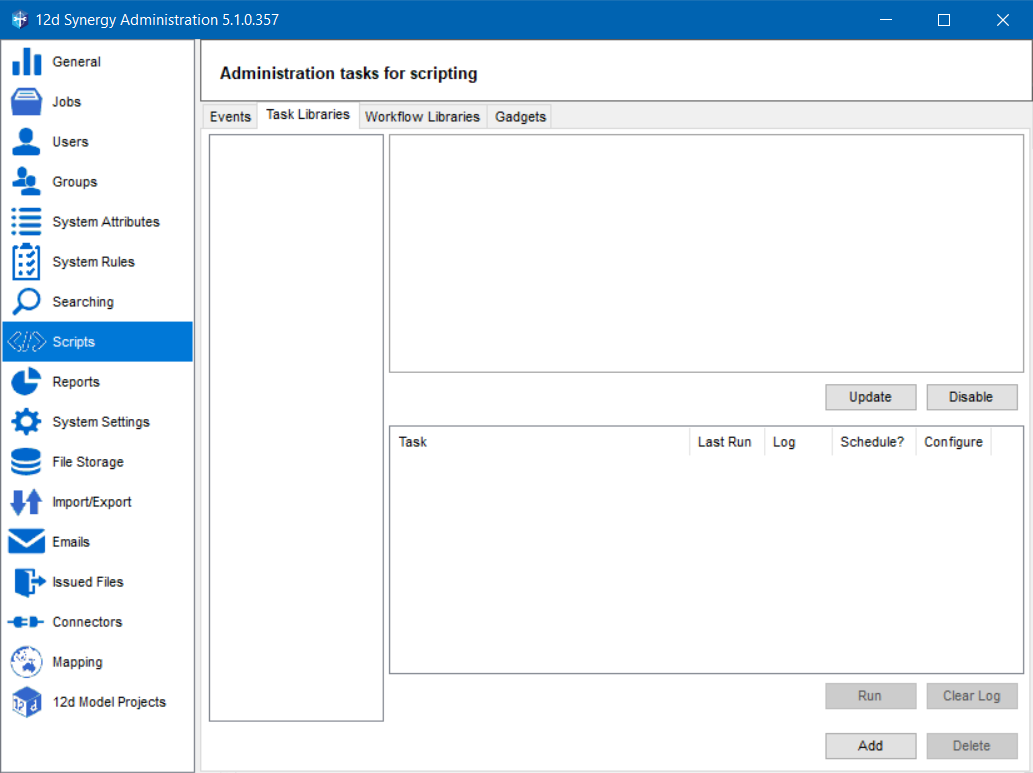
Click the Add button.
The Add a Task Library window is displayed.Click the
 button and browse to the DLL provided - downloads.12dsynergy.com/4/Customization/TDProjectShareMigration.zip.
Enter a name for the selected task library in the Name box and click OK.
The Task Library is updated and is displayed in the left panel in Task Libraries tab.

Select the newly created Task Library and click the Configure link next to the 12d Model Share Migration task.
The Configure Task window is displayed.
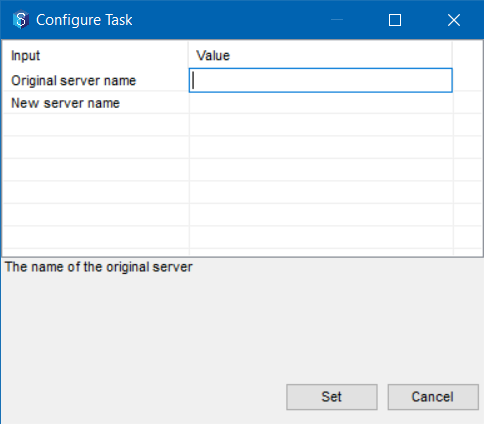
Enter the name of the original server and the name of the new server in the corresponding rows of the Value column.
Click the Set button.
In the Task Libraries tab, click the Run button.
The Task Libraries are remapped accordingly.
1.11. Updating Server Addresses
The Server Address at each client must be updated.
Double-click the 12d Synergy Client application
 icon to start it.
The following prompt is displayed.

You can enter the name of the new server in the Server: box. However, following the below procedure will help you save the server details for future use.
Click the Servers button.
The Edit Servers window is displayed..png)
Enter the name of the new server in the 12d Synergy Server box.
Click the Save button.
The Server details are saved.Click the Close button.
Click the Connect button.
The 12d Synergy Client application is started.
1.12. Re-authenticating the Email Server
You’ll need to follow this procedure when you choose to authenticate your outgoing emails via an Entra ID application. This feature is available in 12d Synergy version 5.1.7.753 or later.
While configuring your email server, if you have selected the Exchange Online with Entra ID option as the Authentication Type, then you will have to re-authenticate the email server with Entra ID. .png)