A layer represents geographic data such as a particular theme of data. Examples of map layers include terrains, roads, political boundaries, etc.
1. Different Types of Map Layers
In 12d Synergy, these layers fall into the following categories:
- ArcGIS Server
- ArcGIS Online Base Map
- WMTS
- Shape File
- KML / KMZ File
You can obtain and add these layers to the maps displayed in 12d Synergy.
1.1. How to Obtain an ArcGIS Server Layer
There are many free ArcGIS map layers available online. As an example, we will use www.arcgis.com to obtain an ArcGIS Server layer.
- Create an account and log in to www.arcgis.com.
- After logging in, search for the required ArcGIS layer.
- From the search results, click the layer that meets your requirement.
A new page displaying the URL of the search result is displayed.Example:
Say you want to search for an aerial image of New Zealand to use as a layer in 12d Synergy.
- Enter New Zealand image layers in the search bar of www.arcgis.com.
The list of matching results are displayed. - Select the NZ-Imagery layer link from the search results.
A new page with the URL of the layer that 12d Synergy requires to see is displayed. (https://services.arcgisonline.co.nz/arcgis/rest/services/Imagery/newzealand/MapServer)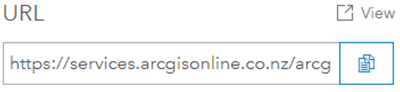
- Enter New Zealand image layers in the search bar of www.arcgis.com.
- Copy the URL and paste it into the Path box of the Configure Map Layer window.
1.2. How to Obtain an ArcGIS Online Base Map
The ArcGIS Online Base Map layer comes pre-configured in 12d Synergy and is the default layer used in 12d Synergy. However, if it is removed from the existing layers in 12d Synergy, it can be re-added.
1.3. How to Obtain a WMTS Layer or a Shape File Layer
Many free WMTS Layers or Shape File Layers are available online. In this example, we are going to obtain these layers from the data.linz.govt.nz website.
Before you Start (LINZ Only)
- You will need to create an account in koordinates.com. This allows you to log on to the LINZ Data Service to obtain an API key and the relevant links to LINZ map layers.
- You need to create an API key to use layers from the LINZ Data Service. This key is used later on. To obtain an API key, follow the instructions in https://www.linz.govt.nz/data/linz-data-service/guides-and-documentation/creating-an-api-key.
- Search for any of the required layer in the LINZ Data Service website data.linz.govt.nz and then select it from the list of search results displayed. Some examples are mentioned below for your reference.
Type of Layer Example Layer URLs WMTS layer
WMTS Capabilities
https://data.linz.govt.nz/services;key=YOUR_API_TOKEN/wmts/1.0.0/set/4769/WMTSCapabilities.xml.
Shape file Layer
NZ Primary Parcels
https://data.linz.govt.nz/layer/50772-nz-primary-parcels/
- Navigate to the Services tab and copy the URL corresponding to the example layer you have searched for from the box that displays a URL.
- Copy the URL and paste it into the Path box in Configure Map Layer window.
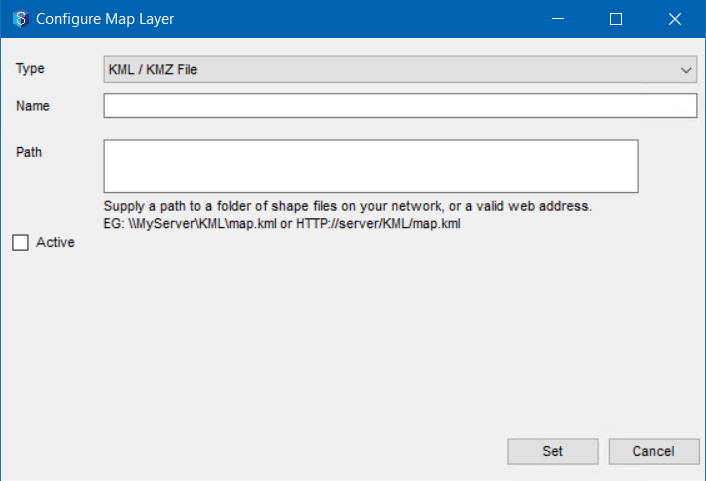
1.4. How to Obtain a KML/KMZ File Layer
A KML/KMZ file is located on your system and hence no URL is needed to obtain the maps. The local path to the KML/KMZ file has to be mentioned in the Path box in the Configure Map Layer window to add the layer to maps.
An example of a KML/KMZ file and its location is given below.
KML/KMZ File Layer | Golf Course Development Area | C:\Users\SynergyDemo\Mapping\GolfCourseDevelopment\DevelopmentArea.kmz |
For details about adding these layers, please refer to the procedures below.
1.5. How to Add and Configure Additional Layers
There are several levels in which map layers can be added into 12d Synergy. They can be added at the following levels:
- System-level – These settings apply to all the jobs accessed from your system
- Job-level – These settings apply only to the job for which the mapping is configured.
- User-level – These settings are configured for a user’s account and a specific job only. User level settings cannot be applied for all the jobs to which the user has access.
Levels of Priority
- The user-level settings take precedence over the system-level and job-level settings.
- The job-level settings take precedence over system-level settings.
You cannot use a combination of layer levels. If you create active maps in a level of higher priority, then the lower priority levels become inactive.
For example, consider a job with two system-level maps. If you add a job-level map to this job, then 12d Synergy will copy the two system-level maps to the job-level configuration, where only the job-level maps are active. If you add more system-level maps, they will NOT be brought through to the job as the job-level maps take precedence. The system-level maps for this job became inactive when the job-level configuration occurred.
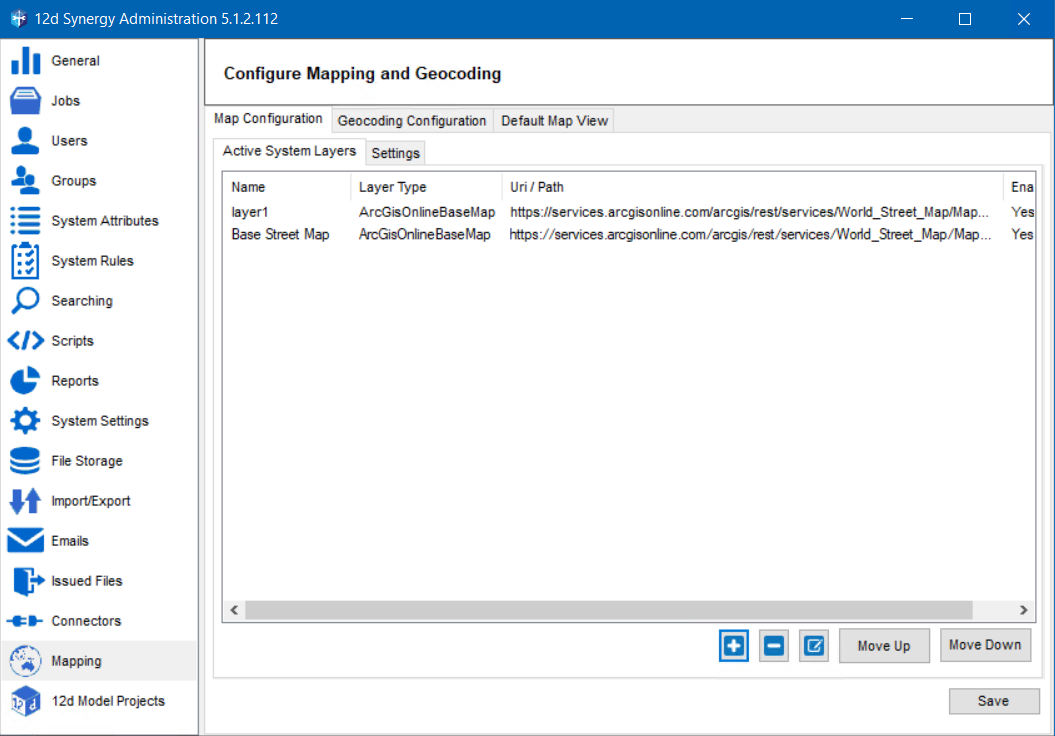
1.5.1. System-level Settings
- In the 12d Synergy Administration application, select the Mapping tab > Map Configuration tab > Active System Layers tab.
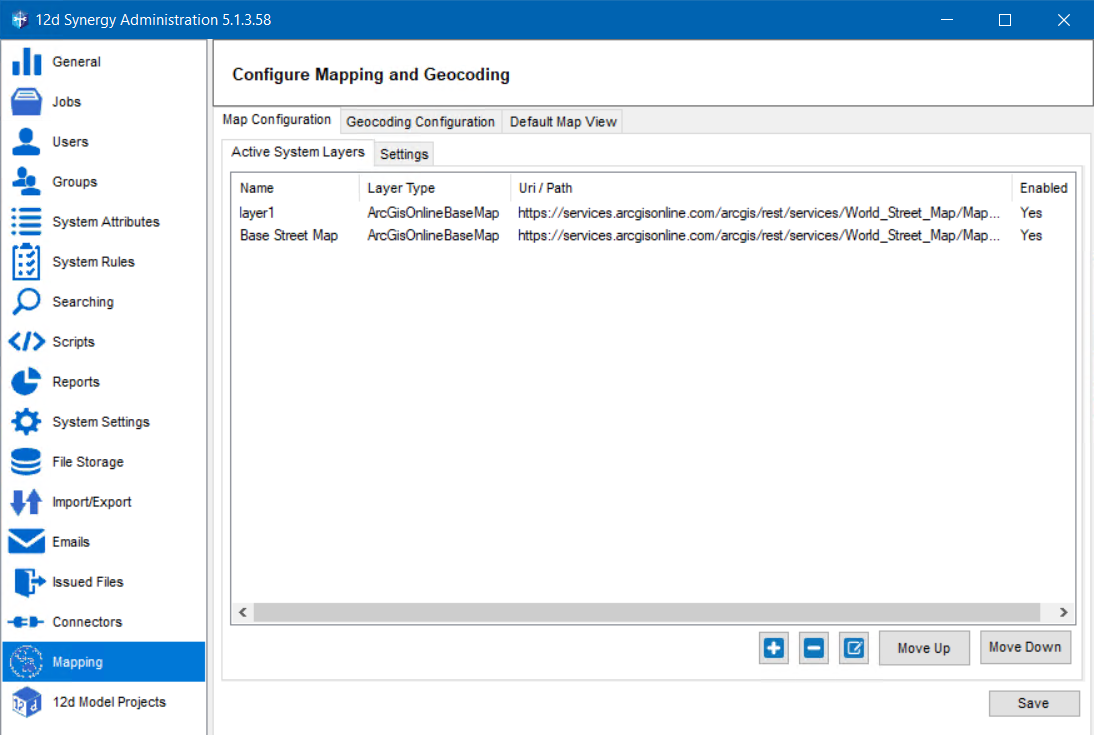
The settings configured from this location will apply to all the jobs accessed from this system. You can add a layer from this tab.
1.5.2. Job-level settings
- After you log in to the 12d Synergy Client application, right-click the required job.
- Select the Edit option.
The Edit a Job: < Job Name> window is displayed. - Select the Mapping tab > Active Job Layers tab.
You can add a layer from this tab.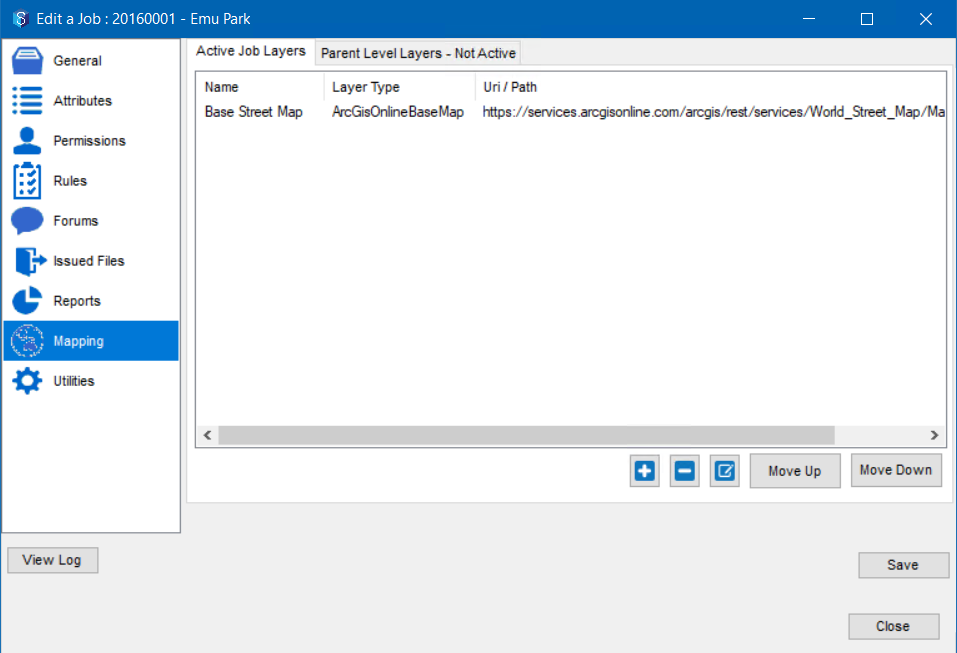
The job-level settings take precedence over system-level settings.
1.5.3. User-Level Settings
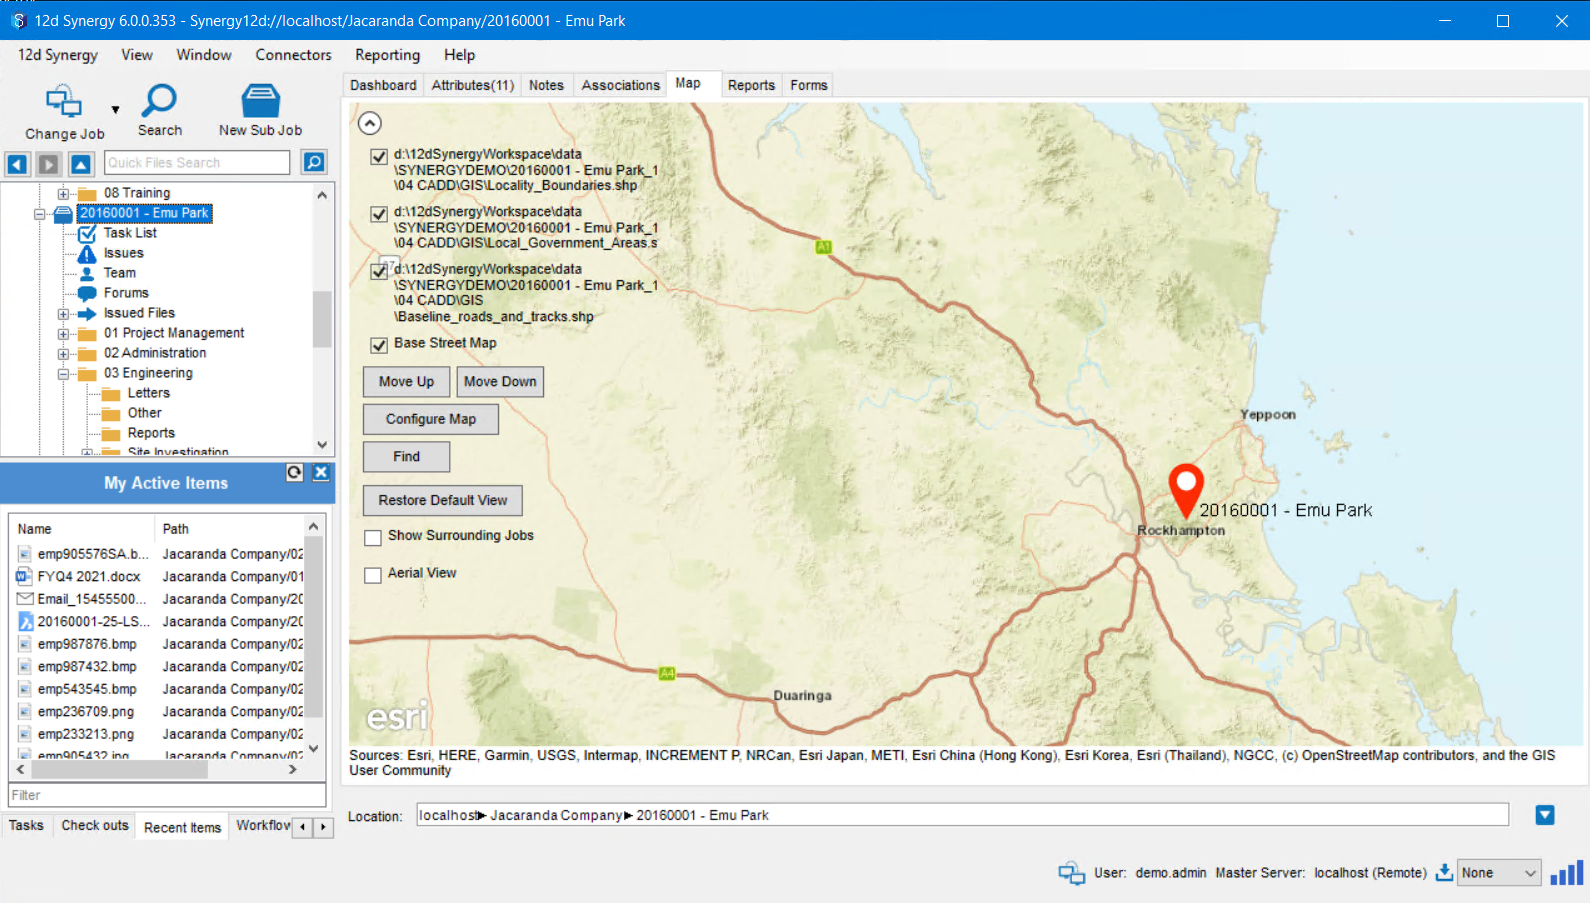
- After you log in to the 12d Synergy Client application, the selected job’s dashboard is displayed.
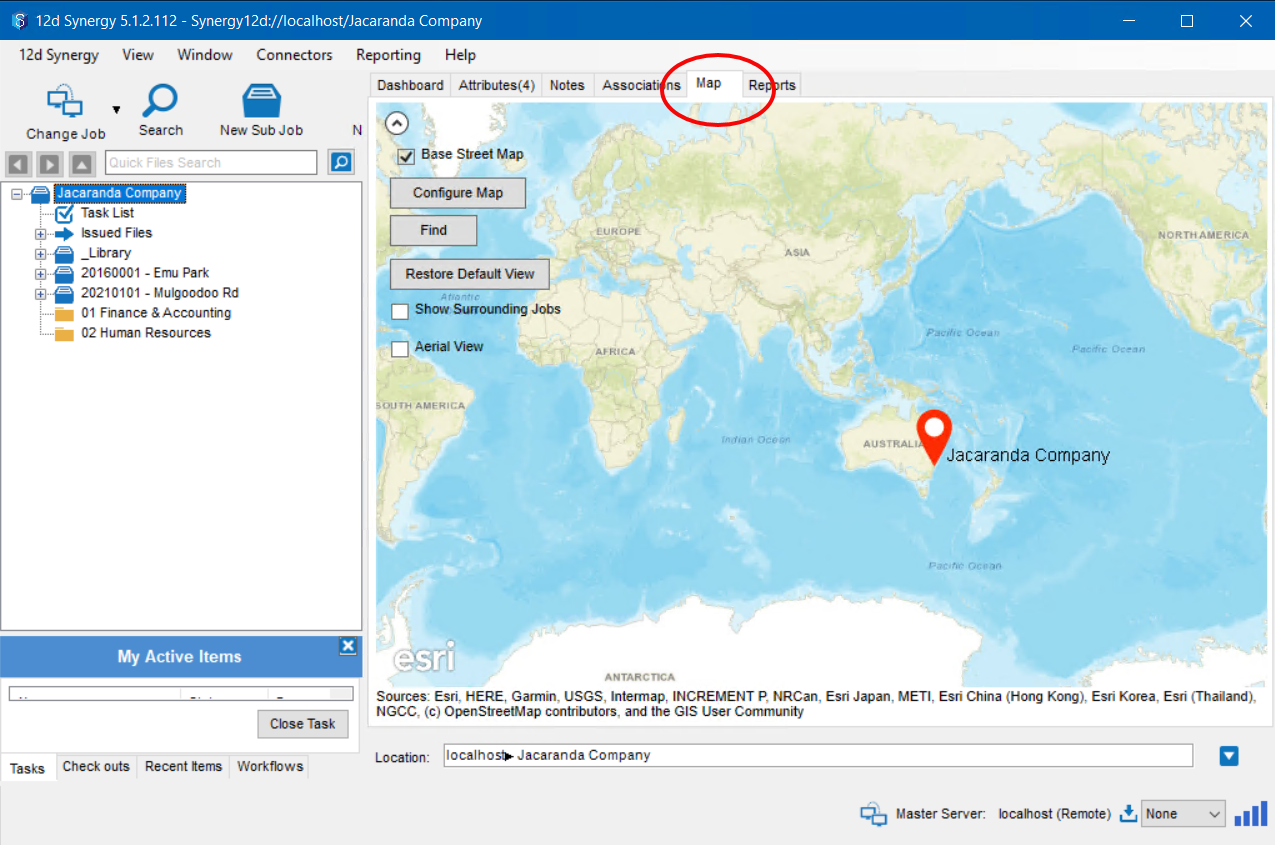
- Click the Map tab.
- Click the small arrow
 button on the top left corner of the map to view the map search details.
- Click the Configure Map button.
The Map Layers window is displayed.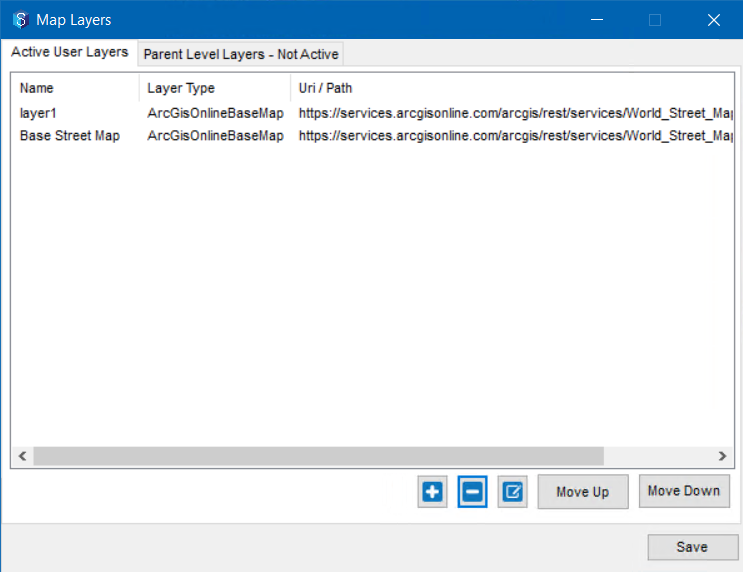
- In the Active User Layers tab, you can add more layers to your map.
- The user-level settings take precedence over job-level and system-level settings.
- The Parent Level Layers - Not Active tab displays the system-level and/or job-level layers if any of them are configured. Since there is an active user-level layer configured, the system-level and job-level configurations are not active.
1.5.4. Adding A Layer
- Based on which level you are adding a layer, one of the following tabs is displayed.
- Active System Layers tab
- Active Job Layers tab
- Active User Layers tab
- Click the
 button.
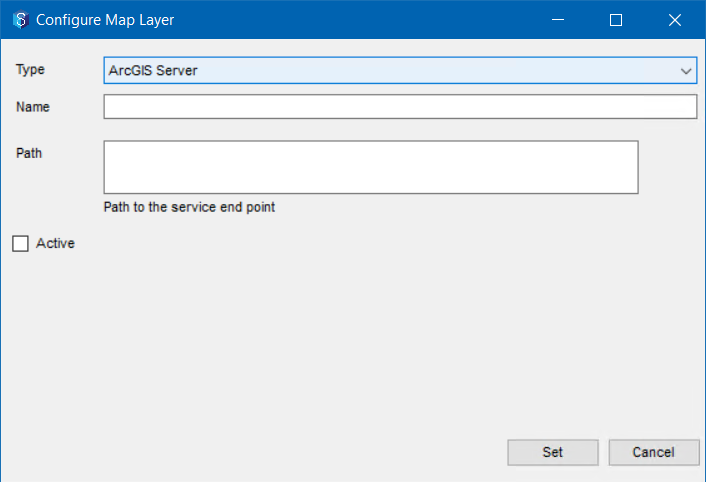
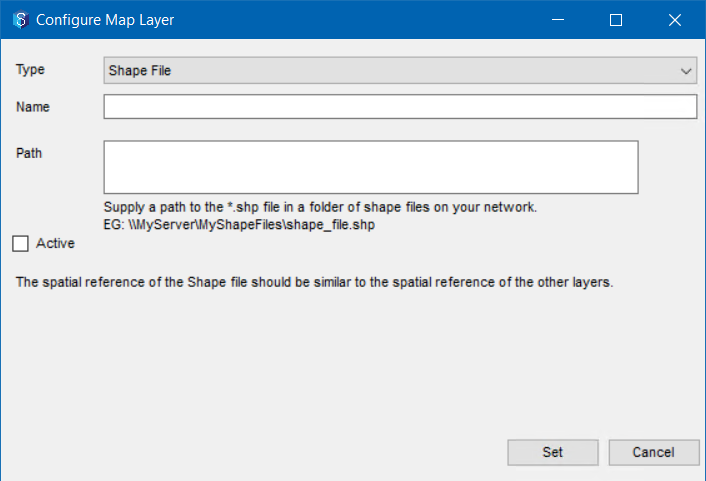
The Configure Map Layer window is displayed. - Select one of the following layers from the Type list.
Based on the map layer selected, the setting components in this window are displayed. These settings vary on the type of service you are using and are provided by the service operator.Type of Layer Map Layer Configuration Window ArcGIS Server
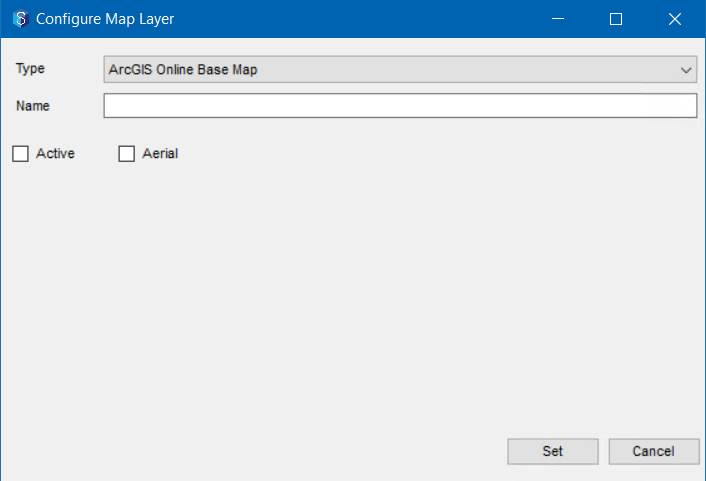
ArcGIS Online Base Map
WMTS (Web Mapping Tile Service)
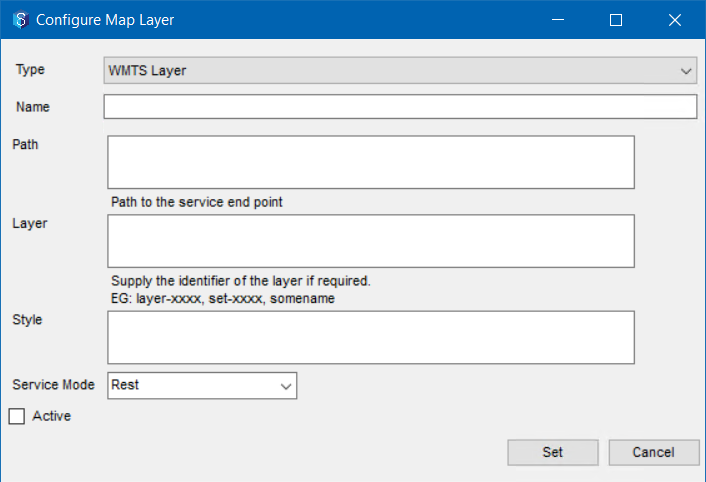
The Layer and Style fields are not required if the WMTS map does not include them.
Shape file
KML / KMZ file
- Enter a name for the new layer that you are adding in the Name box.
- Enter all the other necessary setting details of the new layer in their corresponding boxes.
- Select the Active check box to make the layer active on the map.
If the Active checkbox is not selected or is cleared for a map layer, then the layer is disabled on the map.
- Click the Set button.
All the active layers are displayed in one of the following tabs based on which level you have initiated this process.- Active System Layers tab
- Active Job Layers tab
- Active User Layers tab
An example of the Active User Layers tab is given below. The order in which these layers are displayed in this tab influences the order in which they are drawn. This means that the layers displayed on the top of this list are drawn on the top of the base map. Click the Move Up and Move Down buttons to change the order of the layers on the map.
- Click the Save button.
A prompt informing you that the changes have been made are saved is displayed. - Click the Ok button.
The new layer is added at the required level and displayed on the map.If you are adding the layer using the 12d Synergy Administration application, then the selected layer is added to the Map Configuration tab >Active System Layers tab.
1.5.5. How to Work with Relative paths for KMZ/KML and Shape (SHP) Map Layers
If you are generating SHP or KMZ/KML files from a tool like 12d Model, these files are saved in 12d Synergy. You can have these added to the map automatically as the topmost layer, whenever they are added.
- In the 12d Synergy Administration application, select the Mapping tab > Map Configuration tab > Settings tab.
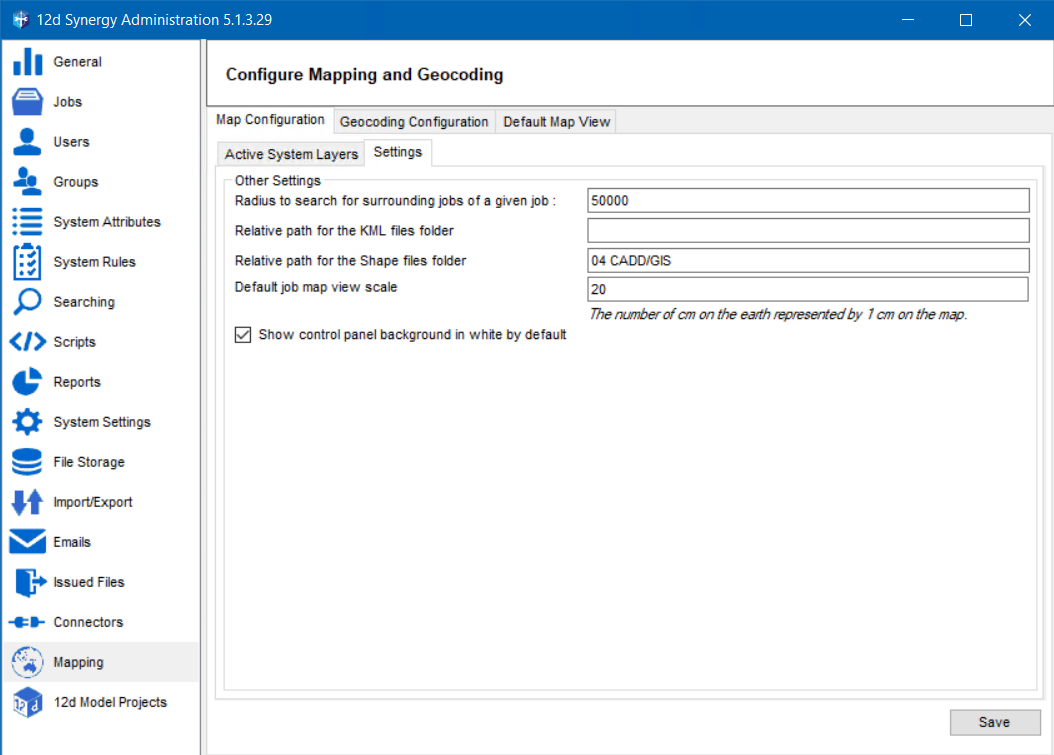
- In the Other Settings section, enter the location of the KML file type in the Relative path for the KML files folder box. This layer will apply to the job that holds the folder mentioned in the Relative path for the KML files folder box.
- Enter the location of the SHP file type in the Relative path for the Shape files folder box. This layer will apply to the job that holds the folder mentioned in the Relative path for the Shape files folder box.
The two relative path settings are applicable for all jobs. So it is recommended to have a similar folder structure under each job to save the KML/KMZ/SHP files.
- Click the Save button.
1.6. How to Delete an Active Layer
1.6.1. Deleting a System-level Active Layer from the 12d Synergy Administration Application
- In the 12d Synergy Administration application, select the Mapping tab > Map Configuration tab > Active System Layers tab.
- Select the layer you want to delete and click the
 button.
The selected layer is deleted. - Click the Save button.
The map configuration is saved and is applied to all the system-level map displays.
1.6.2. Deleting a Job-level Active Layer from From 12d Synergy Client Application
- After you log in to the 12d Synergy Client application, right-click the required job.
- Select the Edit option.
The Edit a Job: < Job Name> window is displayed. - Select the Mapping tab > Active Job Layers tab.

- Select the layer you want to delete and click the
 button.
The selected layer is deleted. - Click the Save button.
The map configuration is saved and is applied to all the job-level map displays.
1.6.3. Deleting a User-level Active Layer from From 12d Synergy Client Application
- After you log in to the 12d Synergy Client application, the selected job’s dashboard is displayed.

- Click the Map tab.
- Click the small arrow
 button on the top left corner of the map to view the map search details.
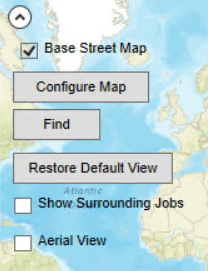
- Click the Configure Map button.
The Map Layers>Active User Layers tab is displayed.
- Select the layer you want to delete and click the
 button.
The selected layer is deleted. - Click the Save button.
The map configuration is saved and is applied to all the user-level map displays.