A contact is a record of information about a person or company. It consists of a name and an email address. You can add additional attributes such as their contact details if you choose. A contact does not have login access to the system unless it is also a User.
A contact list is a group of contacts bundled together so that an email can be sent to them at once. 12d Synergy gives you an option to create either a global list that applies to all jobs or a job-specific contact list that applies to the job in which it is created.
1.1. How to Create a Contact
You can create a contact only if you have the necessary permissions. Please contact your 12d Synergy Administrator for more details.
In the 12d Synergy ribbon, click the Contacts
 button.
Depending on the size of the browser or if you are using the 12d Synergy Mobile App, this option is displayed either in the 12d Synergy ribbon or under the
 top-left menu.
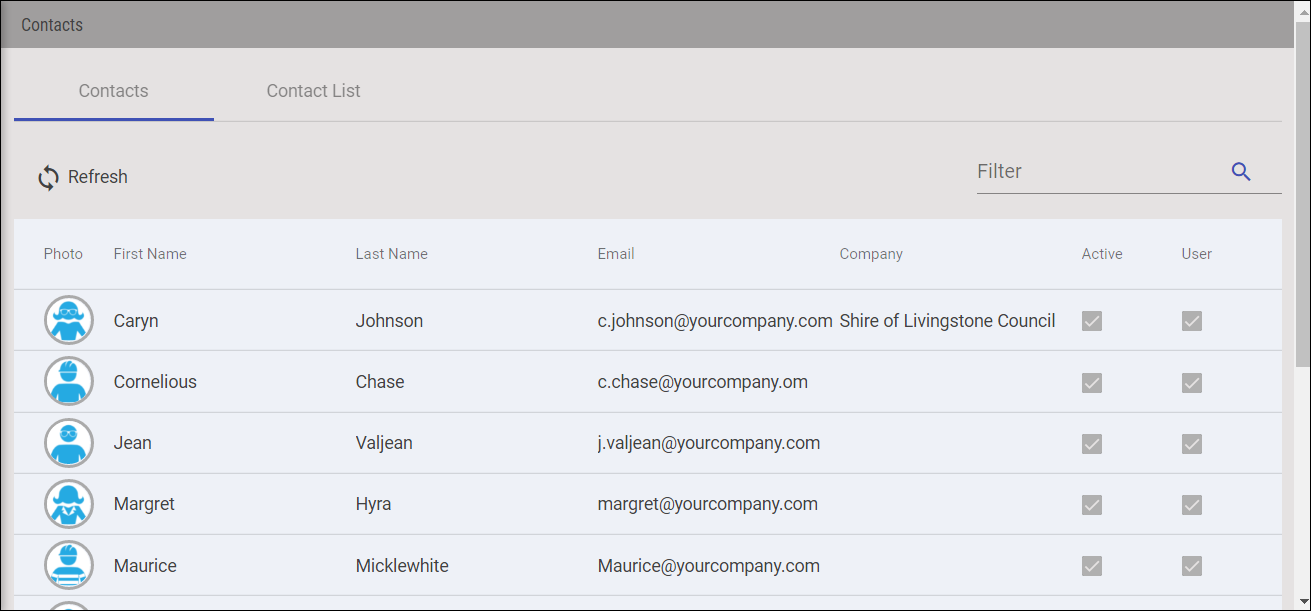
The Contacts tab with a list of added contacts is displayed.
Click the Add contact(s)
 button displayed towards the end of the page.
The Create Contact dialog box is displayed.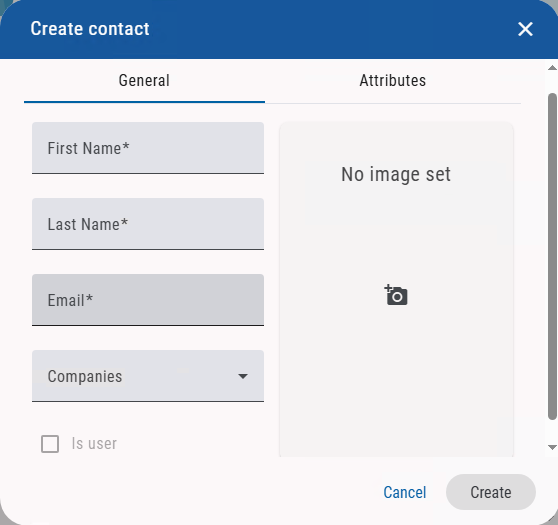
In the General tab, enter/select the following details.
First name – First name of the contact. This is a mandatory field.
Last name – First name of the contact. This is a mandatory field.
Email – The email address of the contact.
Companies – The company to which the contact is connected. This is an optional field.
Is User? – This field is read-only, the value of which is based on whether or not a contact is a user. Only the 12d Synergy Administrator can create a user from an existing contact using the 12d Synergy Administration application > Users tab > Create tab > Create from existing contact check box.
Click the Upload image
 button to set an image for the contact.
In the Attributes tab, enter/select the values for any contact attributes.
The Create button is enabled.Your 12d Synergy Administrator defines the contact attributes in the 12d Synergy Administration application.
Click the Create
 button.
The newly created contact is added to the list of contacts in the Contacts view.When you click a contact, the following window is displayed.
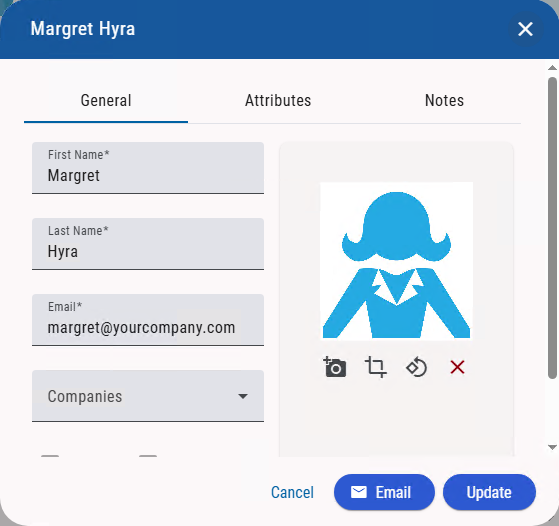
Click the Email button to open your email application and send an email to the selected contact.
1.2. How to Create a Contact List
You can create a contact list only if you have the necessary permissions. Please contact your 12d Synergy Administrator for more details.
In the 12d Synergy ribbon, click the Contacts
 button.
Depending on the size of the browser or if you are using the 12d Synergy Mobile App, this option is displayed either in the 12d Synergy ribbon or under the
 top-left menu.
The Contacts tab with a list of added contacts is displayed.
Click the Contact Lists tab.
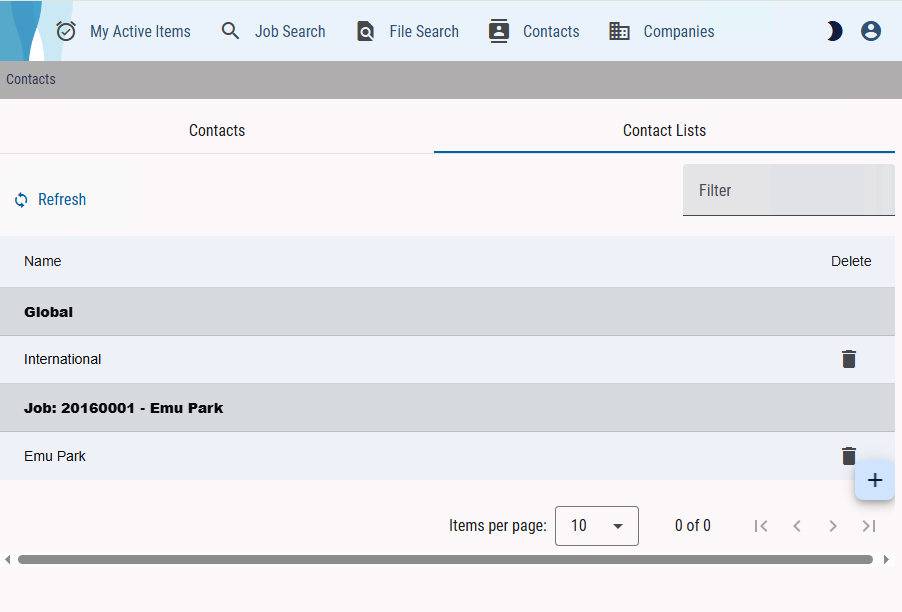
The existing contact lists are displayed under the Global and Job:<currently logged-in job name> headings.You can also update a contact list from this view. Click the contact list you want to update, then follow steps 7 and 8 below to add more contacts.
Click the Add contact list
 button.
The following two options are displayed.Global Contact List - applies to all the jobs in your company
Job Contact List - applies to the job you are currently logged into
Select the required option.
The Contact list name dialog box is displayed.Enter the name of the contact list you want to create in the dialog box and click the Save button.
The list name is added under the respective headings (Global or Job:<currently logged in job name>) in the Contact Lists tab.Click the name of the list you have just created.
The dialog box is displayed.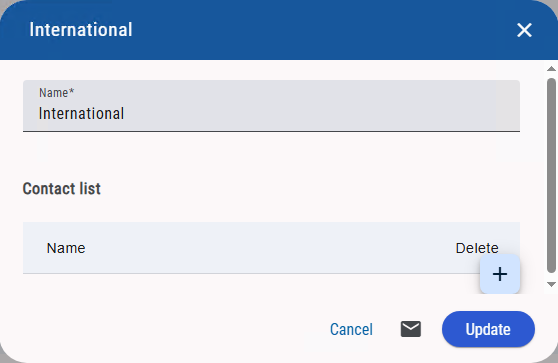
Click the Add contact(s)
 button.
Select one of the two options displayed.
Me - This option adds you to the contact list.
Contact - This option adds a contact to the contact list. You can search for the required contact in the Contact Search dialog box and click it to add it to the contact list.
Repeat steps 7 and 8 to add as many contacts as you want to the contact list, and then click the Update button.
The contact list is created/updated with the added contacts.
When you click a contact list, the following window is displayed.
.png)
Clickicon to open your email application and send an email to the selected contact list.