Client Content
To update a file on the 12d Synergy Server, you must check out a file and make edits. When you check out a file, only you can edit it. Other users can only view the file. Even if they make any edits to the file, the changes are not saved because you have checked it out. This process ensures that no two users work on the same file at the same point in time.
During the checkout process, the latest version of the file is automatically copied to your 12d Synergy workspace, which is where the files are saved on your local system (the default location for the workspace is c:/12dSynergyWorkspace). The edits that you make will be made to the file in the 12d Synergy workspace (which is much faster than working off a Server). After editing the checked-out file, you will need to check it in. 12d Synergy will then send the latest version of the file from the local workspace back to the 12d Synergy Server, restoring the latest file on the Server for future use.
This method of locking files before editing them is called the Check-in/Check-out system, and it is common across most document management systems.
If you want to work on a file that is checked out by another user, you can request the file to be checked in by using the right-click option Other > Request File. The user who has checked out the file will receive an email notifying them of your request to check the file in.
1.1. How to Check out a File
There are several ways to check out a file.
In the 12d Synergy Client application, browse the jobs and folders to the location of the required file.
Select the file to be checked out.
Do one of the following:
Click the
 icon button on the quick access toolbar.
Right-click the file and select the Check-out option.
Double-click the file and select the Yes- Check out option.
The selected file is checked out and downloaded to your workspace. The Checked Out column in the Files tab displays that the file has been checked out by You. You can now edit the files.
1.2. How to Cancel a Check Out
If you have checked out a file by mistake, you can cancel the check-out by doing one of the following:
Click the
 icon on the quick access toolbar.
Right-click the file and select the Cancel Check out option.
The check out previously done is cancelled and the file is not open for editing.
When you cancel a check out, even if your workspace has an updated file, it is not uploaded onto the system.
1.3. How to Check in a File
After updating a file, you will need to check it into the system so the updated version is available to all users. Every time a file is checked in, its version number is incremented by 1.
In the 12d Synergy Client application, browse the jobs and folders to the location of the checked-out file.
Select the checked-out file.
Do one of the following:
Click the
 icon button on the quick access toolbar.
Right-click the file and select the Check in option.
After editing, saving, and closing the file, a prompt for checking in the file is displayed. Select the Yes option at this prompt.
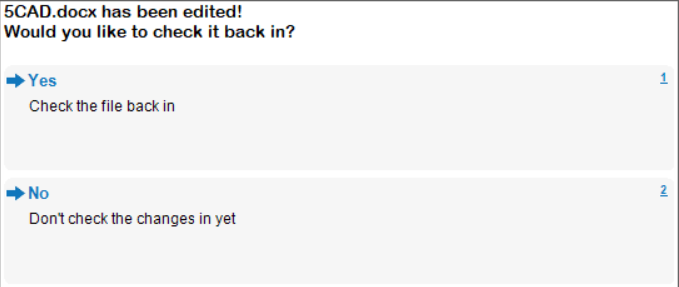
The Describe your Change prompt is displayed.
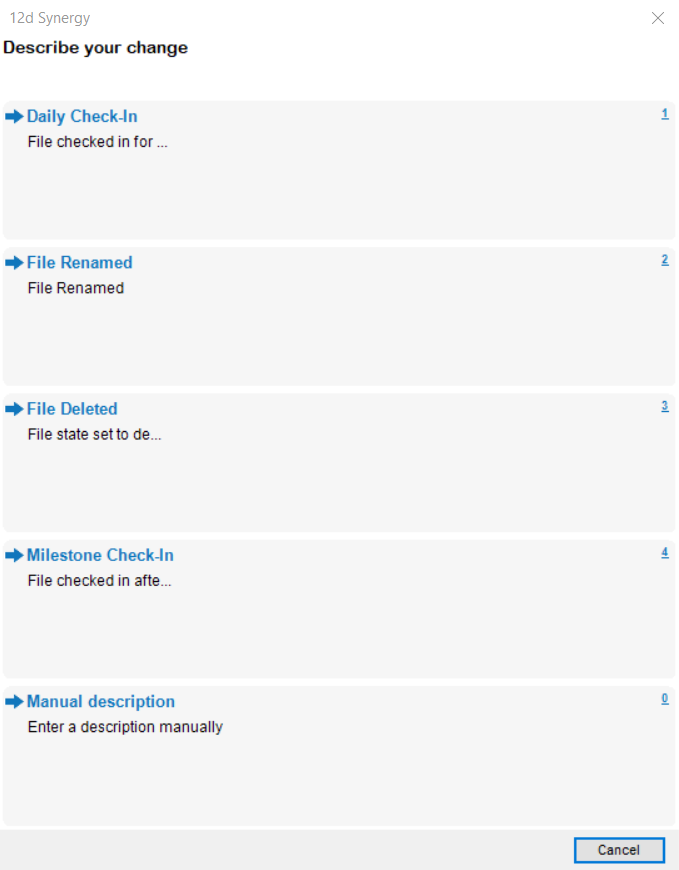
If your 12d Synergy Administrator has configured the change descriptions for checking in a file, then the Describe this change prompt is displayed when you check in a file.
Select the reason for check in.
The file has been checked in, and the updates are visible to all users.If you select the Manual Description option in the Describe your Change dialog box, you will have to type the reason for your check in.
You can type @ and select a contact from the list to notify them about the check in via email. For example, @Cornelious Chase.
You can also type @ with the project role to notify the person working in the capacity of the specified role of the change. For example, @Drafter.
The options displayed in the Describe your Change dialog box can be configured by your 12d Synergy Administrator in the 12d Synergy Administration application > System Rules tab > Change Descriptions tab.