Once a job is complete, you might want to move the older versions of files from your workspace to a disk and keep just the latest versions of the files. This may especially be necessary when the disk space is low. An archived package can be created accordingly and put on external storage, such as a tape drive. And this archived package can be restored later should the need arise to view or use them again.
Archiving gives you the capability to remove files that you do not need anymore and allows you to store any metadata, such as history or attributes, that are associated with them.
1.1. Archiving and Restoring Files on your Server
1.1.1. Archiving files on your Server
- In the 12d Synergy Administration application, select the File Storage tab > Archive tab.
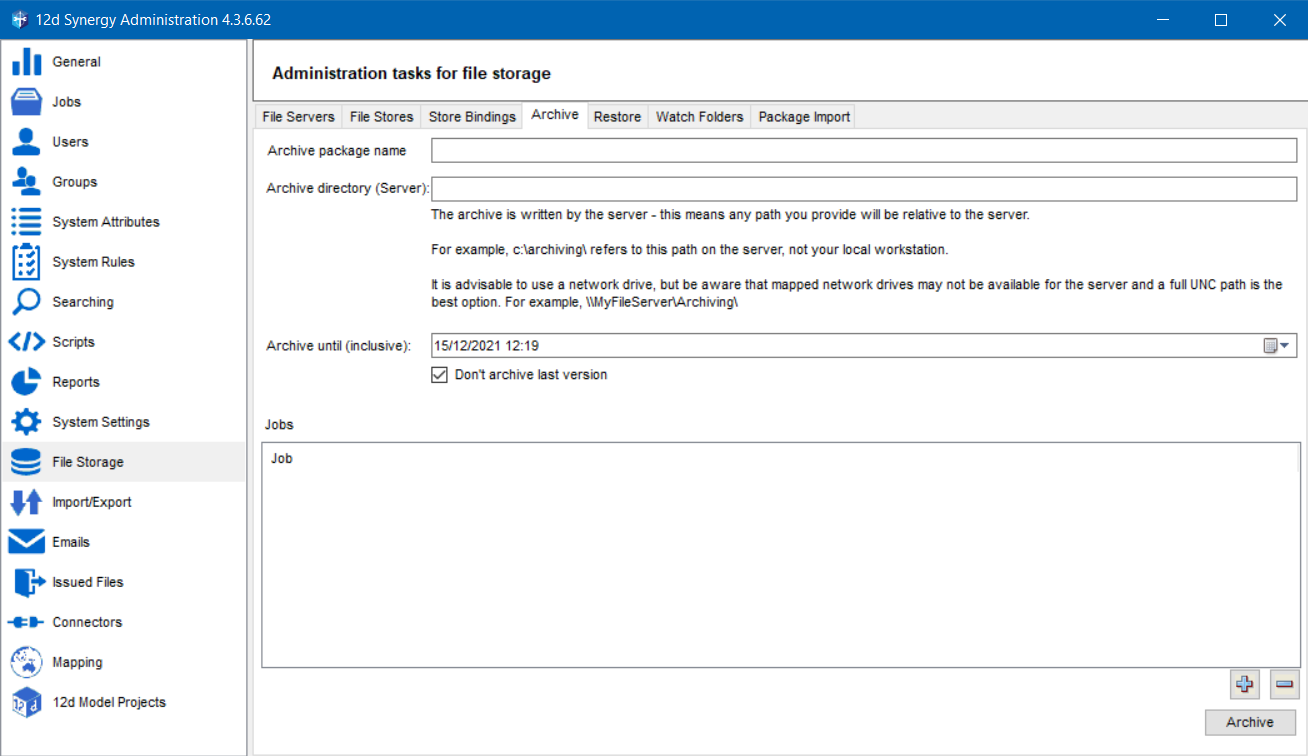
- Enter a name for the package to be archived in the Archive package name box.
- Enter the location on the server where you want to place this archived package in the Archive directory (Server) box.
- Select a date and time from the Archive until (inclusive) calendar list until when the files of the selected job have to be archived.
- Select the Don’t archive last version check box to exclude the last version of all files in the archive package.
- Click the
 icon to select a job that you want to archive. You can add multiple jobs if you want by clicking the
  icon for each job to be added.
The added job(s) is/are displayed in the Archive tab > Jobs panel.While selecting a job from the Select a Job window, you can update the attributes by clicking the Bulk Edit Attributes button.
- Click the Archive
 button.
The files existing in the selected job(s) until the selected date and time are all archived, except if they are the last updated version of a file. It is placed in the entered location.
1.1.2. Restoring Archived Files from your Server
If the need arises, you can easily restore the archived files into the job.
- In the 12d Synergy Administration application, click the File Storage> Restore tab.
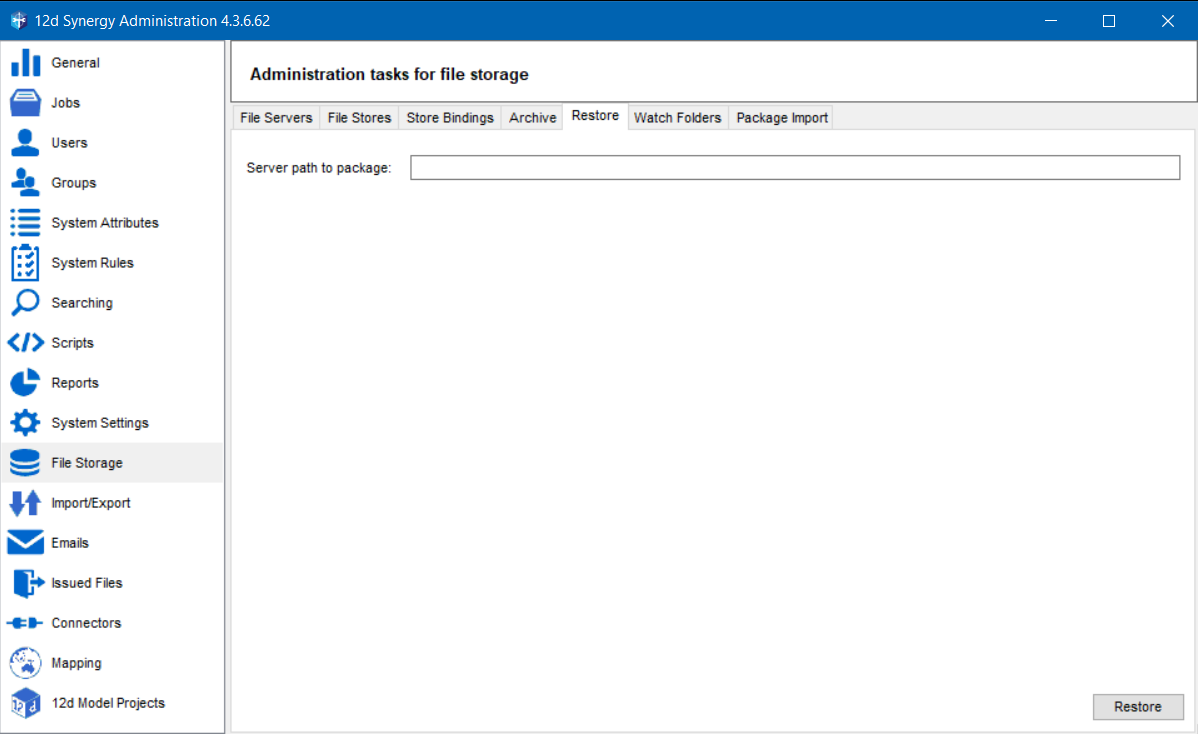
- Enter the location on the server from where you want to restore the archived files (including the name of the archived package that you want to restore) in the Server path to package box. For example, if ArchivedEmuPark is the name of the archived job at the location c:\Archives on the server, then enter c:\Archives\ArchivedEmuPark in the Server path to package box.
- Click the Restore
 button.
All the files will be restored to their respective job and you can view them using the 12d Synergy Client application.
1.2. Archiving and Restoring on the Cloud
1.2.1. Archiving on the Cloud
- In the 12d Synergy Administration application, click the File Storage > Cloud Archive & Restore tab.
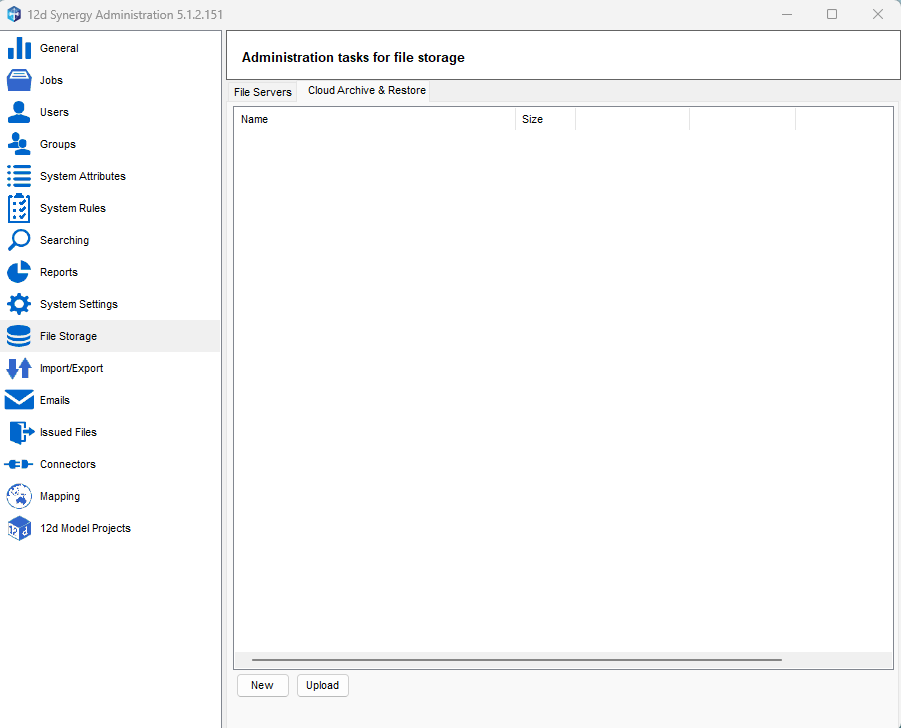
- Click the New button.
The Create New Archive window is displayed.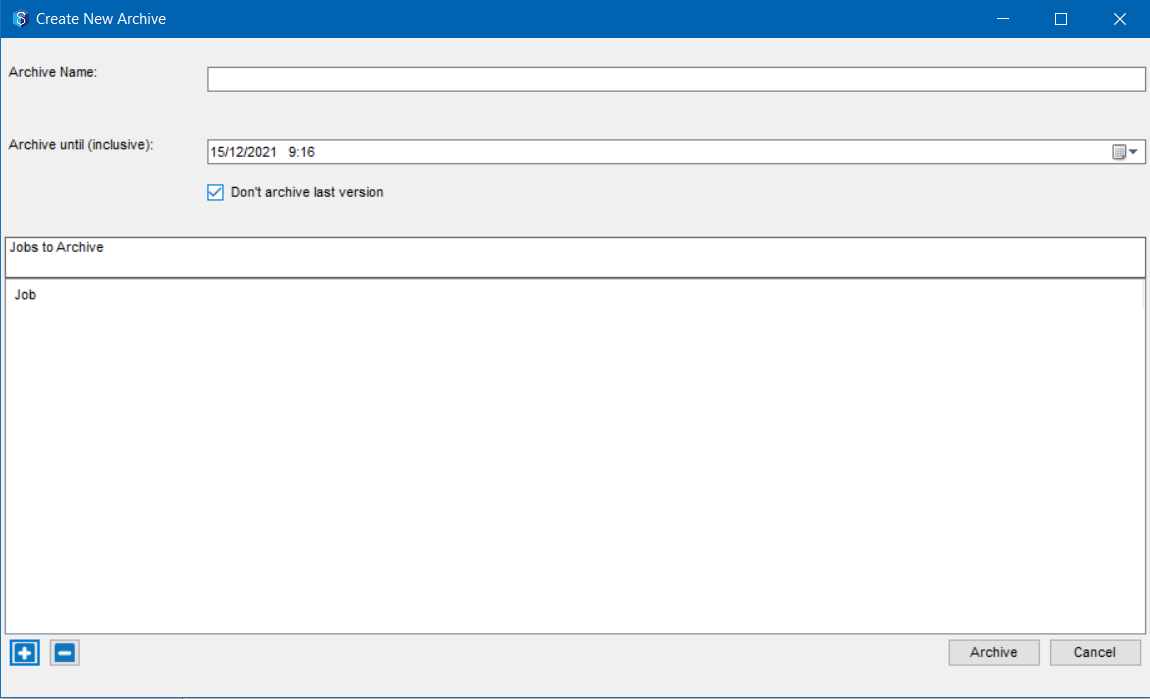
- Enter a name for the package to be archived in the Archive Name box.
- Select a date and time from the Archive until (inclusive) calendar list until when the files of the selected job have to be archived.
- Select the Don’t archive last version check box to not include the last version of all files in the archive package.
- Click the
 icon to find and select a job that you want to archive. You can add multiple jobs if you want by clicking the
  icon for each job to be archived.
The selected job is displayed in the Jobs to Archive panel.
- Select the job from the Job to Archive panel and click the Archive
 button.
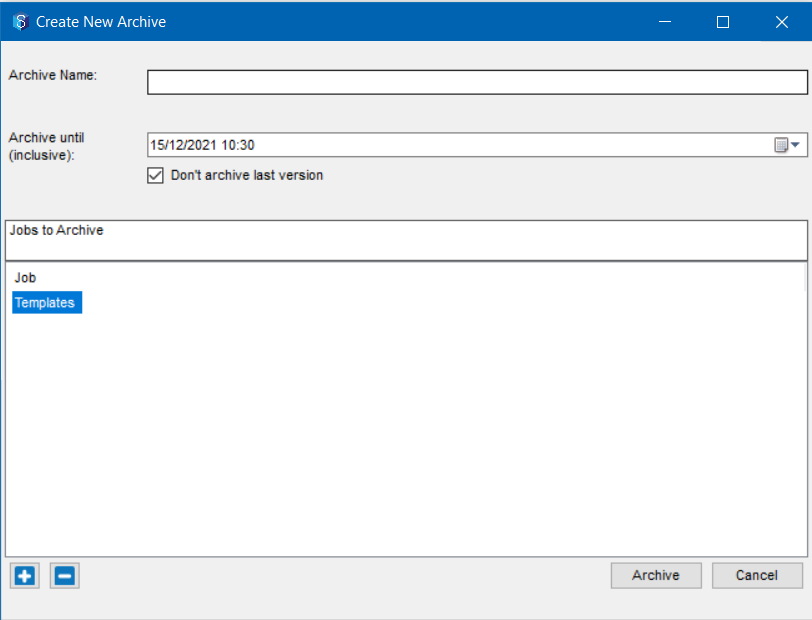
The job is archived and placed in a location in the cloud.- The location on the cloud where the archived package resides cannot be chosen. It is randomly allocated space on the cloud.
- Using space on the cloud will incur costs. Hence, it is a preferred option to download the archived package from the cloud, verify the downloaded package, and place it in a storage location of your choice. Once this process is successful, you can delete the archived package on the cloud.
- When you try to view or roll back a file that is archived, an error message informing you that the file has been archived is displayed. However, you can restore the archive package and view or roll back the file to a previous version.
1.2.2. Deleting an Archive Package from the Cloud
To lower the costs incurred in the usage of space on the cloud, it is preferred to download the archived package from the cloud and place it in a different storage location of your choice, like any external storage device.
The File Storage > Cloud Archive & Restore tab is displayed only for 12d Synergy Cloud customers.
- In the 12d Synergy Administration application, click the File Storage > Cloud Archive & Restore tab.
The list of archived jobs in the cloud is displayed in this tab.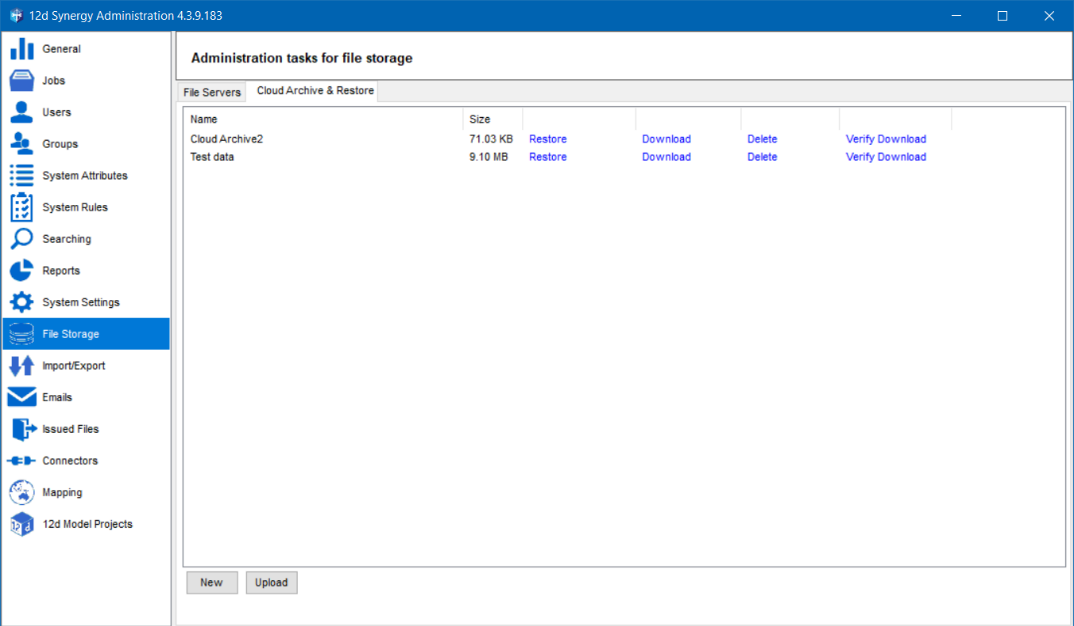
- Click the Download link against the archive package that you want to download.
The Browse for Folder prompt is displayed. - Select the location where you want to save the downloaded archive package.
The archive package is downloaded to the selected location. - Before deleting the package from the cloud, it is a good practice to verify that the downloaded package is not corrupt. For that to happen, click the Verify Download button.
The Select a download to verify against prompt is displayed.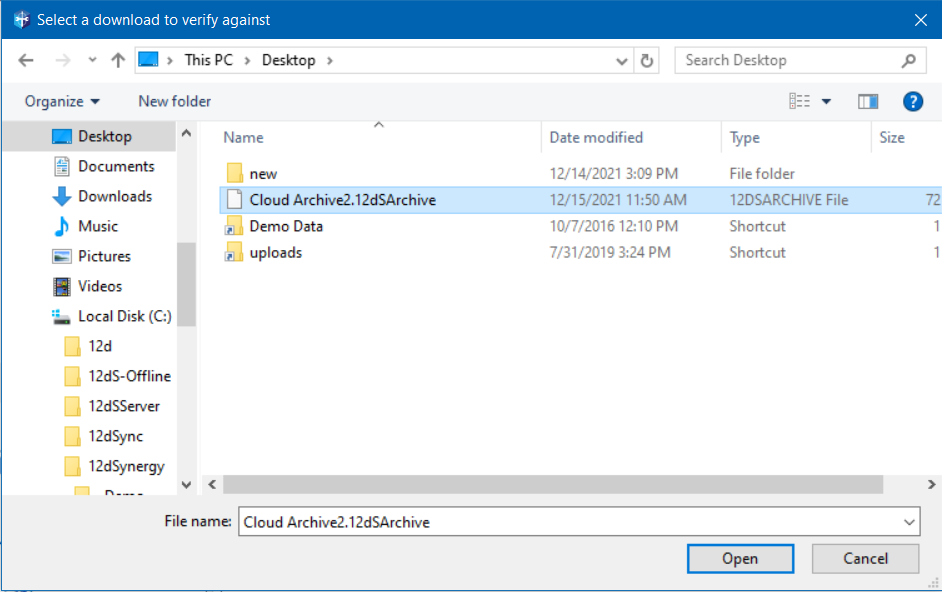
- Select the archive package that you downloaded in step 2.
- Click the Open button.
The downloaded package is checked and if the archive is not corrupt, the following message is displayed.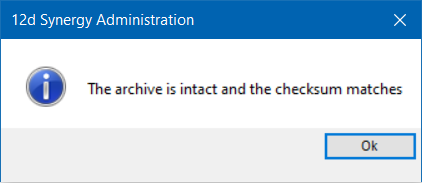
- Click the Ok button.
- You can now safely delete the archive package that is on the cloud. Click the Delete link against the downloaded archived package in the File Storage > Cloud Archive & Restore tab.
The following prompt is displayed.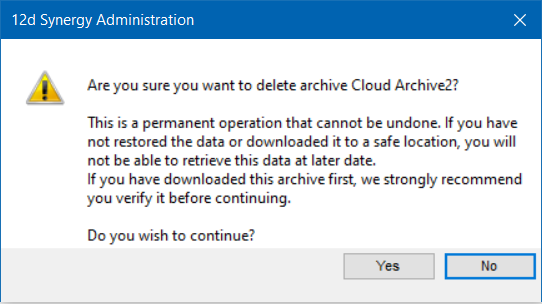
- Click the Yes button.
The archive package is deleted from the cloud. You can now move the downloaded archive package to a storage location of your choice.
1.2.3. Restoring an Archive from the Cloud
- In the 12d Synergy Administration application, click the File Storage > Cloud Archive & Restore tab.
The list of archived jobs in the cloud is displayed in this tab.If you want to restore a deleted archive package from the cloud, you must first upload it back onto the cloud using the Upload button. You can then restore it using the process mentioned below.
 - Click the Restore link against the archive package that you want to restore.
The following prompt is displayed.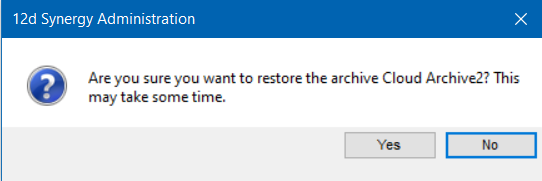
- Click the Yes button.
A confirmation message is displayed once the archive is restored. The files are now available for you to access from the 12d Synergy Client application.