The server error log captures all transactional details of 12d Synergy applications. These details can be used for troubleshooting purposes. You can choose to download a current log or all available historical logs.
In the 12d Synergy Administration application > General tab > Logs tab, Server Error Logs section, enter the path on the server (including the name of the log file) in the Server based log path box. For example, such as c:\12dSynergy\log.txt.
Any log file that is created is saved at this location on the server machine. However, in 12d Synergy version 6, to make these files more accessible, you have the option to save them on the system where the 12d Synergy Administration application is running.Click the Set button to set the entered location as the default folder on the server for saving log files.
Select the Show debug checkbox to capture additional login details in the server error log file.
It is recommended to select this checkbox, as it provides more details to investigate issues.
Click the Download Server Log button.
The following prompt is displayed.
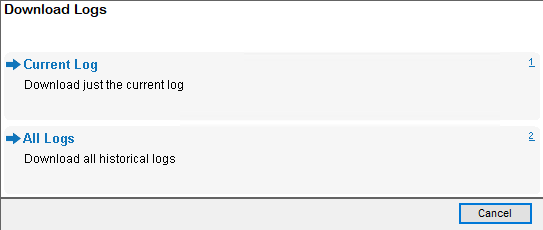
Select one of the following log options for download:
Current log - This option downloads the current log file, which contains the most recent transactions that occurred on the server. Once the size of this file reaches 20 MB, it becomes a historical log, which will then be captured using the All available logs option. The latest transactional details will then be captured in a new file, which becomes the current log file.
All available logs v6 feature - This option downloads a zip file containing 10 historical log files, each file being 20 MB in size. When the current log file reaches 20 MB, it overwrites the latest historical file. All existing historical files move down one position, and the oldest file (previously the 10th file) is deleted.
The Save log file prompt is displayed.
Select a location on your system for saving a copy of the selected log file(s) and enter a name for this file in the File name box. If you have selected the All available logs option, each file is named with the file name suffixed by a number from 1 to 10, in chronological order. For example, log1.txt, log2.txt, etc.
Click the Save button.
The log file(s) is/are saved at the server location mentioned in the Server based log path box as well as the location selected in the Save log file prompt.