Add and Configure a Projectwise Data Flow Type
In the 12d Synergy Administration application, select the Data Flows > Data Flows tab.
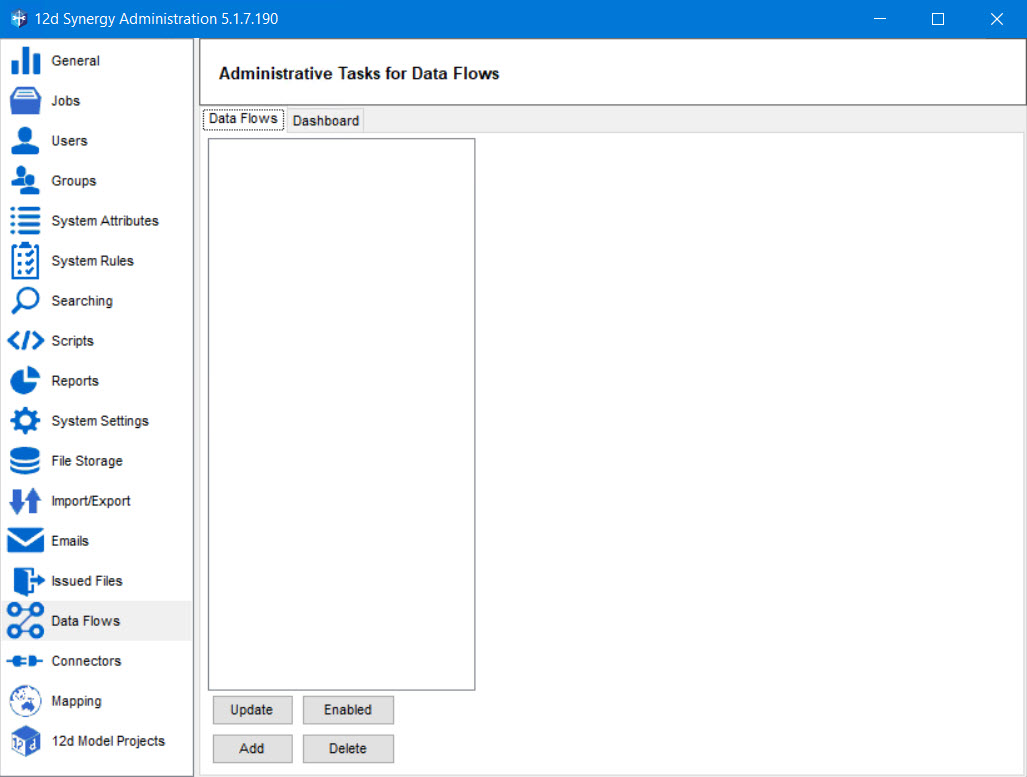
Click the Add button.
The Upload a data flow window is displayed.

Click the ellipsis
 button in the Upload a data flow window.
The Select a task library prompt is displayed.
Select the ProjectwiseDataFlow.dll file in the Select a task library prompt and click the Open button.
The path to the selected ProjectwiseDataFlow.dll file is displayed in the Path box of the Upload a data flow window.
Click the Upload button.
The data flow type is added, and a confirmation message is displayed.
Click the Ok button.
The Basic Configuration and Profiles tabs are added to the 12d Synergy Administration application > Data Flows > Data Flows tab.
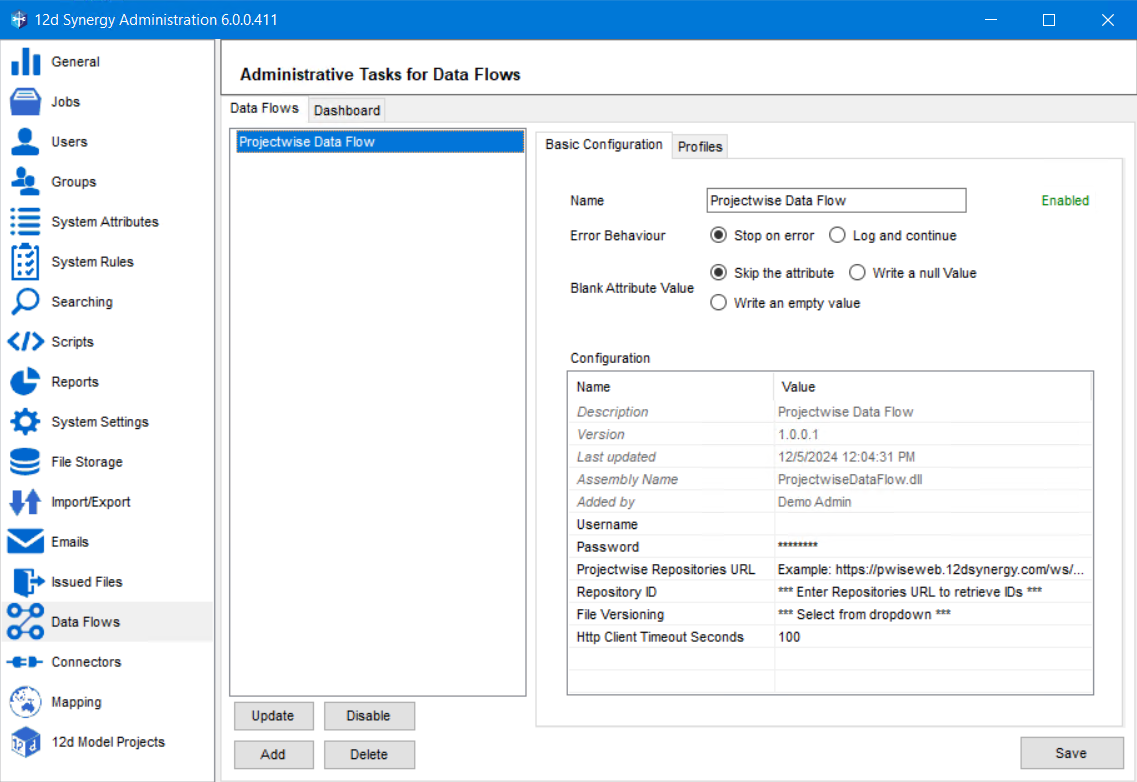
By default, the added data flow type is enabled, and the name of the data flow type is displayed in the Name box. The configuration details of the added data flow type are displayed in the Configuration section.
Select one of the following:
Stop on error option as the Error Behaviour.
When an error occurs while working with the Projectwise Data Flow Type, selecting this option will stop the process and log the error.
Log and continue option as the Error Behaviour.
When an error occurs while working with the Projectwise Data Flow Type, selecting this option will write an error message in the log files and continue processing the data flow, if possible.
When the system encounters a blank value for an attribute, you can choose its reaction to it. Select one of the following options for the Blank Attribute Value field.
Skip the attribute
Write a null value
Write an empty value
In the Configuration section, enter a username and password in the Value column adjacent to Username and Password boxes for accessing the Projectwise Data Flow Type in the 12d Synergy Client application.
These are mandatory fields, and without entering the correct username and password, a user cannot run a data flow.
The Username and Password to be entered here are the credentials made up by the Projectwise Administrator for a Logical Projectwise account (also known as a Projectwise native account). Your account is NOT to be confused with a Windows or IMS (Identity Management Service) account.
Enter the URL of Projectwise repositories in the Value column of the Projectwise Repositories URL row.
All the repositories at the mentioned URL are retrieved and displayed as a list in the Value column of the Repository ID row.
Select the required repository from the list displayed in the Value column of the Repository ID row.
You can create profiles for the selected data flow type in the Profiles tab.
Click the Save button.
The Projectwise Data Flow Type is configured.