Add and Configure a BIM360 Data Flow Type
Warning: BIM360/ACC (Autodesk Construction Cloud) uses AWS to store their files. However, when 12d Synergy requests data for ingress via their API, they provide a separate URL to download the associated files directly from their stores in AWS. This is a different/new connection that the 12d Synergy Server needs to create for the file download. Please ensure that the 12d Synergy Server can access AWS resources via HTTPS.
There are two steps involved in this configuration.
Step 1 - Create and Set up an App for BIM360 Data flow in Autodesk Construction Cloud and Autodesk Platform Services
Access and log in to Autodesk Platform Services at https://aps.autodesk.com/.
Click the Go to my apps
 button and then click the Create application
  button. The Create Application prompt is displayed.
Enter a name for the application in the Name box. For example, say BIM360 12dSynergy Dataflow.
Select the Server-to-Server App option as the Application Type (as shown in the image above).
Click the Create button. A Server-to-Server app with the provided name is created.
.jpg "27009e1b-4656-4e21-918e-908f0927fd52(2).jpg")
Click the Copy
.jpg "copy(1).jpg") icon displayed against the Client ID and Client Secret credentials, and make a note of them.
icon displayed against the Client ID and Client Secret credentials, and make a note of them.Click the Save changes button.
Access Autodesk Construction Cloud at https://acc.autodesk.com/projects to view all your projects.
Click the Account Admin link > Custom Integrations tab as shown below.
(1).jpg "custint(1)(1).jpg")
Also, make note of the Autodesk Construction Cloud Account Name, TDSynergyDev in the above example. This Account Name has to be entered in the 12d Synergy Administration application > Data Flows > Data Flows tab > Basic Configuration tab for BIM360 Data Flow > BIM360 Docs Account Name configuration detail’s Value column. (Please refer to step 7 in Step 2 - Configure a BIM360 Data Flow type in the 12d Synergy Administration application)Click the Add custom integration button.
The Add custom integration prompt is displayed.
Enter the copied Client ID from step 6 of this procedure in the Autodesk Platform Services Client ID box.
Enter the name of the server-to-server app you created, BIM360 12dSynergy Dataflow, in the Custom integration name box.
Enter a brief description of the custom integration that you are setting up. The custom integration is added and displayed in the Custom Integrations tab shown in step 9 of this procedure.
Select the app you just created from the displayed list (BIM360 12dSynergy Dataflow). The details of the BIM360 12dSynergy Dataflow are displayed to the right of the page.
When adding the custom integration, you must be a member of the project you want to connect to.
Step 2 - Configure a BIM360 Data Flow type in the 12d Synergy Administration application
In the 12d Synergy Administration application, select the Data Flows > Data Flows tab.
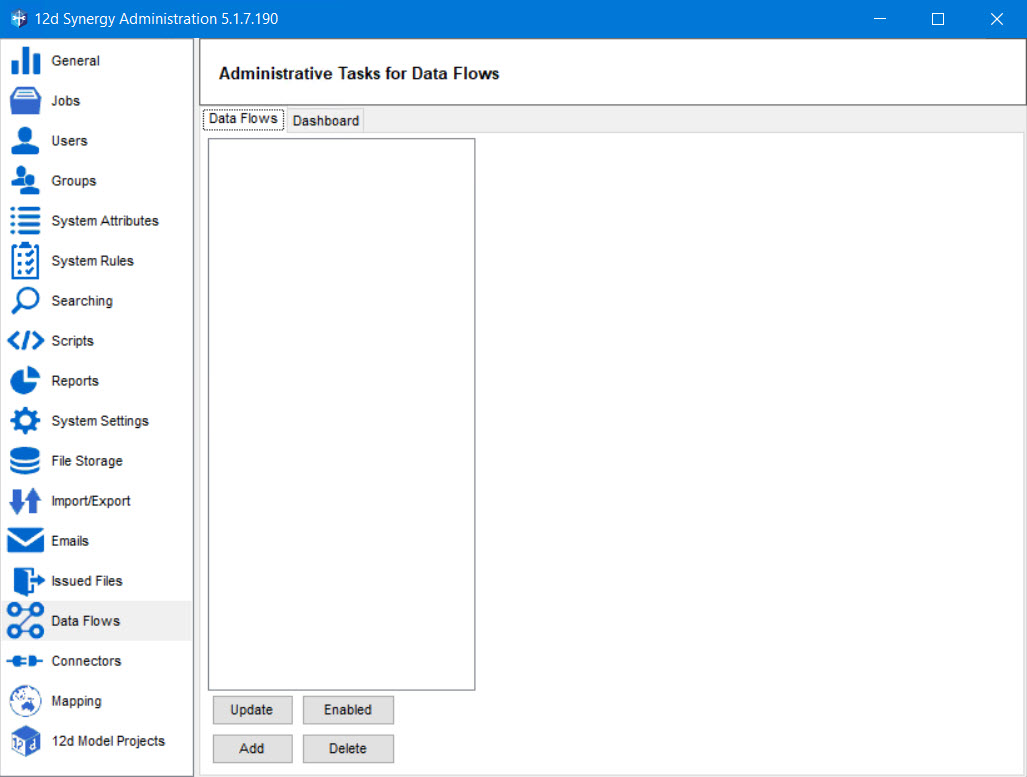
Click the Add button.
The Upload a data flow window is displayed.

Click the ellipsis
 button in the Upload a data flow window.
The Select a task library prompt is displayed.
Select the BIM360DataFlow.dll file in the Select a task library prompt and click the Open button.
The path to the selected BIM360DataFlow.dll file is displayed in the Path box of the Upload a data flow window.Click the Upload button.
The data flow type is added, and a confirmation message is displayed.
Click the Ok button.
The Basic Configuration and Profiles tabs are added to the 12d Synergy Administration application > Data Flows > Data Flows tab.
.jpg)
By default, the added data flow type is Enabled, and its name is displayed in the Name box. The configuration details of the added data flow type are displayed in the Configuration section.Select one of the following:
Stop on error option as the Error Behaviour.
When an error occurs while working with the BIM360 Data Flow Type, selecting this option will stop the process and log the error.
Log and continue option as the Error Behaviour.
When an error occurs while working with the BIM360 Data Flow Type, selecting this option will write an error message in the log files and continue processing the data flow, if possible.
When the system encounters a blank value for an attribute, you can choose its reaction to it. Select one of the following options for the Blank Attribute Value field.
Skip the attribute
Write a null value
Write an empty value
In the Configuration section, enter the Client ID and Client Secret code in the Value column adjacent to the Client ID and Client Secret rows for accessing the BIM360 Data Flow Type in the 12d Synergy Client application. You can get these details from the copied content in step 6 of the Create and set up an app for BIM360 Dataflow in Autodesk Construction Cloud and Autodesk Platform Services above.
Also, enter the Autodesk Construction Cloud Account Name, TDSynergyDev, from the example shown above, in the Value column of the BIM360 Docs Account Name row. (Please refer to step 9 of the Create and set up an app for BIM360 Dataflow in Autodesk Construction Cloud and Autodesk Platform Services procedure above.
Enter the URL of API base of BIM360 (https://developer.api.autodesk.com/) in the Value column of the BIM360 API Base URL row.
Client ID, Client Secret, BIM360 Docs Account Name and BIM360 API Base URL are all mandatory fields, and without entering the correct details, a user cannot run a BIM360 data flow.
You can set the maximum time within which the files should be uploaded in the Upload Timeout (minutes) row.
You can create profiles for the selected data flow type in the Profiles tab.
Click the Save button.
The BIM360 Data Flow Type is configured.