Admin Content
The 12d Synergy Mobile App is NOT compatible with a self-signed certificate. You must purchase a valid certificate from a trusted third-party Certificate Authority to use the 12d Synergy Mobile App.
Log in to the server on which the certificate has to be installed.
In the 12d Synergy Administration application, select the System Settings tab > SSL Certificates tab > Create a Self-Signed Certificate tab.
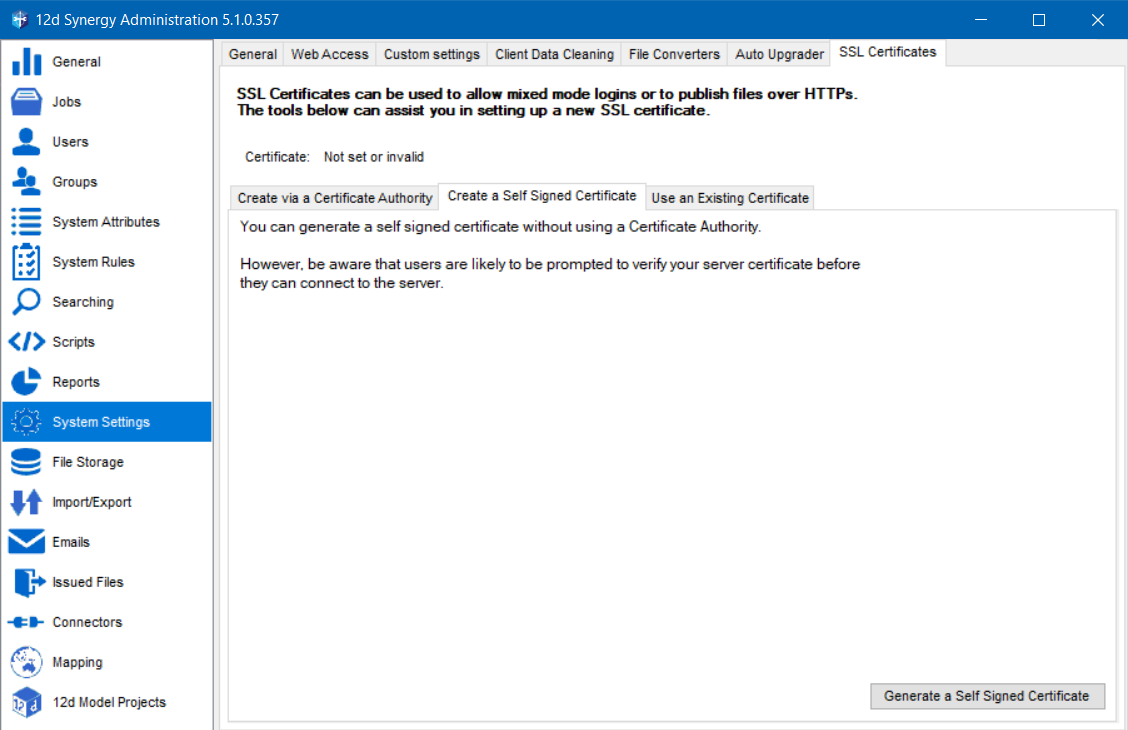
Click the Generate a Self-Signed Certificate button.
The Generate a CSR window is displayed.
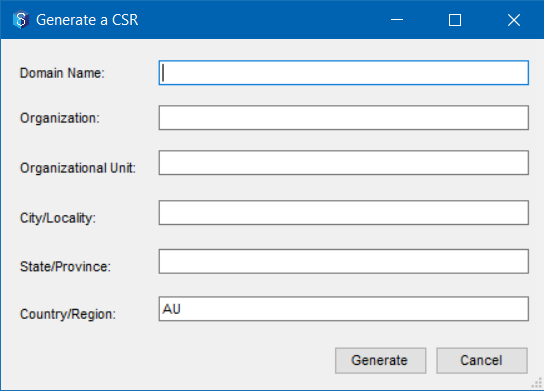
Enter all the details and click the Generate button.
The Certificate Password window is displayed.
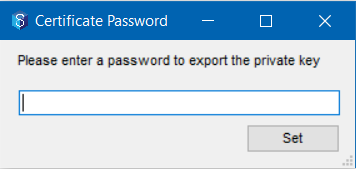
Enter a password to export the private key and click the Set button.
The following prompt is displayed.
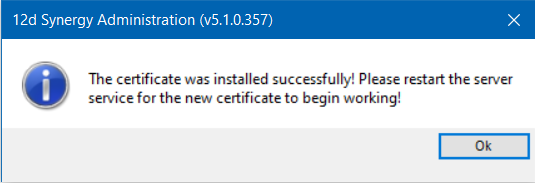
Click the OK button.
An error message might appear while importing the certificate using the 12d Synergy Administration application if the Service Account does not have access to write to the Certificate Store. You should be able to manually add the certificate by following the procedure mentioned in How to Add a Certificate(s) to Windows.
Restart the 12d Synergy Server service by doing the following:
Click the Windows Start button > Run prompt > type services.msc. Alternatively, press the Windows+R keys simultaneously and type services.msc.
The Services window is displayed.Right-click the 12d Synergy Server service and select the Restart option.

The 12d Synergy Server service is restarted, and the new certificate is loaded.