- Go/login to the Server in which the certificate ought to be installed.
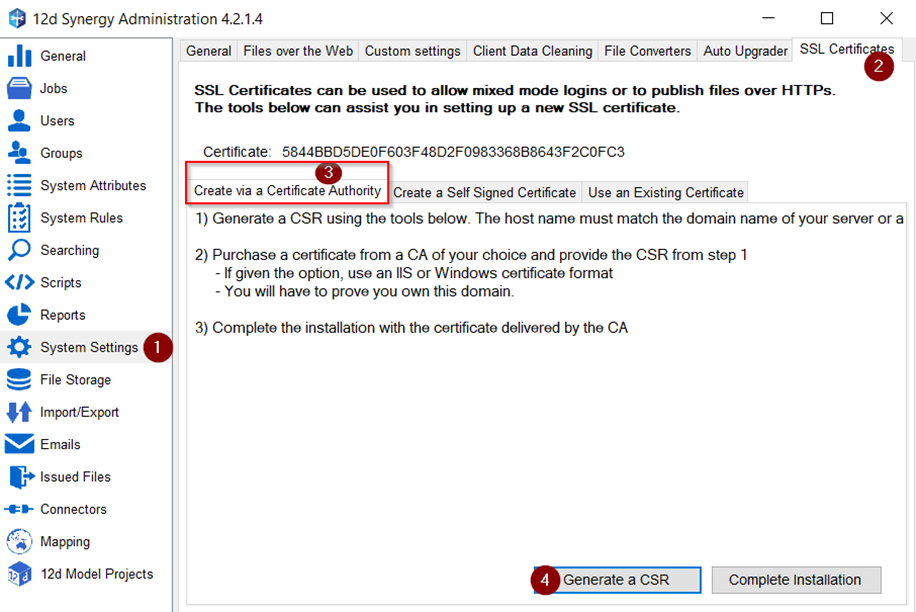
- From within Synergy Administration, navigate to System Settings > SSL Certificates > Create via a Certificate Authority and then click [Generate a CSR]
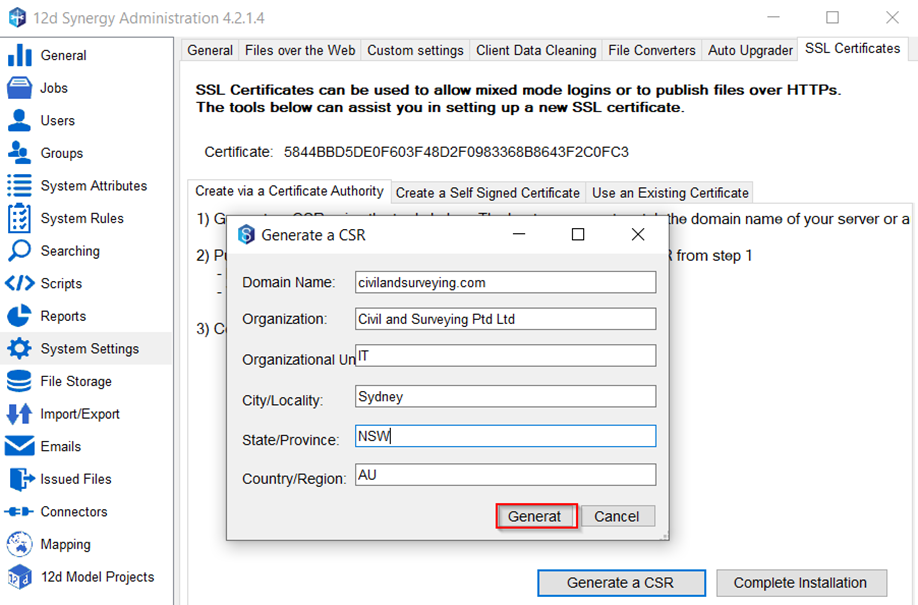
- In the pop form, enter the relevant information about the company and then click Generate
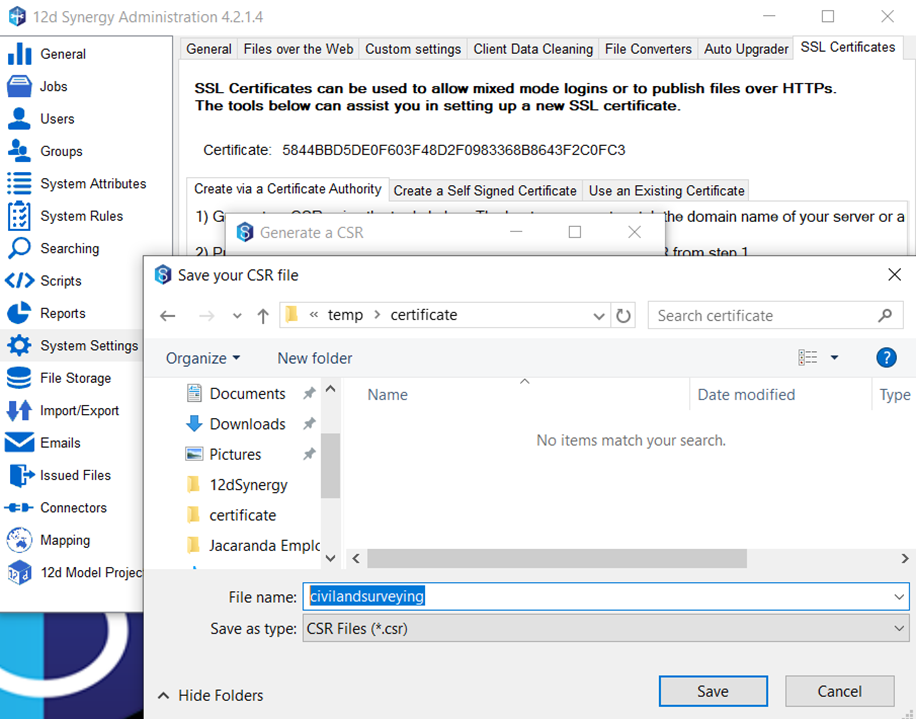
- Give the CSR a filename and save to a directory of choice.
- Purchase a Signed Certificate from a Certificate Authority(CA) of your choice, while providing the CSR file for them to convert it into a Signed Certificate. There is a fee, of a few hundred dollars, for availing of such a service.
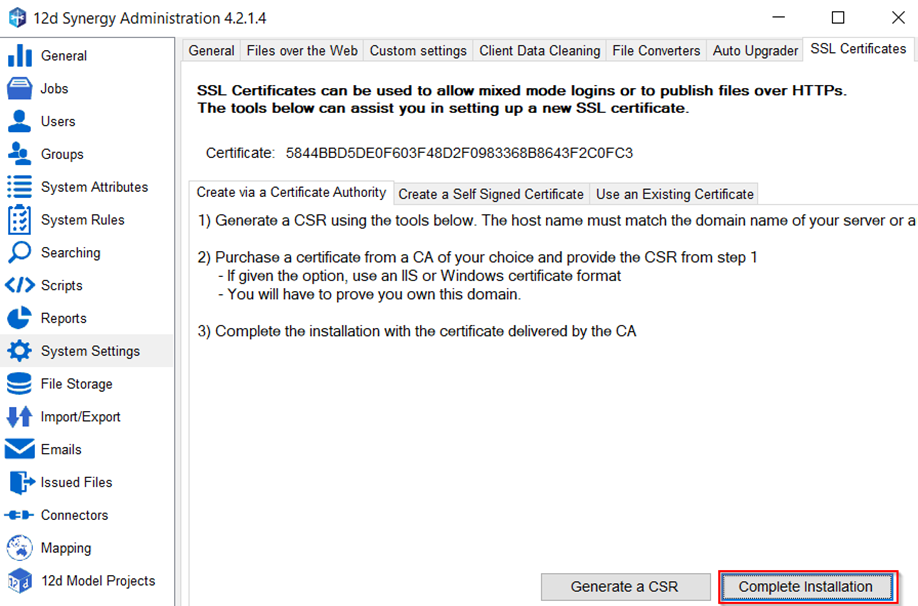
- Once the CA has given you the Signed Certificate, go back into 12d Synergy Administration and click Complete Installation
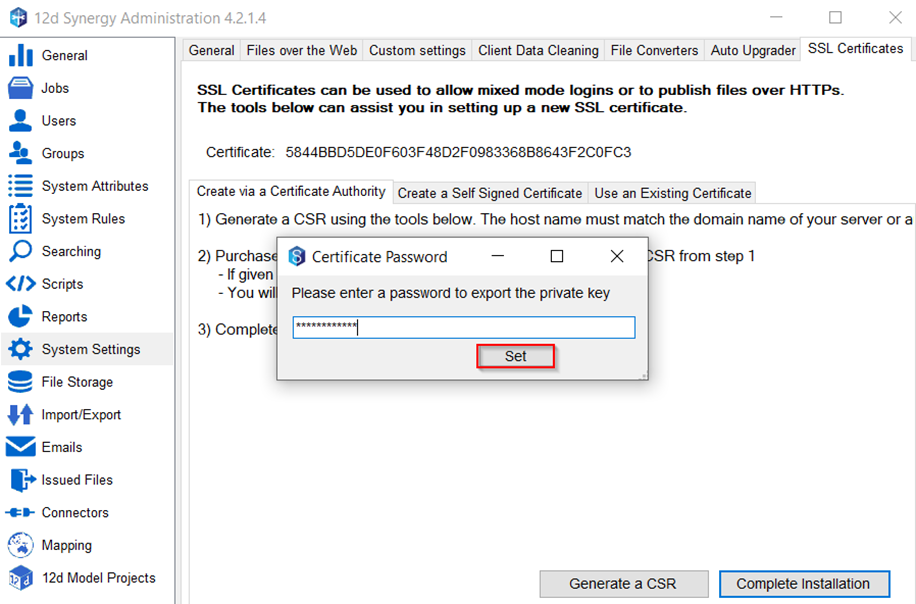
- Enter a Password, used to export the private key after installation, then click Set
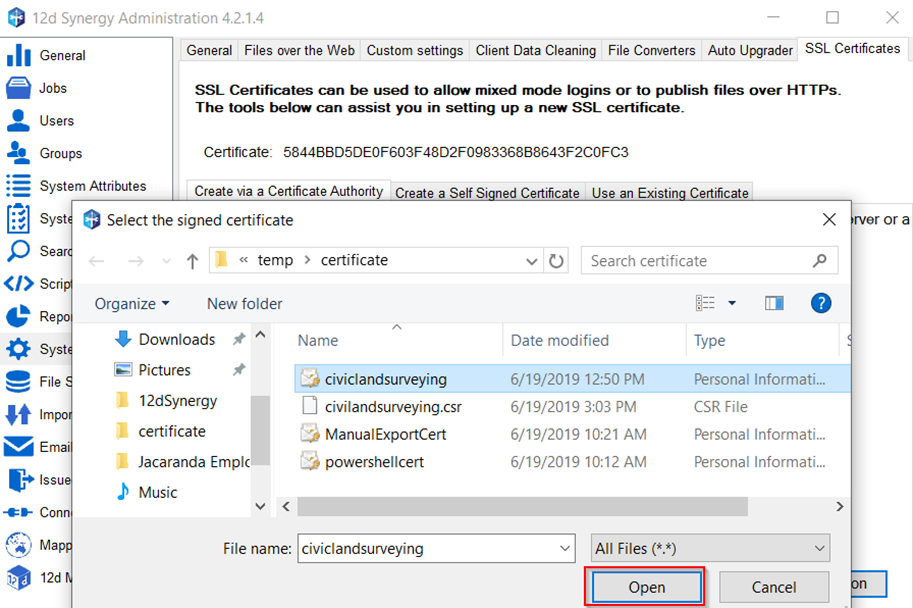
- Locate the certificate, obtained from the CA and click Open
- After clicking the Open button, there should be a prompt with a message:
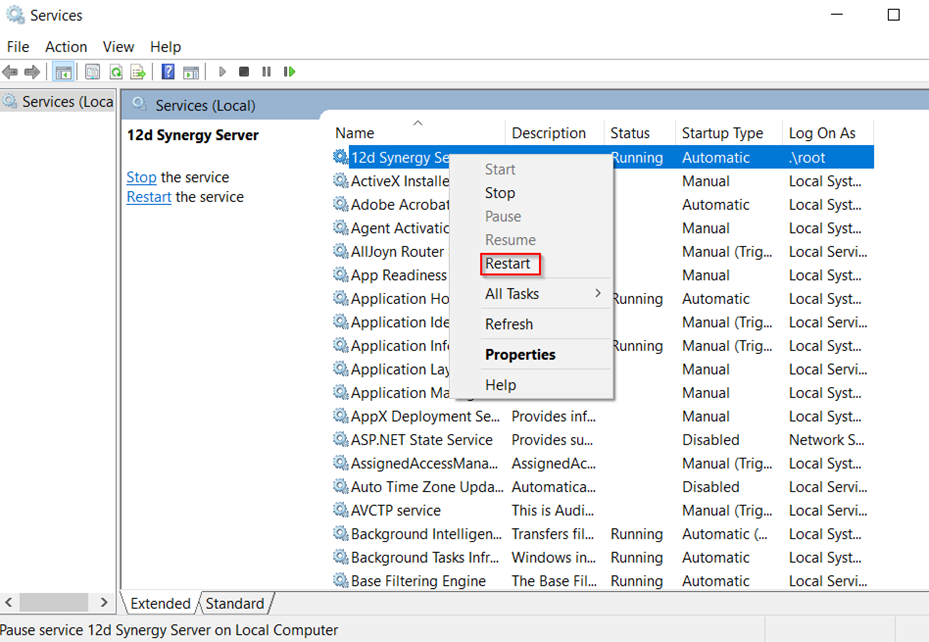
“The certificate was installed successfully! Please restart the server service for the new certificate to begin working!”
* It is possible to get an error message while importing the certificate using 12d Synergy Administration if the Service Account does not have access to write to the Certificate Store. You should be able to manually add the certificate by following our guide on “How to add certificate(s) into Windows”. - Restart the 12d Synergy server service by Start > Run > services.msc or Windows Key + R then type services.msc
Create via a Certificate Authority(CA)
- Updated on Sep 27, 2023
- Published on Sep 14, 2023
- 1 minute(s) read
Was this article helpful?