Admin Content
You can create different email templates for different operations in 12d Synergy. They can be triggered from the 12d Synergy Client application and the 12d Synergy plugin in MS Outlook. For instance, your organisation might have a standard email used for unsuccessful Tenders. This could be a template email triggered via the New Email from Template button on the 12d Synergy plugin in MS Outlook. Or you may circulate a project update weekly to the team on a job. This could be a template email, triggered from the Email button in the 12d Synergy quick access toolbar when you access the Teams link from the job tree in the 12d Synergy Client application.
1.1. How to Define a Template for an Action
1.1.1. Create an Email Template in MS Outlook
In MS Outlook, draft an email message with all the formatting that you wish to have in a template.
Select the File > Save As option and save the email as a .msg file (Outlook Message Format) in a location on your system.
This file acts as a template for your emails.Open the job in which you want to save the template in 12d Synergy Client application.
Create a folder for saving the email templates, and sub folders for each operation type for which you want to create templates.
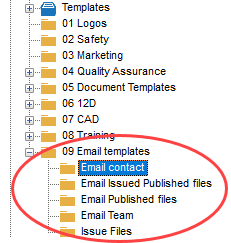
Add the template(s) you have created to the corresponding subfolder created for the selected operation.
The subfolder for the selected operation now has the template created for that operation.
You can have multiple templates for an operation. When the operation is triggered, all the templates added for that operation are displayed. You can then select any one template that matches your requirement.
1.1.2. Attach the Email Template to an Operation
In the 12d Synergy Administration application, select the Emails > Outlook Templates tab.
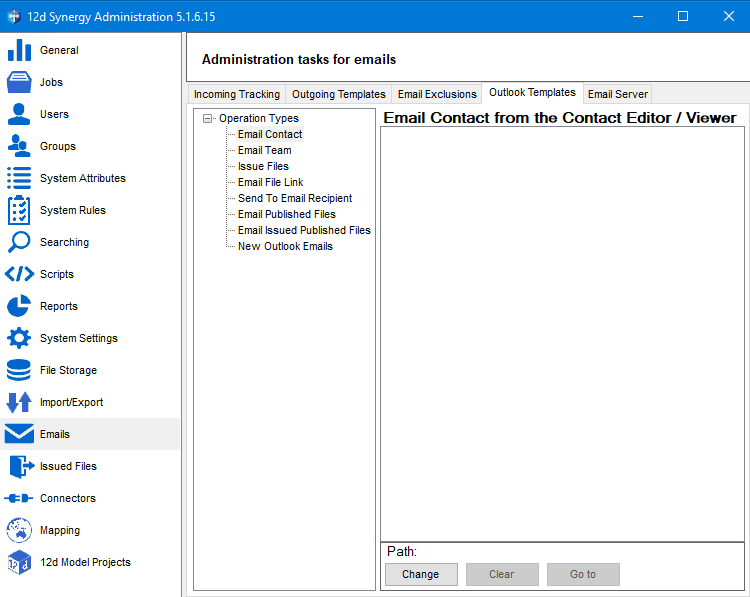
Select the required operation from the Operations tree structure displayed in the left box of the Outlook Templates tab.
Click the Change button.
The Find a job window is displayed.Search for the required job, and access the sub folder that you have saved for the operation selected in Step 2.
Click the Select button.
The template(s) added to the selected sub folder is displayed in the right box of the Outlook Templates tab.
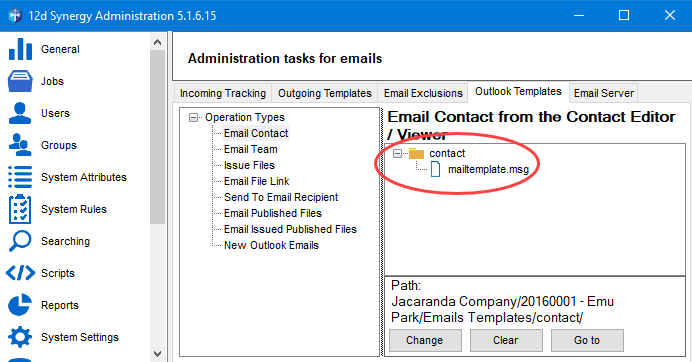
Thus, the template for an operation is attached to the operation. So whenever the email option is selected while the operation is initiated, the corresponding template is triggered.
1.1.3. Email Trigger Points for Various Operations
..Action | Email Triggered from |
|---|---|
Email Contact | 12d Synergy Client application > Window file menu > Contacts option > Select a contact from Contacts tab > Email button |
Email Team | 12d Synergy Client application >Team link in the job tree structure > Email icon |
Transmittal Files |
|
Email File Link |
|
Send to Email Recipient | 12d Synergy Client application > right-click a file > Data Out option > Send To option > Mail Recipient option |
Email Published Files | 12d Synergy Client application > right-click a file to be issued > Data out option> Publish option > Select the Send email check box in the File Publishing window and click the Publish button > In the Send published email window, Select the Send email manually via outlook option and add a email recipient using the Add Contacts button and click the Publish button. |
Email Transmitted Published Files |
|
New Outlook Emails | In MS Outlook > 12d Synergy Plugin > New Email from Template icon |
 button in the 12d Synergy quick access toolbar > Use button in Select users window
 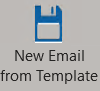 button