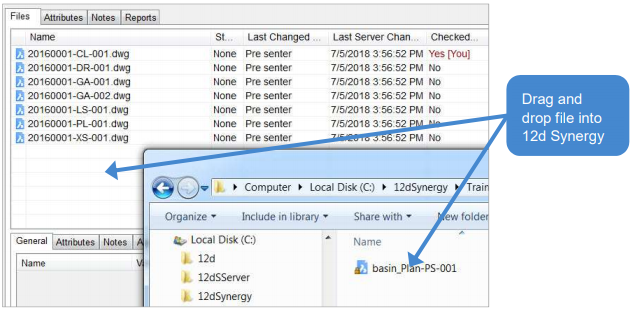
The Workflow is now in place for any new file added to this folder.
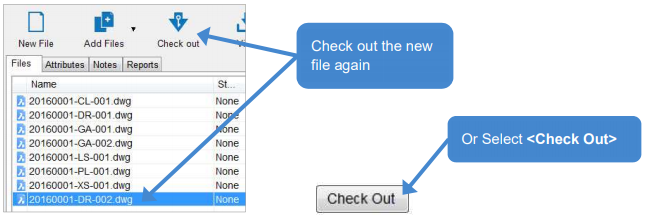
- Follow naming rules to re-name the new file e.g 20160001-DR-002
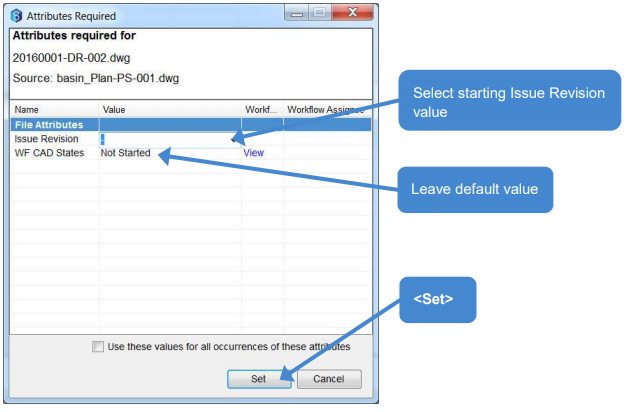
- Check file back in (Add history description - e.g. Ready for work)
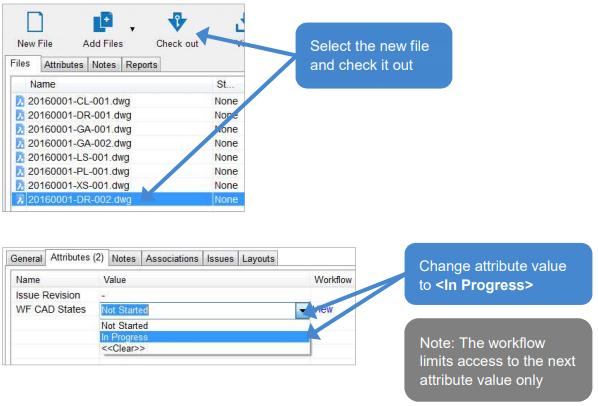
The file now gets assigned to the Drafter(s). If you are set as this role an email notification will also be sent to you.
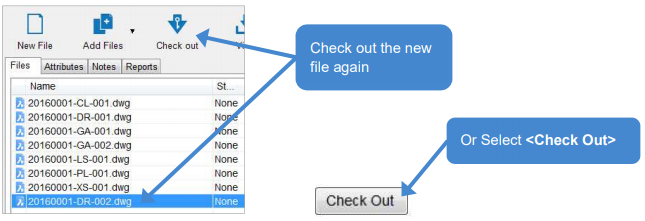
Keep going through to the next step.
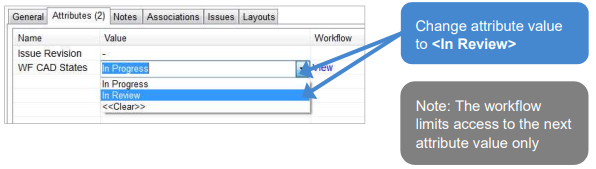
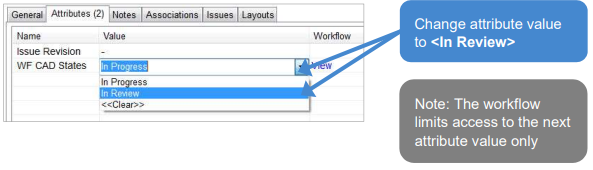
- Check file back in (Add history description - e.g Ready for review)
The file now gets assigned to the Design Lead. If you are set as this role an email notification will also be sent to you.
Keep going through to the next step.
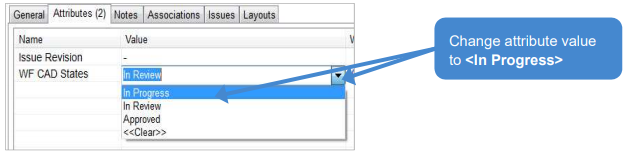
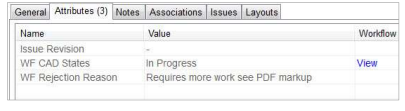
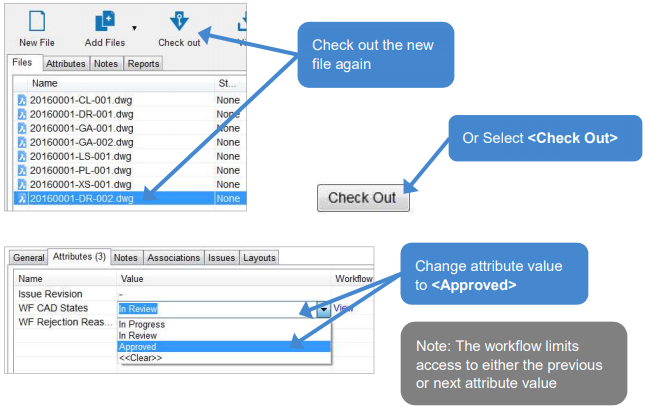
As an option the Reviewer can reject it and send it back to the Drafters for more work by changing the attribute "WF CAD States" back to "In Progress"
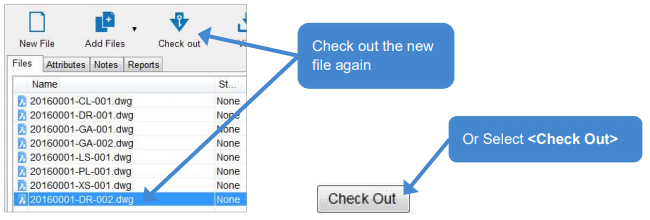
- Check file back in (Add history description - e.g. Needs more work)

The file now gets Checked back in and released back to the Drafters to edit again. If you are set as this role an email notification will also be sent to you.
Keep going through to the next step.
- Check file back in (Add history description - e.g. Ready for review again)
The file now gets assigned to the Design Lead. If you are set as this role an email notification will also be sent to you.
Keep going through to the next step.
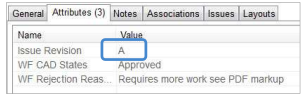
- Check file back in (Add history description - e.g. Ready for Issue)
The file now gets unlocked and the "Issue Revision" attribute gets changed to the next value.
These steps can be repeated, if the file is checked out again you will notice that the "WF CAD States" attribute can only be changed back to "In Progress"