Add and Configure a 12d Synergy to 12d Synergy Data Flow Type
A 12d Synergy Data Flow exchanges data in either direction between two instances of the 12d Synergy application. You can configure the data flow between both, version 5 and version 6 instances.
In the 12d Synergy Administration application, select the Data Flows > Data Flows tab.
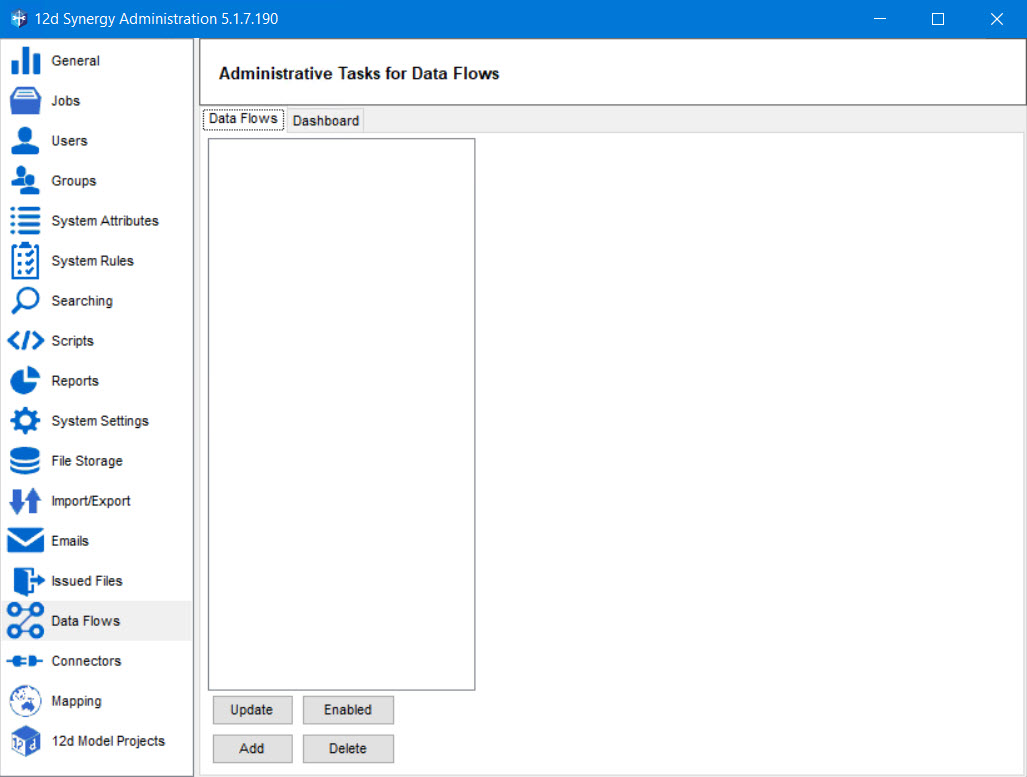
Click the Add button.
The Upload a data flow window is displayed.

Click the ellipsis
 button in the Upload a data flow window.
The Select a task library prompt is displayed.
Select the SynergyDataFlow.dll file in the Select a task library prompt and click the Open button.
The path to the selected SynergyDataFlow.dll file is displayed in the Path box of the Upload a data flow window.
Click the Upload button.
The data flow type is added, and a confirmation message is displayed.
Click the Ok button.
The Basic Configuration and Profiles tabs are added to the 12d Synergy Administration application > Data Flows > Data Flows tab.
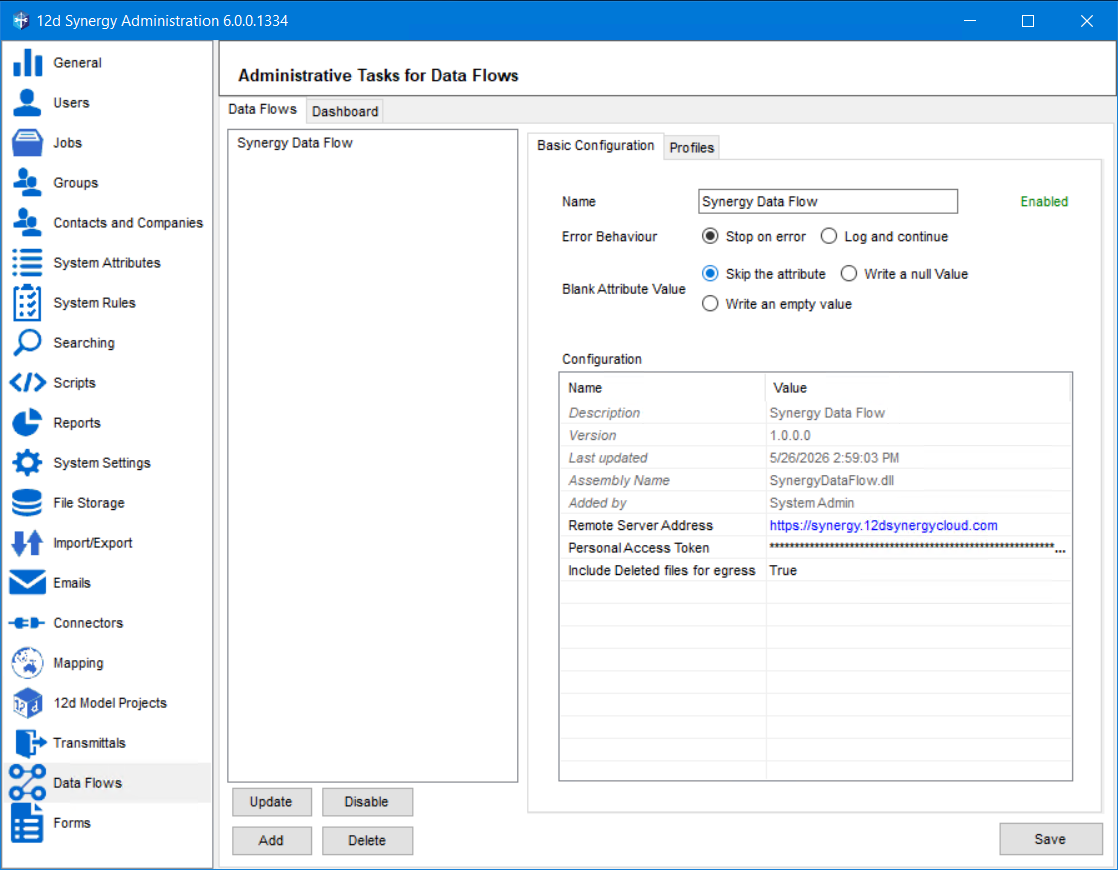
By default, the added data flow type is Enabled, and its name is displayed in the Name box. The configuration details of the added data flow type are displayed in the Configuration section.
Select one of the following:
Stop on error option as the Error Behaviour.
When an error occurs while working with the Synergy Data Flow Type, selecting this option will stop the process and log the error.
Log and continue option as the Error Behaviour.
When an error occurs while working with the Synergy Data Flow Type, selecting this option will write an error message in the log files and continue processing the data flow, if possible.
When the system encounters a blank value for an attribute, you can choose its reaction to it. Select one of the following options for the Blank Attribute Value field.
Skip the attribute
Write a null value
Write an empty value
In the Configuration section, enter the following details.
Enter the server address of the 12d Synergy instance running remotely in the value column of the Remote Server Address row.
Enter the value of a Personal Access Token (PAT) that you have created in the Value column of the Personal Access Token row. Ensure that the PAT is still active (valid).
If you want to include deleted files of a folder when an egress is run on the folder, then select the True option from the Include Deleted files for egress list.
Ensure you select the 12d Synergy Client application > View menu option > Show Deleted Items option to view the deleted files.
You can create profiles for the selected data flow type in the Profiles tab.
Click the Save button.
The Synergy Data Flow Type is configured.