Admin Content
1.1. How to Build a Workflow on a List Type Attribute
Right-click the folder on which you want to create a workflow again and select the Edit folder option.
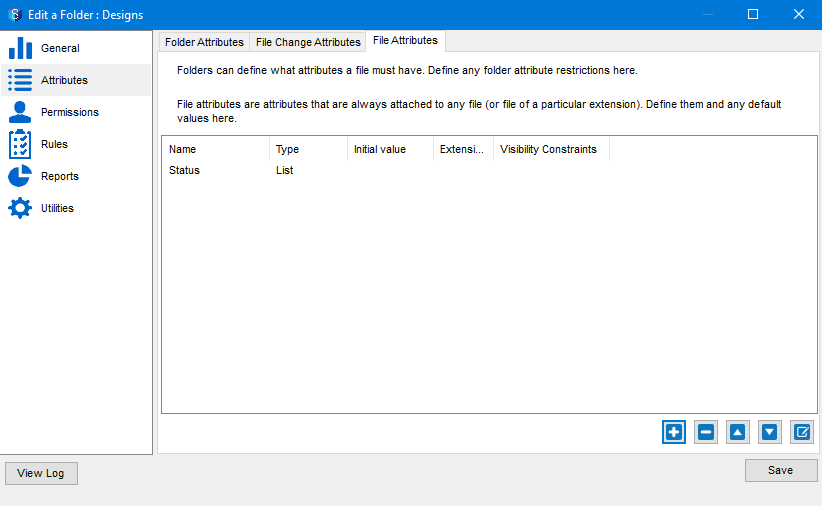
The Edit a folder: <Folder Name> window is displayed.Select the Attributes tab > File Attributes tab.

Select the Status attribute (created here) and click the Edit
.png) icon.
icon.
The Create/Edit an Attribute window is displayed.Click the Workflow button.
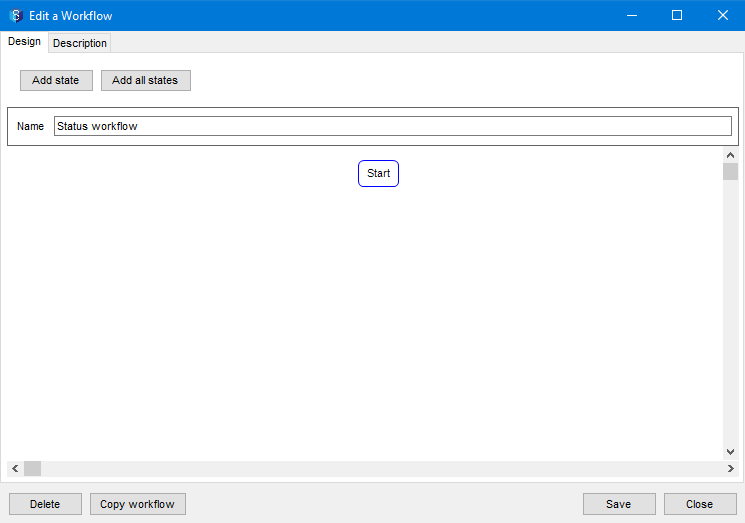
The Edit a Workflow window is displayed.
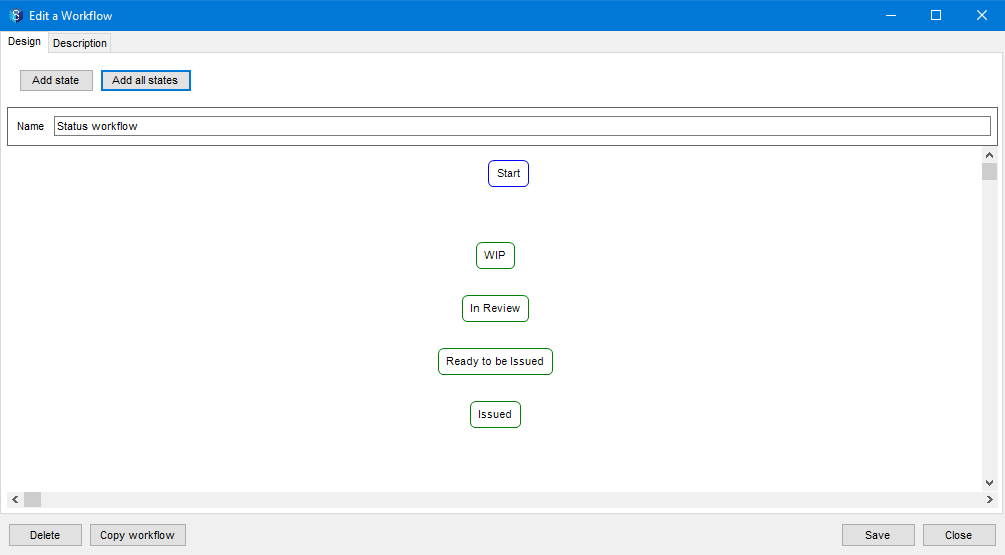
Click the Add all states button.
All the values that you have added to the list attribute are displayed as states in the workflow.
Link the states in the desired flow by dragging the edge of one state to the other. These links (arrows in the below image) are called Transitions.
.png)
If for any state in the workflow, you want to prevent the users from doing any of the following tasks, then select that state in the workflow and select the prevents updates? checkbox in the right panel.
Checking in a file
Updating a task, issue or a job attribute
.png)
Therefore, when the workflow transitions to this specific state, a user will not be allowed to perform any of the above-listed activities.
Click the last state, Issued, and in the right panel select the Is workflow resolution? checkbox. This marks the Issued state as the last state of the workflow, and turns the state red.
.png)
Click the Save button.
The workflow is saved.