V6.2.1 feature Admin Content
Add and Configure a Leica ConX Data Flow Type
In the 12d Synergy Administration application, select the Data Flows > Data Flows tab.
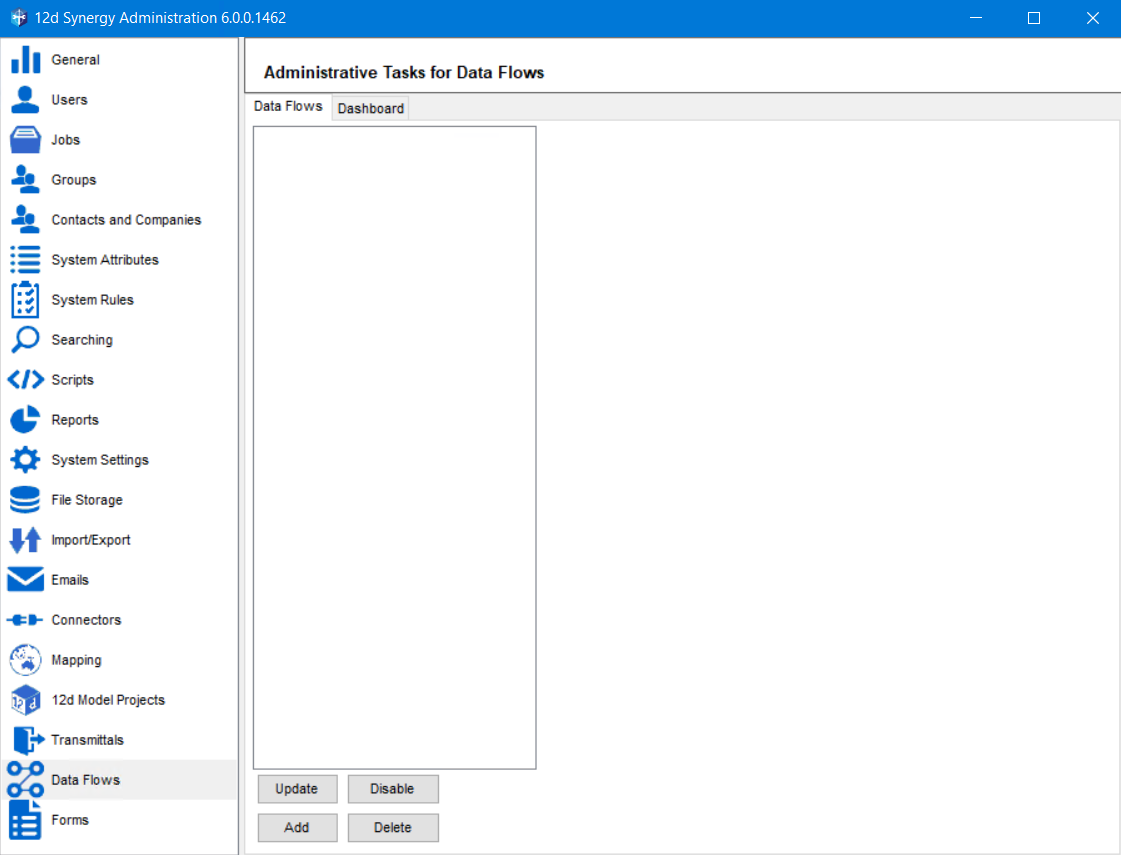
Click the Add button.
The Upload a data flow window is displayed.

Click the ellipsis
 button in the Upload a data flow window.
The Select a task library prompt is displayed.
Select the ConXDataFlow.dll file in the Select a task library prompt and click the Open button.
The path to the selected ConXDataFlow.dll file is displayed in the Path box of the Upload a data flow window.
Click the Upload button.
The data flow type is added, and a confirmation message is displayed.
Click the Ok button.
The Basic Configuration and Profiles tabs are added to the 12d Synergy Administration application > Data Flows > Data Flows tab.
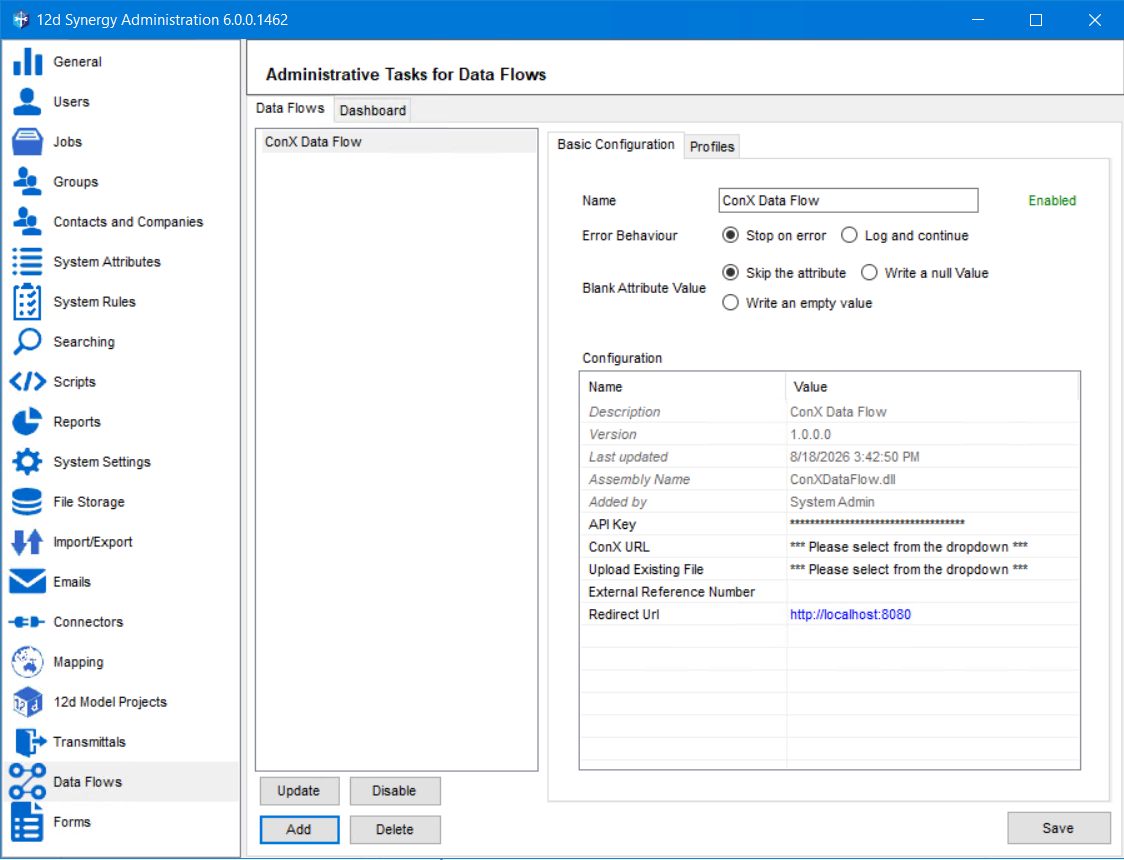
By default, the added data flow type is enabled, and its name is displayed in the Name box. The configuration details of the added data flow type are displayed in the Configuration section.
Select one of the following:
Stop on error option as the Error Behaviour.
When an error occurs while working with the Leica ConX Data Flow Type, selecting this option will stop the process and log the error.
Log and continue option as the Error Behaviour.
When an error occurs while working with the Leica ConX Data Flow Type, selecting this option will write an error message in the log files and continue processing the data flow, if possible.
When the system encounters a blank value for an attribute, you can choose its reaction to it. Select one of the following options for the Blank Attribute Value field.
Skip the attribute
Write a null value
Write an empty value
In the Configuration section, some configuration details are displayed, while the following details must be entered.
Name
Description
API Key
This is provided by the 12d Synergy team.
ConX URL
Select the Production URL option.
Upload Existing File
Select one of the following two options for choosing how you want to upload a file that already exists in your destination data:
Replace existing file with the new one
Add as new file with #00X appended to the end of the file name, where X takes the value 1,2,3 and so on.
External Reference Number
This is the Project ID of the Leica ConX project you are connected to.
Redirect Url
If you are using 12d Synergy version 6, the value for this field is http://localhost:8080. For 12d Synergy version 5 users, the value is http://localhost:8080/DataFlows.
These are mandatory fields for running the data flow.
You can create profiles for the selected data flow type in the Profiles tab.
Click the Save button.
The Leica ConX Data Flow Type is configured.