The Edit a Workflow window is where you can build a workflow. Let us see the elements of this window.
.png)
Number | Name of the UI Element | Description |
|---|---|---|
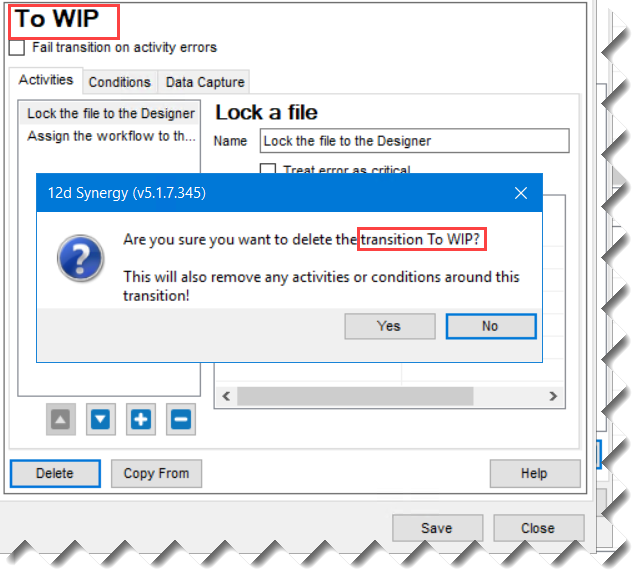
0 | Name of a transition | This is the name of the transition you are defining below. |
1 | Fail transition on activity errors check box | When you select this check box for a transition that you are defining, if an error occurs when any activity of that transition is in progress, then then entire transition fails. For example, if the activity isn’t configured properly, or if the activity tries to act on data that doesn’t exist, then this checkbox, if selected, will make the workflow end abruptly. |
2 | Treat error as critical check box | When you select this check box for a transition that you are defining, if an error occurs when the activity is running, then the error is considered as a critical one. The workflow thus comes to an abrupt end. |
3 |
| These icons are there in Activities, Conditions and Data Capture tabs. When you click the |
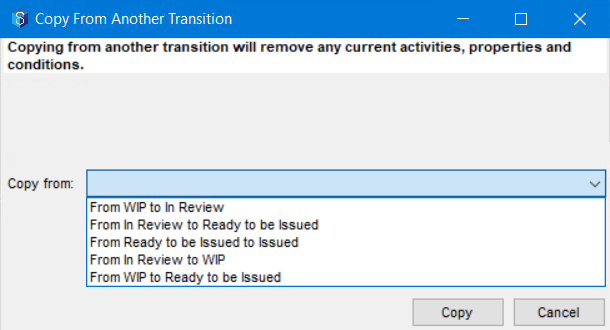
4 | Copy From transition button | This button is displayed in the section where we define a transition. When you click this button, you have the option of selecting another transition (of the same workflow) from which the activities, conditions and data captures are copied into the current transition.
However, when you select this option, if you have defined any activities, conditions or data captures, previously, they will be replaced by the values being copied. |
5 | Delete transition button | This button is displayed in the section where we define a transition. Hence, when you click it, the entire transition that you are defining is deleted.
|
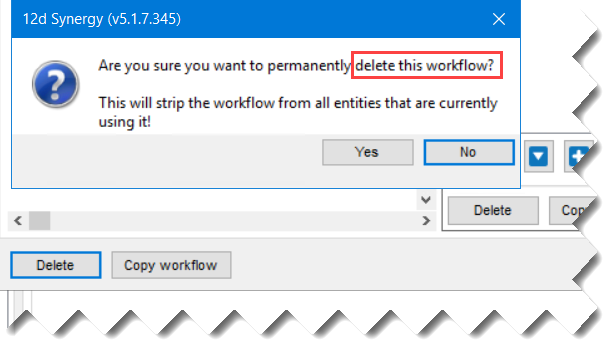
6 | Delete button for workflow | This button is applicable to the entire workflow. When you click the window the entire workflow is deleted in the entire system.
|
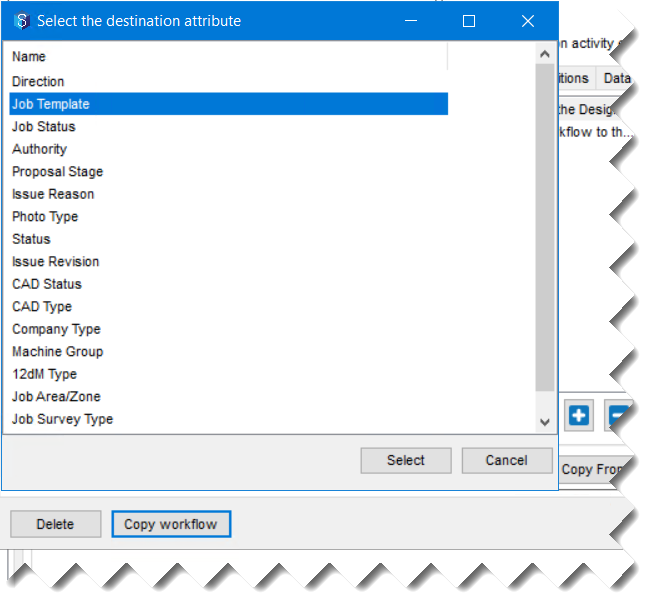
7 | Copy workflow button | This button is applicable to an entire workflow. When you click this button, you can select the list attribute to which you want to copy the workflow that is defined on the current attribute. Note that only the states are copied. If the attribute to which the workflow is being copied has some existing states (or list values), then the states from the attribute you are copying from get appended to the list of existing states.
|
8 | Add all states button | When you click this button, all the options of the list attribute that you are using to build the current workflow, are added as boxes to the space where you can diagrammatically build the workflow. You can then join them with arrow marks which represent the transitions. |
9 | Add state button | When you click this button, you can add one chosen state at a time. |


