1. Indexing
12d Synergy uses a search index to help search through your data. Occasionally, you may need to reindex your data if results are incorrect. It is recommended that you run this process only when advised by the 12d Synergy Support team.
1.1. How to Re-index your Data
- In the 12d Synergy Administration application, select the General tab > Maintenance tab > 12d Synergy tab.
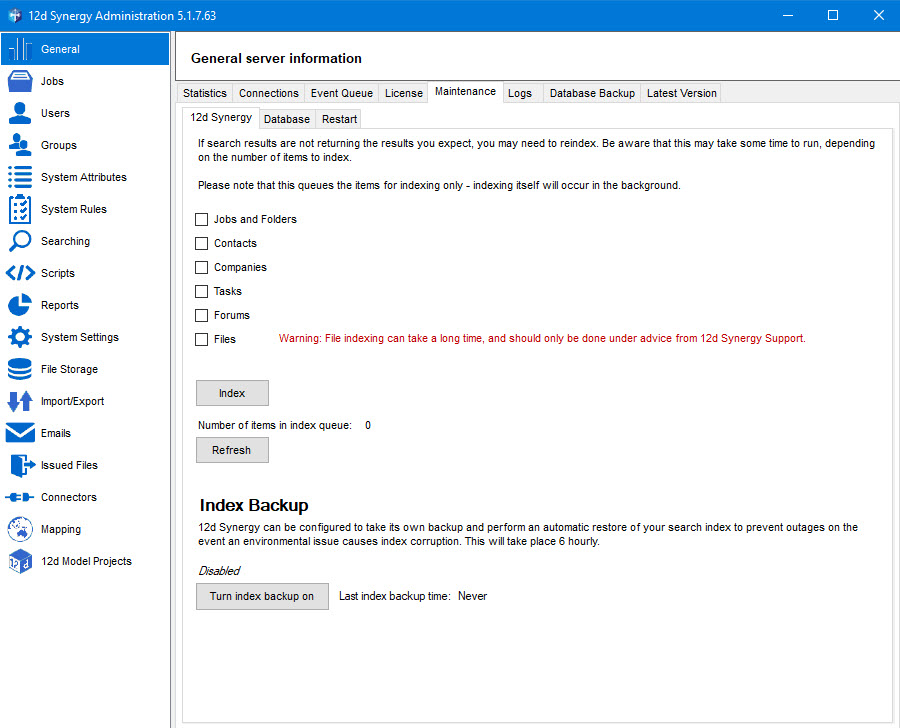
- To re-index jobs and folders, contacts, companies, tasks, and forums select the check boxes against them.
- To re-index files, do the following:
- Select the Files check box.
You will be prompted for more details.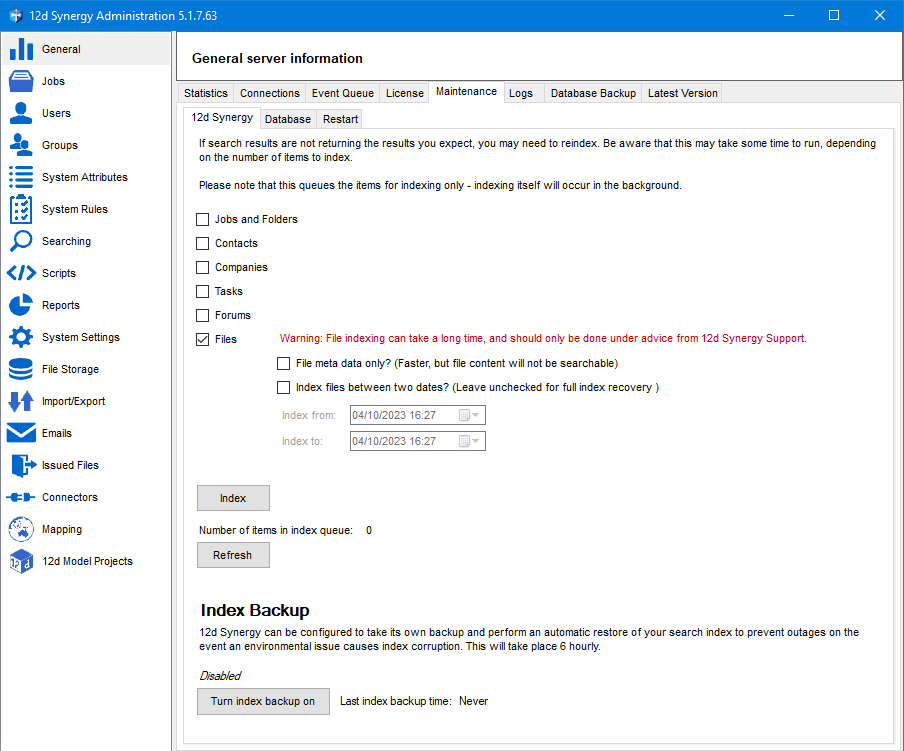
- If you want to re-index only the metadata of files, select the File meta data only? (Faster, but file content will not be searchable) checkbox.
- If you want to reindex files between two dates, select the Index files between two dates? (Leave unchecked for full index recovery) check box.
The date lists are enabled. - Select the Index from and Index to dates from the date lists.
- Re-indexing files can take a very long time as it is dependent on the number of files in your 12d Synergy system. It is highly recommended that you do this process only when advised by the 12d Synergy Support team.
- 12d Synergy provides you with an option to backup your search index and restore it every six hours. You can turn on this feature by clicking the Turn index backup on button in the Index Backup section. If the feature is enabled, an Enabled tag is displayed above the Turn index backup on button. The time when the last backup of the index was taken is displayed against the Last index backup label.

- Select the Files check box.
- Click the Index button.
The selected data entities are re-indexed.
2. Tuning
Database tuning is the process of optimizing the performance of a database system. If you observe that your database performance is lagging, you can tune your database using the 12d Synergy Administration application.
2.1. How to Tune your Database with 12d Synergy
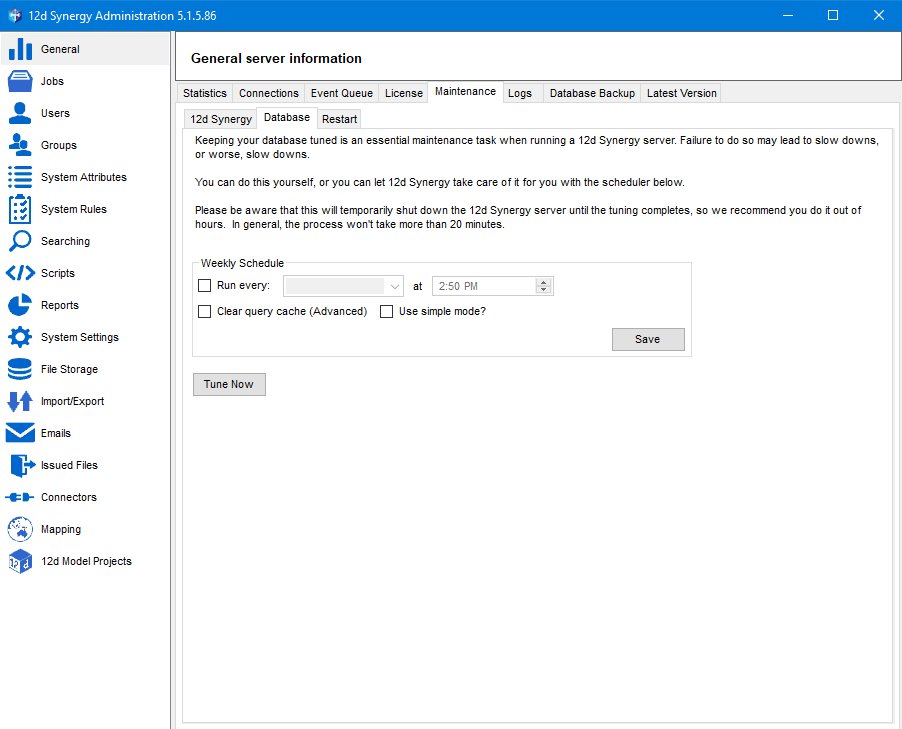
- In the 12d Synergy Administration application, select the General tab > Maintenance tab > Database tab.
- Do one of the following:
- To tune the database immediately, click the Tune Now button.
The tuning process will run immediately. - To schedule the database tuning for a certain day and time, select the Run every: check box in the Weekly Schedule section and click the Save button.
If you have scheduled the tuning process, it will run at the set frequency and time.The below mentioned tuning settings are displayed in the Weekly Schedule section, and they apply to the tuning process that is run either instantly or at a scheduled time.
- Clear Queue Cache - If selected, this setting clears the query results from the query cache and creates faster and optimal query results.
- Use Simple Mode - If selected, this setting rebuilds all the indexes again. If not selected, based on how much fragmentation has occurred in the indexes of the database, it will decide whether to reorganise the indexes or rebuild them
However, these settings have to be made under the guidance of a database specialist or the 12d Synergy Support team.
Tuning restarts the server. When a server restarts, all running file transfers are terminated and the connected users are disconnected from the 12d Synergy applications. Hence, restart the 12d Synergy Server cautiously.
- To tune the database immediately, click the Tune Now button.
3. Restarting the 12d Synergy Server

Sometimes, when the 12d Synergy applications are stuck or the database is not responding, you might want to restart the 12d Synergy Server. You can do so using the Restart button in the 12d Synergy Administration application > General tab > Maintenance tab > Restart tab.
4. Logs
The 12d Synergy Server provides several logging mechanisms to help understand and investigate the issues that may arise when running your server.
4.1. Server Error Logs
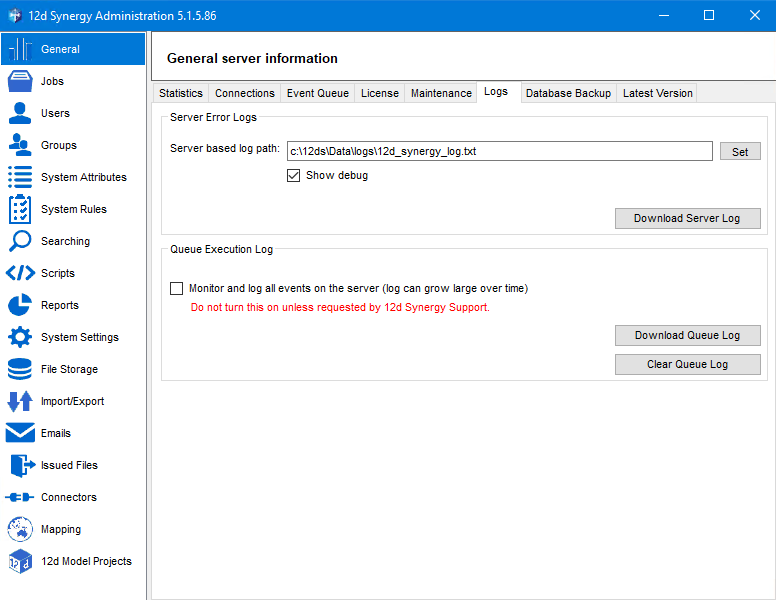
A server error log, encapsulating all the transactional details of 12d Synergy applications, is generated from the 12d Synergy Administration application > General tab > Logs tab. This file can be used for troubleshooting purposes. You can choose to download just the current log or all available logs.
- In the Server based log path: box, enter the path to a file that is accessible from your 12d Synergy Server, such as c:\12dSynergy\log.txt. This setting is generally made at the time of configuring your 12d Synergy applications.
- Click the Set button to set the entered location as the default folder to save the log files.
The server error log file is generated and saved at the entered location. - Select the Show debug check box to capture additional login details in the server error log file. Selecting this check box may result in tracking too much debug information and hence, should be used based on the 12d Synergy Support team's advice.
- If you want to download the log file(s) to your local system, then click the Download Server Log button and select whether you want to download only the current log or all available logs. You can then browse and select the location at which you want to save the downloaded log file(s).
4.2. Queue Execution Log
A queue execution log records all the details of the events that take place in the 12d Synergy applications. These details are very helpful for the 12d Synergy Support team to investigate when when an issue occurs. This log is generally generated on demand basis as it can end up being a large file if generated for a long time.
- In the 12d Synergy Administration application > General tab > Logs tab, select the Monitor and log all events on the server (log can grow large over time) check box to start generating the queue execution log file. This is generally done under the supervision of the 12d Synergy Support team.
- Click the Download Queue Log button to download the log file to a accessible location of your choice. This button is enabled only when the Monitor and log all events on the server (log can grow large over time) check box is selected.