The installation is started by running the 12dSynergy_Client_<version number>.exe.
1.1 Welcome to the 12d Synergy Client Installation
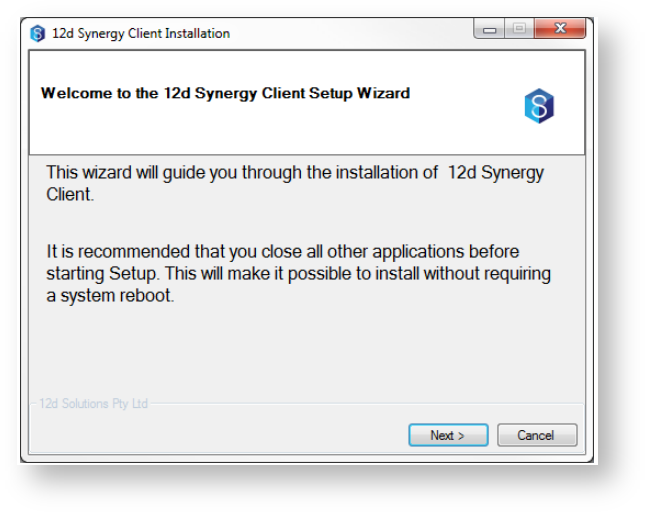
This is the welcome page. Click next to continue.
1.2 End User License Agreement
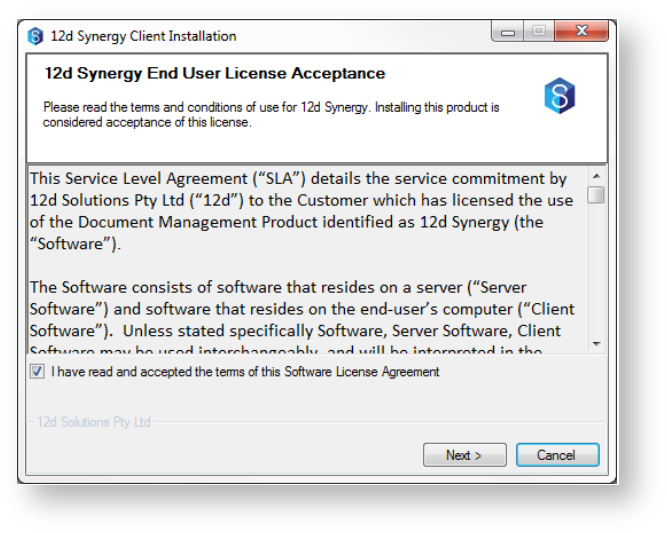
To install 12d Synergy, you must accept the license agreement before clicking ‘Next’
1.3 Select Components
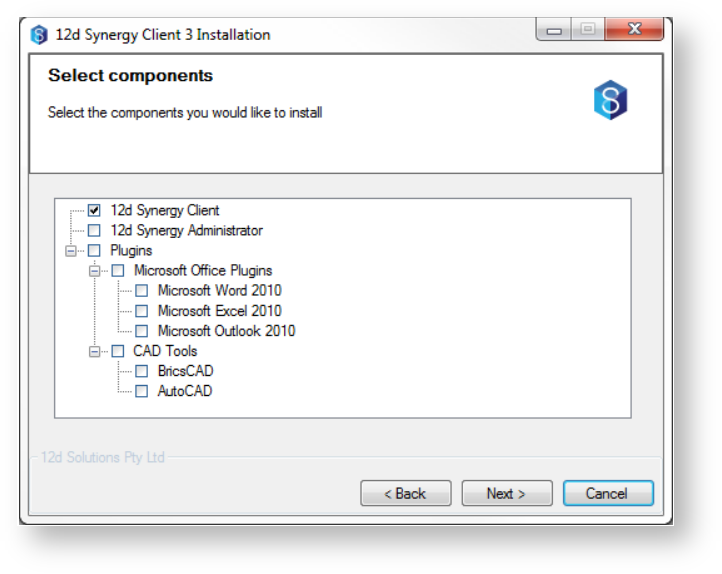
Select the components you wish to install. Note that 12d Synergy Client is already selected and is a requirement. If you wish to install the Office plugins, please make sure all Office products are closed.
1.4 Pick Installation Location
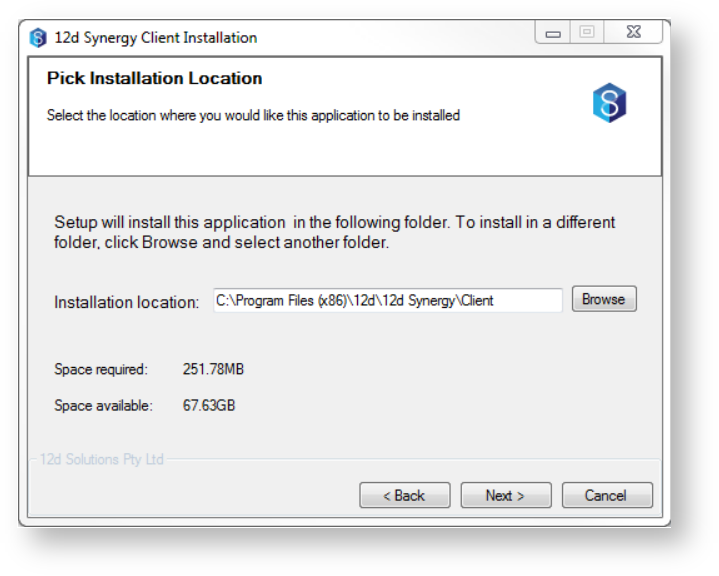
Choose the installation location – it is recommended this is left as the default pre-defined setting.
Click next when you have selected the location to install to
1.5 Select 12d Synergy Workspace
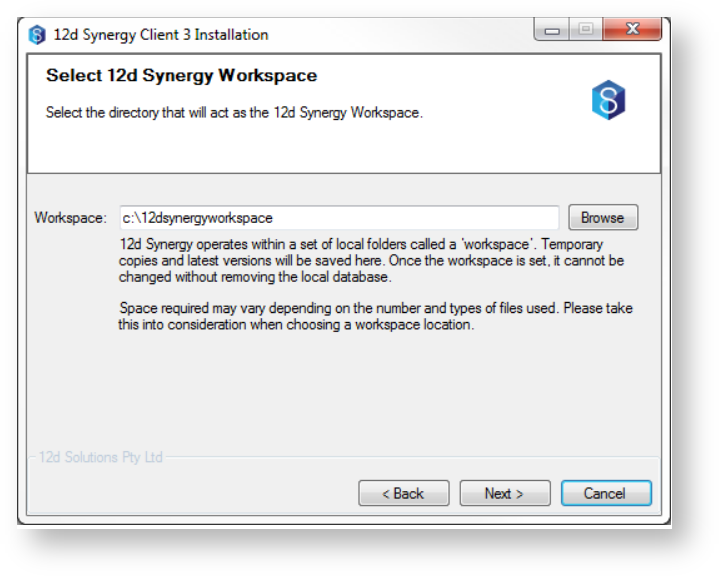
Browse to the location of the 12d Synergy Workspace. If you are reinstalling, this will already be set to the previously used setting.
12d Synergy operates within a set of local folders called a ‘workspace’. Temporary copies and latest versions will be saved here. Once the workspace is set, it cannot be changed without removing the local database.
Space required may vary depending on the number and types of files used. Please takes this into
consideration when choosing a workspace location.
1.6 Configure the 12d Synergy Server Database
1.7 Performing Installation
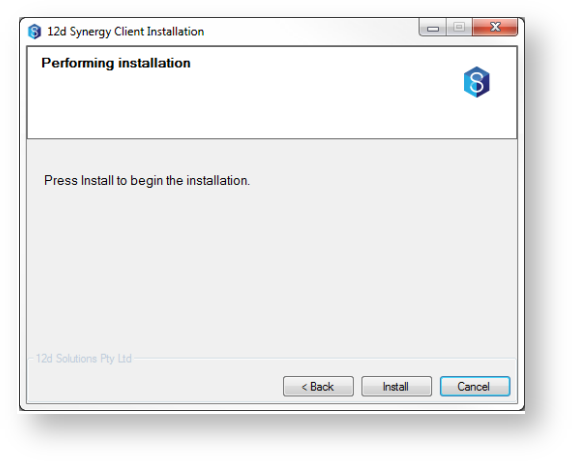
You are now ready to perform the installation. Click install to begin.