To upgrade the 12d Synergy Server, you do not need to run the full installer each time. The upgrader will remember your settings from last time unless there are any changes.
Uninstall the existing 12d Synergy File Replication Server from the Control Panel > Programs and Features > Uninstall a Program window.
Uninstalling the 12d Synergy File Replication Server application will not delete any of your data.
Double-click the 12dSynergy_FRS_Upgrade_<Version Number>.exe.
To download the 12d Synergy File Replication Server Upgrader executable file (.exe) for a specific version, visit the 12d Synergy Downloads page. Select the version of the 12d Synergy application from the Looking for a different version? section > Select a version to download list, and then click the 12d Synergy File Replication Server - Upgrader link to download the .exe file.
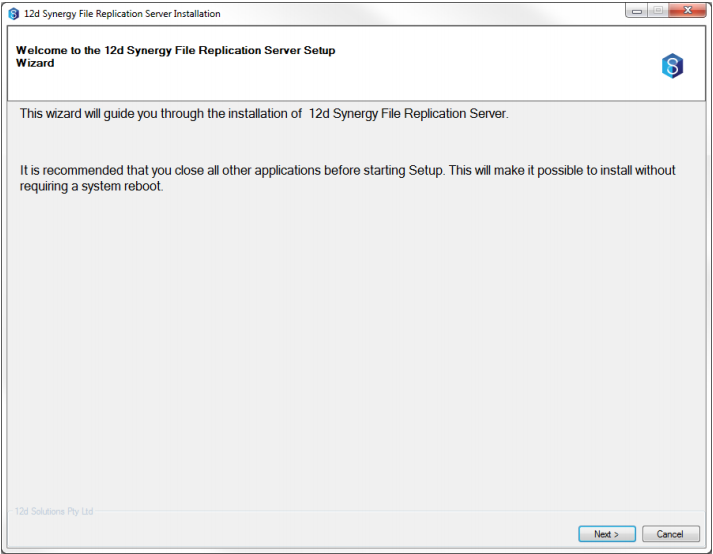
The Welcome to the 12d Synergy File Replication Server Setup Wizard window is displayed.
Click the Next button.
The Configure the 12d Synergy FRS window is displayed. You can configure the service account and port number under which the 12d Synergy File Replication Server will run in this window.
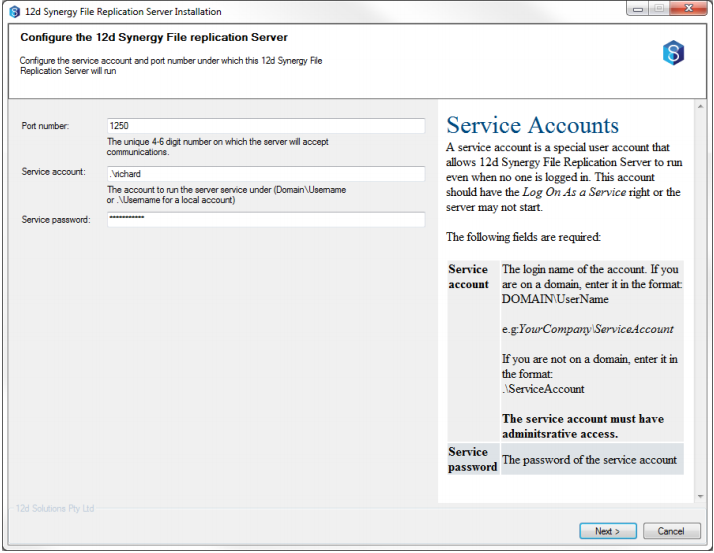
Enter the Service Account and Service Password in their respective boxes. It is recommended to use the default values displayed in the Port number box.
If you are on a domain, then enter the Service Account in the Domain\UserName format.
If you are not on a domain, enter the Service Account in the .\ServiceAccount format. Ensure that this service account must have administrative access.
The installer will attempt to test these credentials. In some cases, it may be possible for an incorrect result to this test, depending on the complexity of your network. This test should be taken as a guideline only, and a failed result can be ignored if you are sure your credentials are correct.
Click the Next button.
The Configure the 12d Synergy Server Database window is displayed.
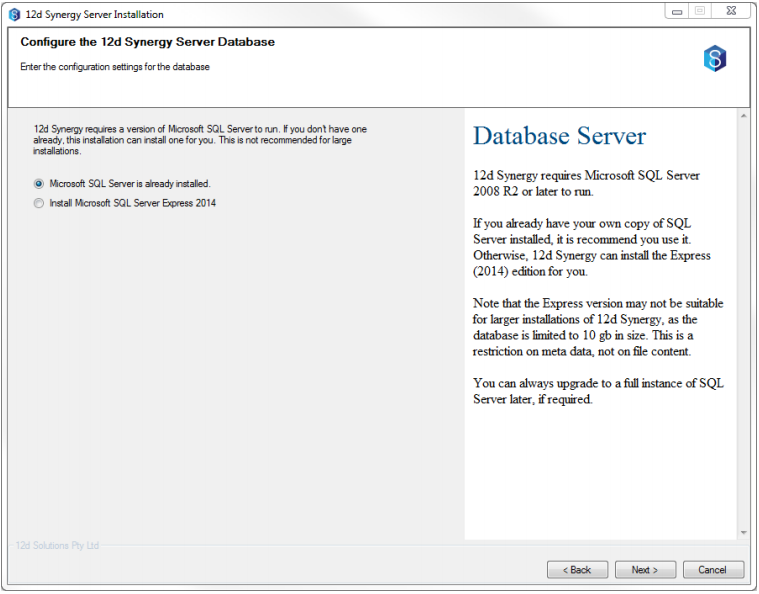
Do one of the following based on whether or not Microsoft SQL Server is installed on your system:
If you have Microsoft SQL Server installed on your system, do the following:
Select the Microsoft SQL Server is already installed option.
Click the Next button.
The Configure the 12d Synergy Server Database window is displayed.%20(1).png)
Select one of the following options from the Database Security list.
Windows Security - You will be prompted for the recovery mode, which is set to the Simple option.
SQL Server Security - You will be prompted for a username and password if you select this option.
You can click the Test Connection button to check whether all connections to the Database Server are correctly configured.
Click the Next button.
The Configure the 12d Synergy File Replication Server window is displayed.
If you do not have Microsoft SQL Server installed on your system, do the following:
Select the Install Microsoft SQL Server Express 2014 option.
Click the Next button.
The Configure the 12d Synergy File Replication Server Database window is displayed.Set the Recovery Mode to the Simple option if it is not pre-selected.
Click the Next button.
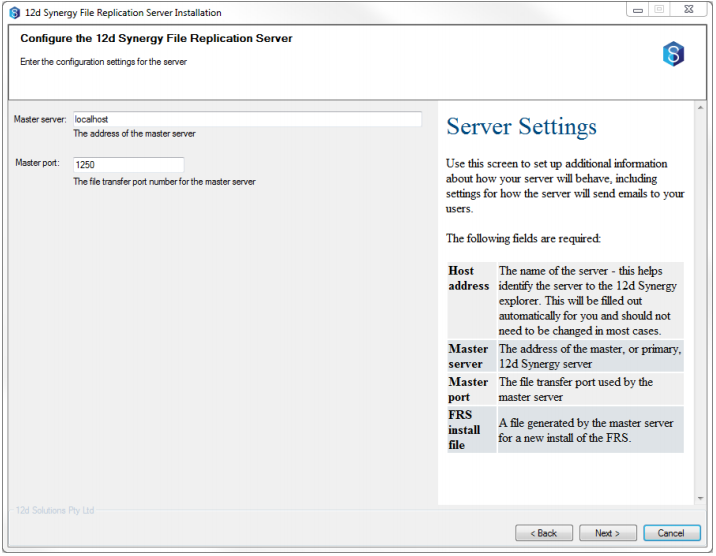
The Configure the 12d Synergy File Replication Server window is displayed.
In the Configure the 12d Synergy File Replication Server window, enter the server configuration settings.
Click the Next button.
The Performing Installation window is displayed.
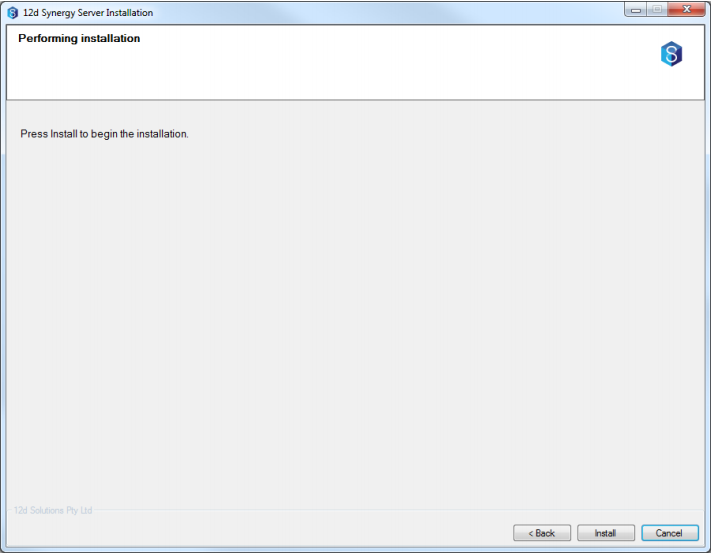
Click the Install button to start the upgrade process.
The 12d Synergy File Replication Server Service is upgraded.