Client Content
This feature is available in 12d Synergy version 5.1.7.413 and later. Please check with your Account Manager for more details.
You can now have a collaborative session via Microsoft 365 Word and Excel with other 12d Synergy users and also with contacts outside 12d Synergy. As a 12d Synergy user, you can initiate and close a collaborative session using the 12d Synergy Client application. If there is a session initiated by another 12d Synergy user, you can choose to join the session provided you have the necessary access rights for that session. If not, you can contact the owner of that session and request for access.
1.1. How to Initiate a Collaborative Session
In the 12d Synergy Client application, check-out the Microsoft Word or Excel (.docx, .doc, .xlsx, or .xls) file that you want to work on collaboratively.
Right-click the checked out file and select the Other > Edit collaboratively in Microsoft 365 option.
.png)
The Start collaborative session in Microsoft 365 window is displayed..png)
Click the
 button.
The Find a Contact dialog is displayed.
.png)
Search for the required contacts and add them accordingly to the collaborative session.
The selected contacts are displayed in the Start collaborative session in Microsoft 365 window.As a feature of Microsoft 365, you can add non-12d Synergy users (external contacts) for editing the file collaboratively from Microsoft 365 also.
Select the Use local Version check box if you want to use the version of the Microsoft 365 version installed on your local system for editing the file collaboratively. If this check box is not selected, then the Microsoft 365 version installed on the server is used for editing.
Click the Start Session button.
You are prompted to sign in to your Microsoft 365 account on a web browser.Login to Microsoft 365 with your credentials.
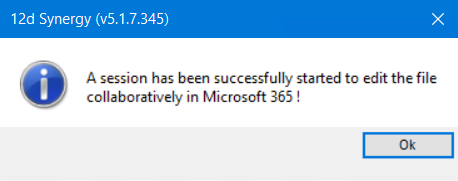
Once the authentication is done, "Authentication complete. You can return to the application. Feel free to close this browser tab.” message is displayed in a new tab of the web browser.On the 12d Synergy Client application, the following confirmation message is displayed.

Click the Ok button.
The selected Microsoft Word or Excel file is displayed in the web browser and is now open for collaborative editing. The status of the file is shown as “Collaborating” in the 12d Synergy Client application. As a feature of Microsoft, you can now share this file with users outside 12d Synergy also.If you want to continue working on a file that you have started previously but have closed the file, say at the end of the day, then right-click the file and select the Continue Microsoft 365 Session option to open the file in a browser for editing. Note that while the file is closed at your end, other collaborative users can still continue to edit the file.
1.2. How to End a Collaborative Session
In the 12d Synergy Client application, select the checked-out Microsoft Word or Excel (.docx, .doc, .xlsx, or .xls) file that is open for collaborative editing.
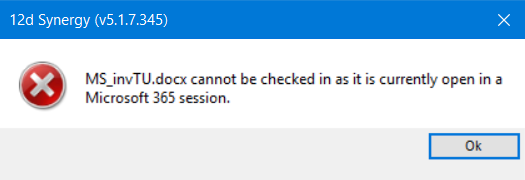
The file has to be in a checked-out state for you to end the collaborative session. If you try to check in a file that is open for collaborative editing, the following error message is displayed.

Right-click the file and select the End Microsoft 365 Session option.
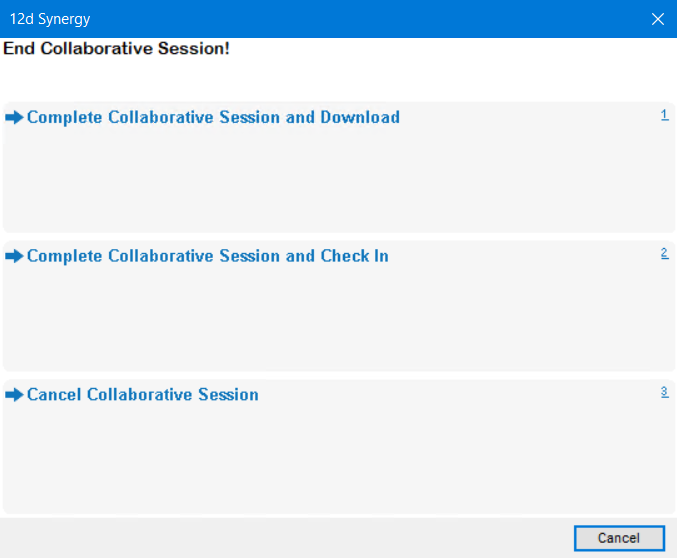
The following prompt is displayed.
Do one of the following:
Select the Complete Collaborative Session and Download option to download and replace the local copy with the updated copy (that is edited collaboratively) of the file. The session is then ended. The file that is now displayed in your 12d Synergy Client application is the updated copy in which all the changes made by the invited contacts are visible.
Once a session is closed, none of the invited contacts can access or see the updated document.
On using this option, the document is not checked in to the 12d Synergy application. If you want to start another collaborative session on the same document, you need to check-in the document and check it out again.
Select the Complete Collaborative Session and Check in option to replace the local copy with the updated copy (that is edited collaboratively) of the file. Then the file is also checked in to the 12d Synergy application and the session is ended.
Once a session is closed, none of the invited contacts can access or see the updated document.
Select the Cancel Collaborative Session option to just close the collaborative session. A prompt, warning you that all changes made to the Microsoft 365 file (being edited by invitees) are lost when you select this option, is displayed. Click Yes to cancel and end the session.
When you cancel a session, the local copy of the file does not have any changes (saved or unsaved) done by all the users editing the file. The document is still in the checked-out state.
Note that when you select any of the three options mentioned above, you will be authenticated as a valid Microsoft 365 user before completing or cancelling any session.
When you select the End & Check in or End & Download options while one or more users is still working on the file, then the following warning message is displayed.
It is highly recommended that you do not click the Yes button until all users complete their updates and close the file in their browser. Else, any changes made within the last minute may not get saved.
1.3. How to Join a Running Collaborative Session
The collaborative session for that selected file must be in progress for you to join the ongoing session.
To join a running collaborative session, you (as a 12d Synergy user) should necessarily have read rights to the job that holds the file being edited collaboratively.
In the 12d Synergy Client application, select the Microsoft Word or Excel (.docx, .doc, .xlsx, or .xls) file checked out by another user for collaborative editing.
Right-click the file and select the Join Microsoft 365 Session option.
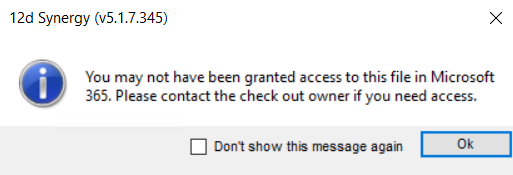
The following prompt is displayed.
If you do not have read rights to the job holding the file being edited collaboratively, the Join Microsoft 365 Session option is not displayed when you right-click the file.
Click the Ok button.
You are directed to the file in the web browser. Based on the access rights you have to edit a Microsoft 365 file, you will be able to view/update the file accordingly.
.png)